1. Johdanto
This manual provides detailed instructions for the setup, operation, and maintenance of your ATTACK SHARK X8 Ultra Wireless Gaming Mouse. Designed for high-performance gaming, the X8 Ultra features a lightweight design, multiple connectivity options, and advanced sensor technology.

Kuva 1.1: Yläosa view of the ATTACK SHARK X8 Ultra Wireless Gaming Mouse.
2. Pakkauksen sisältö
Varmista, että pakkauksessasi on kaikki tarvittavat osat:
- ATTACK SHARK X8 Ultra Wireless Gaming Mouse
- 8K USB-C Receiver
- USB-A to USB-C Charging Cable (Paracord)
- Replacement Mouse Feet Skates
- Tartuntateippi
- Käyttöopas (tämä asiakirja)
3. Mouse Layout and Features
Familiarize yourself with the key components and features of your X8 Ultra mouse.

Kuva 3.1: ohiview of the X8 Ultra's internal components and external features.
- Vasen/oikea napsautuspainikkeet: Equipped with Omron micro switches for tactile feedback and durability.
- Vierityspyörä: Provides smooth scrolling with subtle tactile bumps.
- Sivupainikkeet: Programmable buttons located on the left side for additional functions.
- DPI-painike: Located on the underside of the mouse, allows cycling through preset DPI levels.
- Yhteyskytkin: Located on the underside, allows switching between 2.4GHz wireless, Bluetooth, and wired modes.
- PAW3950MAX Sensor: High-precision optical sensor for accurate tracking.
- Nordic 52840 MCU: Advanced microcontroller for efficient performance and low latency.
- Nano-Ice Coating: Surface treatment designed to keep grip cool during extended use.
4. Asennusopas
4.1 Hiiren lataaminen
- Liitä latauskaapelin USB-C-pää hiireen.
- Connect the USB-A end of the charging cable to an available USB port on your computer or a USB wall adapter.
- The mouse LED indicator will show charging status. A full charge provides up to 300 hours of intermittent use.
4.2 Hiiren kytkeminen
The X8 Ultra supports three connection modes: 2.4GHz Wireless, Bluetooth, and Wired USB.
2.4 GHz:n langaton tila:
- Locate the 8K USB-C receiver.
- Liitä vastaanotin tietokoneen vapaaseen USB-porttiin.
- Set the connectivity switch on the underside of the mouse to the "2.4G" position.
- Hiiren pitäisi muodostaa yhteys automaattisesti.

Image 4.1: The 8K USB-C receiver for 2.4GHz wireless connection.
Bluetooth-tila:
- Set the connectivity switch on the underside of the mouse to the "BT" position.
- Avaa tietokoneellasi Bluetooth-asetukset ja hae uusia laitteita.
- Select "ATTACK SHARK X8 Ultra" from the list of available devices to pair.
Langallinen USB-tila:
- Liitä latauskaapelin USB-C-pää hiireen.
- Liitä latauskaapelin USB-A-pää tietokoneen vapaaseen USB-porttiin.
- Set the connectivity switch on the underside of the mouse to the "Wired" position.
- Hiiri toimii langallisena laitteena ja latautuu samanaikaisesti.
5. Käyttöohjeet
5.1 DPI-säätö
The X8 Ultra features a PixArt PAW3950MAX sensor with adjustable DPI from 50 to 42,000. To change DPI settings:
- Press the DPI button on the underside of the mouse to cycle through preset DPI levels.
- The LED indicator on the mouse will change color to indicate the current DPI setting.
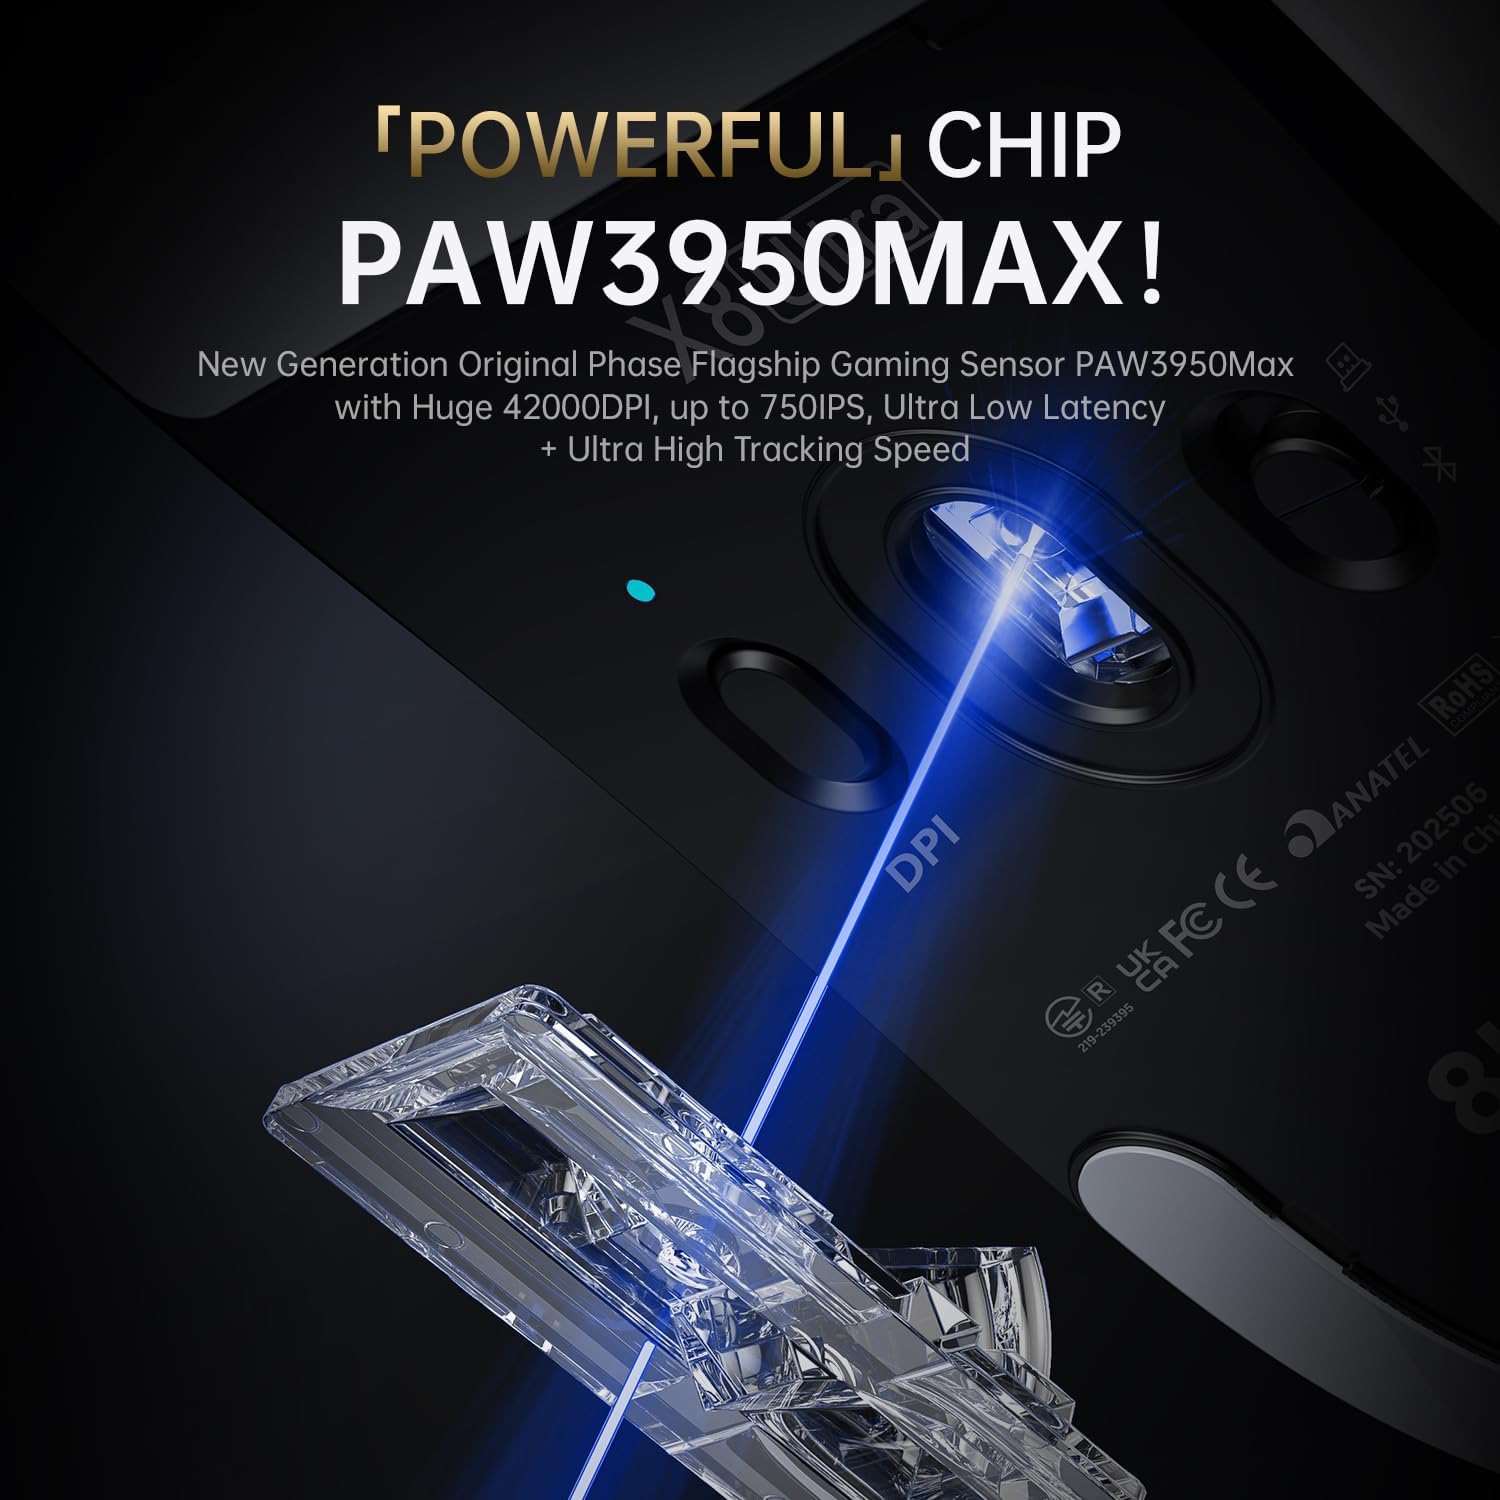
Image 5.1: The PixArt PAW3950MAX sensor for precise tracking.
5.2 Cloud Driver Software
For advanced customization, including DPI adjustment, polling rate, button remapping, macro recording, and competitive mode settings, use the web-based Cloud Driver software.
- Ensure your mouse is connected to your computer (preferably via 2.4GHz wireless or wired mode for full functionality).
- Avaa omasi web browser and navigate to the official ATTACK SHARK websivusto (esim. www.attackshark.pro).
- Locate the Cloud Driver section for the X8 Ultra model.
- Follow the on-screen instructions to customize your mouse settings. Settings are saved directly to the mouse's memory.

Image 5.2: The Cloud Driver interface for advanced mouse configuration.
5.3 Äänestysprosentti
The X8 Ultra supports an 8KHz wireless polling rate for ultra-low latency and faster response. In wired mode, it operates at 1KHz. The polling rate can be adjusted via the Cloud Driver software.

Image 5.3: Explanation of 8K Polling Rate technology.
6. Huolto
6.1 Puhdistus
- Pyyhi hiiren pinta pehmeällä, kuivalla liinalla.
- Pinttyneeseen likaan, kevyesti dampfi pyyhkeellä vedellä tai miedolla puhdistusliuoksella.
- Avoid using harsh chemicals or abrasive materials that could damage the mouse's finish or sensor.
- Regularly clean the optical sensor area on the underside of the mouse with a cotton swab to ensure optimal tracking performance.
6.2 Akun hoito
- Akun käyttöiän pidentämiseksi vältä hiiren akun usein tapahtuvaa täydellistä tyhjentämistä.
- Säilytä hiirtä viileässä ja kuivassa paikassa, kun sitä ei käytetä pitkään aikaan.
- If the mouse will not be used for a long time, charge it to about 50% before storage.
6.3 Replacing Mouse Feet Skates
The package includes replacement PTFE mouse feet skates for maintaining smooth glide. When the existing skates show significant wear:
- Carefully peel off the old mouse feet using a thin tool.
- Clean the surface where the skates were attached to remove any adhesive residue.
- Peel the backing from the new skates and carefully apply them to the corresponding areas on the mouse's underside.
- Paina tiukasti varmistaaksesi oikean tarttuvuuden.

Image 6.1: PTFE anti-slip footpads for smooth mouse movement.
7. Vianmääritys
| Ongelma | Mahdollinen ratkaisu |
|---|---|
| Hiiri ei vastaa langattomassa tilassa. |
|
| Viive tai epäsäännöllinen yhteys. |
|
| Inaccurate tracking. |
|
| Cloud Driver software not detecting mouse. |
|
8. Tekniset tiedot
Key technical specifications for the ATTACK SHARK X8 Ultra Wireless Gaming Mouse:

Image 8.1: Detailed technical specifications for the X8 Ultra and other X8 series models.
| Ominaisuus | Yksityiskohta |
|---|---|
| Malli | X8 Ultra |
| Anturi | PixArt PAW3950MAX |
| DPI-alue | 50–12 400 DPI |
| Liikkeen nopeus | 750 IPS |
| Kiihtyvyys | 60G |
| Painikkeen käyttöikä | 100 miljoonaa napsautusta |
| Mikrokytkin | Omronin kytkin |
| Äänestysprosentti | Wireless 8000Hz / Wired 1000Hz |
| MCU | Pohjoismainen 52840 |
| Yhteydet | Wired / 2.4GHz Wireless / Bluetooth |
| Paino | 55 g |
| Akun kapasiteetti | 500 mAh |
| Mitat | Noin 125.5 x 63 x 40 mm (4.96 x 2.5 x 1.6 tuumaa) |
9. Takuu ja tuki
ATTACK SHARK products are designed for reliability and performance. For warranty information, technical support, or service inquiries, please refer to the official ATTACK SHARK websivustolta tai ota yhteyttä suoraan heidän asiakaspalveluunsa.
Virallinen Websivusto: www.attackshark.pro
Merkkikauppa: ATTACK SHARK Amazon Store
Säilytä ostokuitti takuuvaatimuksia varten.


