Jaguar 190S elektronisen ompelukoneen käyttöohje
Malli: 190S
Johdanto
This manual provides comprehensive instructions for the safe and efficient operation, setup, and maintenance of your Jaguar 190S Electronic Sewing Machine. Designed for both beginners and experienced users, the Jaguar 190S offers a wide range of features for various sewing and quilting projects. Please read this manual thoroughly before using the machine to ensure optimal performance and longevity.
1. Asennus
1.1 Pakkauksesta purkaminen ja sijoittaminen
- Poista kone varovasti pakkauksestaan.
- Place the machine on a stable, flat surface. Ensure adequate space around the machine for comfortable operation.
- Connect the foot pedal and power cord to the machine and a suitable power outlet (220 Volts).

Kuva 1: Etuosa view of the Jaguar 190S Electronic Sewing Machine. This image shows the main body of the machine, including the needle area, presser foot, stitch selection panel, and LCD screen.
1.2 Puolaaminen
- Aseta lankarulla lankatappiin.
- Ohjaa lanka ylemmän langanohjaimen läpi ja puolauksen kiristyslevyn ympäri.
- Aseta tyhjä puola puolausakselille.
- Wrap the thread clockwise a few times around the bobbin.
- Työnnä puolausakselia oikealle.
- Start the machine (using the foot pedal or start/stop button) to wind the bobbin. Stop when the bobbin is full.
- Katkaise lanka ja työnnä karaa takaisin vasemmalle.
1.3 Koneen langoitus
- Nosta paininjalan vipua.
- Aseta lankarulla lankatappiin.
- Seuraa koneeseen merkittyä numeroitua langoitusreittiä ja varmista, että lanka kulkee kaikkien ohjainten ja langannostajan läpi.
- Use the automatic needle threader for quick and easy needle threading.
- Aseta puola puolakoteloon ja varmista, että lanka kulkee oikein kiristysjousen läpi.
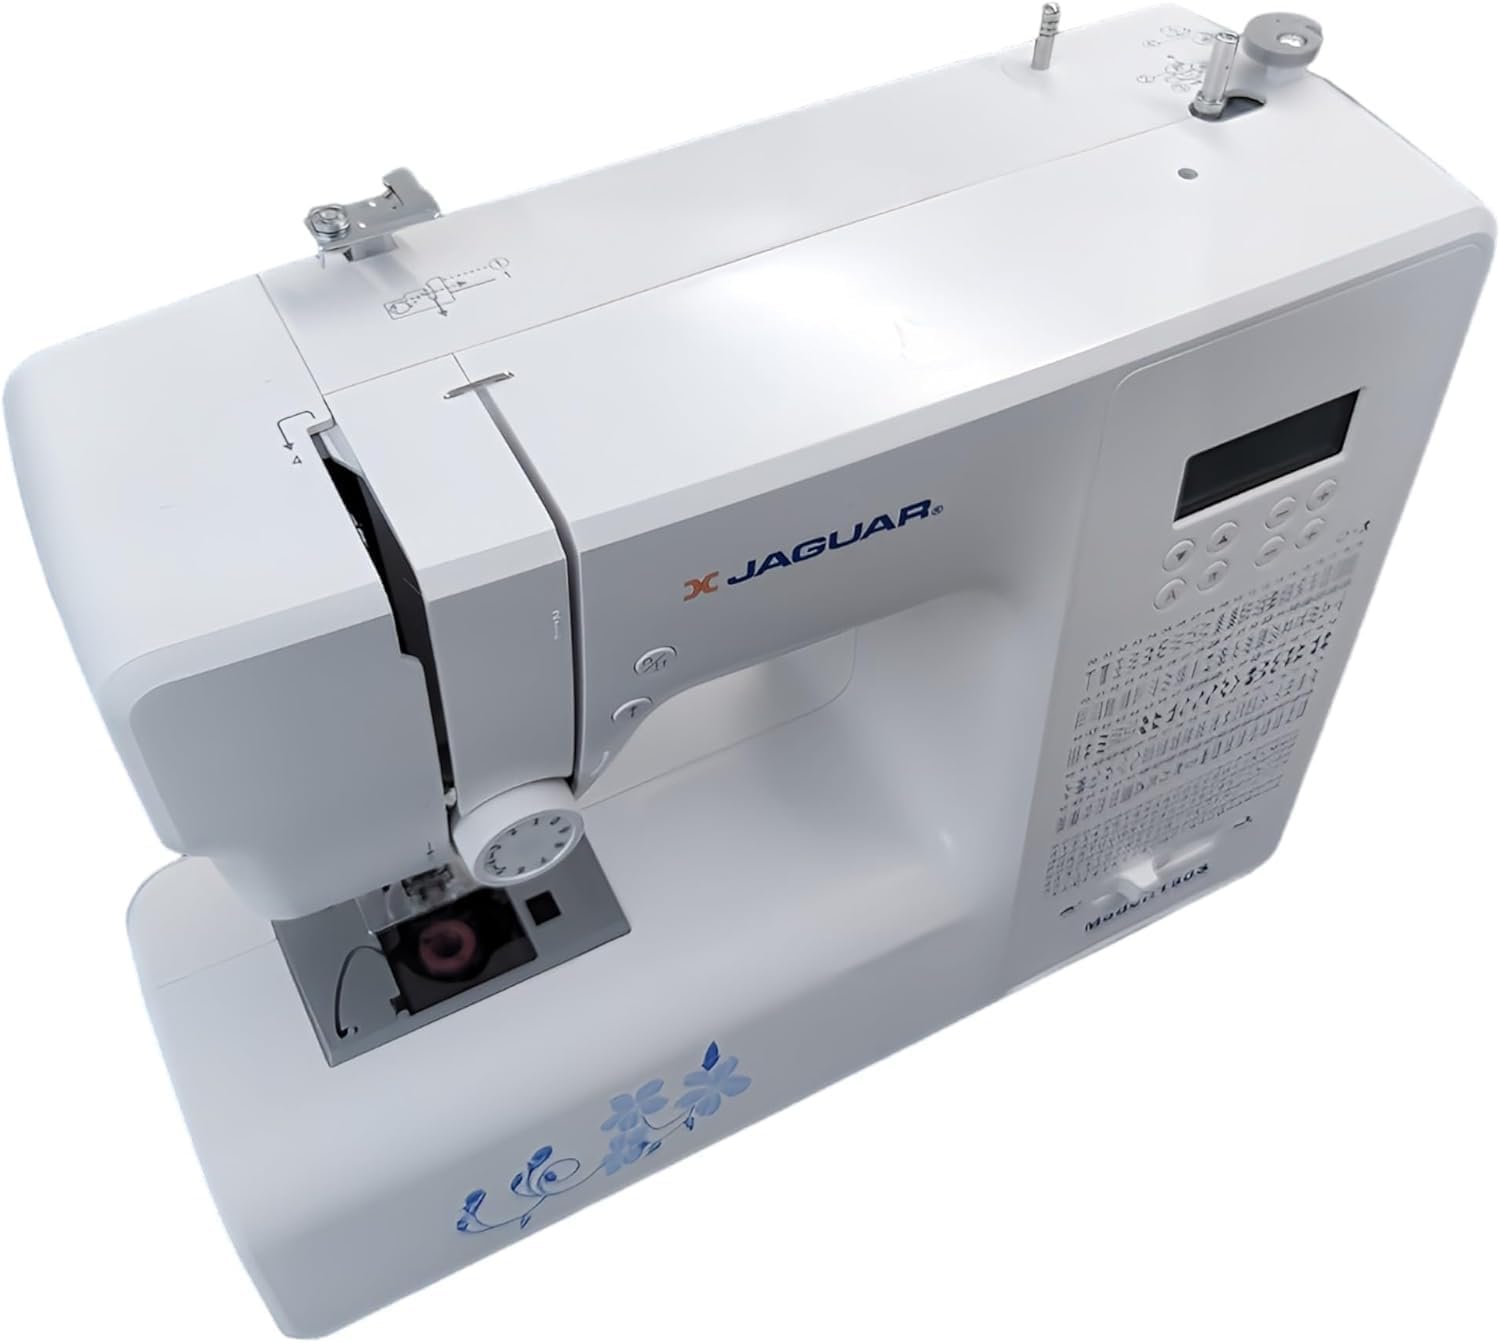
Kuva 2: Ylhäältä alas view of the Jaguar 190S, illustrating the upper threading path and bobbin winding area. This view helps in understanding how to correctly thread the machine.
1.4 Attaching the Needle
- Nosta neula korkeimpaan asentoon kääntämällä käsipyörää.
- Löysää neula clamp ruuvi.
- Aseta uusi neula litteä puoli koneen takaosaa kohti ja työnnä se niin pitkälle ylös kuin se menee.
- Kiristä neula clamp ruuvaa tiukasti.
1.5 Paininjalan kiinnittäminen
- Nosta paininjalan nostin.
- Press the release button on the back of the presser foot holder to remove the current foot.
- Align the desired presser foot with the holder and lower the presser foot lifter until it snaps into place.
2. Käyttöohjeet
2.1 Perusohjaimet
- LCD-näyttö: Displays selected stitch number, length, and width.
- Stitch Selection Buttons: Use the '+' and '-' buttons to navigate through the 200 available stitches.
- Nopeudensäätimen liukusäädin: Adjusts sewing speed from 150 to 700 stitches per minute.
- Start/Stop -painike: Konetta käytetään ilman jalkapoljinta.
- Käänteinen painike: For reinforcing stitches at the beginning and end of seams.
- Neula ylös/alas -painike: Positions the needle either fully up or fully down.
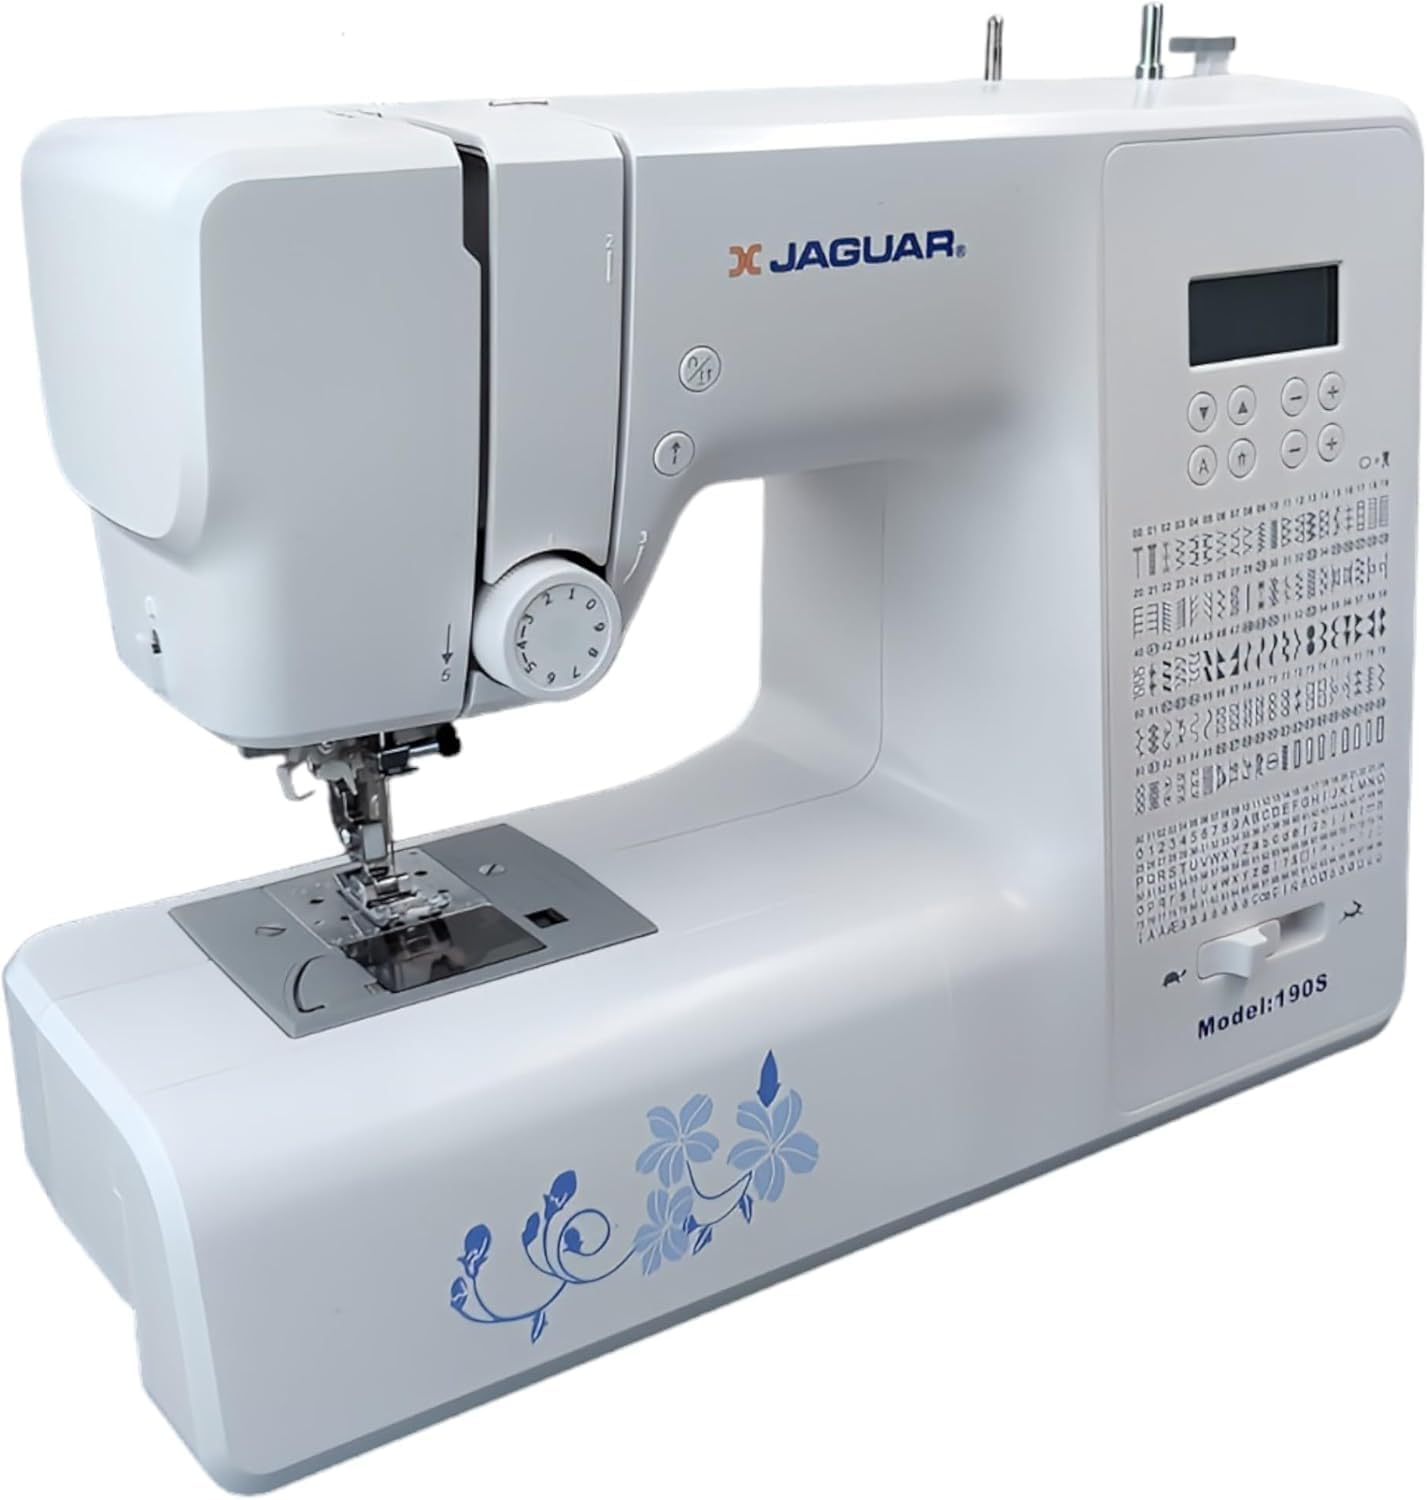
Figure 3: Close-up of the Jaguar 190S control panel and LCD screen. This image highlights the buttons for stitch selection, speed control, and needle positioning.
2.2 Ompeleen valinta ja säätö
- Turn on the machine. The default stitch (usually a straight stitch) will appear on the LCD.
- Use the stitch selection buttons to choose from the 200 built-in stitches, including utility, decorative, and alphanumeric options.
- The machine automatically sets optimal stitch length and width for the selected stitch. These can be manually adjusted using dedicated buttons if desired (Length: 0-7mm, Width: 0-4.5mm).
2.3 Automaattinen neulanlangoittaja
- Varmista, että neula on ylimmässä asennossaan.
- Lower the needle threader lever completely.
- Guide the thread as instructed by the markings near the needle.
- Release the lever slowly; a loop of thread will be pulled through the needle eye.
2.4 Automatic Buttonholes
- Kiinnitä yksivaiheinen napinläpijalka.
- Place the button you intend to use into the buttonhole foot's size guide.
- Select one of the 8 automatic buttonhole styles from the stitch menu.
- Laske napinläpivipu.
- Start sewing; the machine will automatically create the buttonhole to the correct size.
2.5 Free-Motion Sewing and Quilting
- To engage free-motion sewing or quilting, lower the feed dogs using the lever located at the back of the needle plate area.
- Attach a darning or free-motion quilting foot (not included, may be purchased separately).
- Manually guide the fabric to create your desired stitches.
2.6 Langan kireyden säätö
- The machine features an adjustable thread tension lever.
- Adjust the tension setting based on the fabric type and thread used. Correct tension results in balanced stitches on both sides of the fabric.
- Test on a scrap piece of fabric before sewing your project.
3. Huolto
3.1 Koneen puhdistaminen
- Irrota kone aina ennen puhdistamista.
- Regularly clean lint and dust from the bobbin area, feed dogs, and needle plate using the provided brush.
- Pyyhi laitteen ulkopinta pehmeällä, kuivalla liinalla. Vältä voimakkaiden kemikaalien käyttöä.
3.2 Neulan vaihtaminen
- Change the needle frequently, especially after 8-10 hours of sewing or if it becomes bent or dull. A dull needle can cause skipped stitches or fabric damage.
- Refer to section 1.4 for detailed instructions on attaching a new needle.
3.3 Varastointi
- Kun konetta ei käytetä, peitä se suojataksesi sitä pölyltä.
- Säilytä kuivassa, viileässä paikassa suojassa suoralta auringonvalolta.
4. Vianmääritys
Tässä osiossa käsitellään yleisiä ongelmia, joita saatat kohdata. Ongelmista, joita ei ole lueteltu tässä, ota yhteyttä asiakastukeen.
4.1 Hypätyt silmukat
- Ensure the needle is inserted correctly and is not bent or dull. Replace if necessary.
- Check that the machine is properly threaded, both upper and bobbin threads.
- Käytä kankaallesi oikean tyyppistä ja kokoista neulaa.
4.2 Langan katkaiseminen
- Verify correct threading and bobbin winding.
- Adjust upper thread tension. Too high tension can cause thread breakage.
- Tarkista neulalevystä tai puolakotelosta jäysteet tai karheudet.
- Ensure the needle is not bent or dull.
4.3 Uneven Stitches / Poor Stitch Quality
- Check and adjust thread tension for both upper and bobbin threads.
- Ensure the machine is threaded correctly.
- Käytä hyvälaatuista lankaa.
- Clean the bobbin area from lint and debris.
5. Tekniset tiedot
| Ominaisuus | Yksityiskohta |
|---|---|
| Merkki | JAGUAR |
| Mallinumero | 190S |
| Ompeleohjelmat | 200 (including 100 alphanumeric, 8 automatic buttonholes) |
| Tikin pituus | 0 mm - 7 mm |
| Tikin leveys | 0 mm - 4.5 mm |
| Neulan langoitin | Automaattinen |
| Puolajärjestelmä | Quick-insert horizontal hook with automatic winding |
| Näyttö | Taustavalaistu LCD |
| Nopeudensäätö | Electronic, 150 to 700 stitches/minute |
| Valaistus | Integroitu LED |
| Tehoa | 35 wattia |
| Voitage | 220 volttia |
| Mitat (P x L x K) | 43 x 23 x 35 cm (noin 16.9 x 9.1 x 13.8 tuumaa) |
| Paino | 5 kiloa (noin 11 paunaa) |
| Materiaali | Muovi |
6. Mukana tulevat tarvikkeet
The Jaguar 190S comes with a comprehensive set of accessories to get you started:
- Standard Zigzag Foot
- Yhden askeleen napinläpijalka
- Satiininen ommeljalka
- Sokea helma jalka
- Napin ompelujalka
- Elektroninen jalkapoljin
- Needles (3 pieces)
- Kaksoisneula
- Kelan korkki
- Bobbin Holder
- Screwdrivers (small + for needle plate)
- Bobbins (4 total, one pre-installed)
- Ylimääräinen lankatappi
- Saumanrepäisylaite / Harja

Figure 4: A selection of the accessories included with the Jaguar 190S, such as various presser feet, bobbins, needles, and the foot pedal.
7. Takuu ja tuki
Your Jaguar 190S Electronic Sewing Machine is covered by a 1 vuoden takuu for parts and manufacturing defects. Please retain your proof of purchase for warranty claims.
For technical assistance, troubleshooting beyond this manual, or warranty service, please contact your retailer or the official Jaguar customer support. Contact information can typically be found on the product packaging or the manufacturer's websivusto.


