1. Johdanto
Thank you for choosing the Yard Force Compact 280R Robotic Lawn Mower. This manual provides essential information for the safe and efficient operation of your new robotic mower. Please read these instructions carefully before installation and use, and retain them for future reference. The Compact 280R is designed to maintain lawns up to 280m², featuring iRadar ultrasonic sensors for obstacle avoidance, quiet operation, and a mulching function for a healthier lawn.
2. Turvallisuustiedot
Always prioritize safety when operating or maintaining the robotic lawn mower. Failure to follow safety instructions can result in injury or damage to the product.
Yleinen turvallisuus
- Lue kaikki ohjeet ennen laitteen käyttöä.
- Keep children and pets away from the mowing area when the mower is operating.
- Do not operate the mower if safety devices are damaged or missing.
- Never lift the mower while it is running.
- Sammuta ruohonleikkuri ja irrota turva-avain ennen huolto- tai puhdistustöitä.
Terän turvallisuus
- Terät ovat teräviä. Käsittele varoen.
- Käytä aina suojakäsineitä käsitellessäsi teriä.
- Ensure blades are securely fastened before operation.
Akun turvallisuus
- Use only the specified battery and charger provided by Yard Force.
- Älä altista akkua äärilämpötiloille tai suoralle auringonvalolle.
- Älä yritä avata tai muokata akkupakettia.
3. Pakkauksen sisältö
Varmista, että pakkauksessa on kaikki tarvittavat osat:
- Yard Force Compact 280R Robotic Lawn Mower
- Latausasema
- Perimeter Wire (80m)
- Pegs (100 pcs)
- Spare Blades (3 pcs)
- Connectors (3 pcs)
- Virtalähde
- Käyttöopas
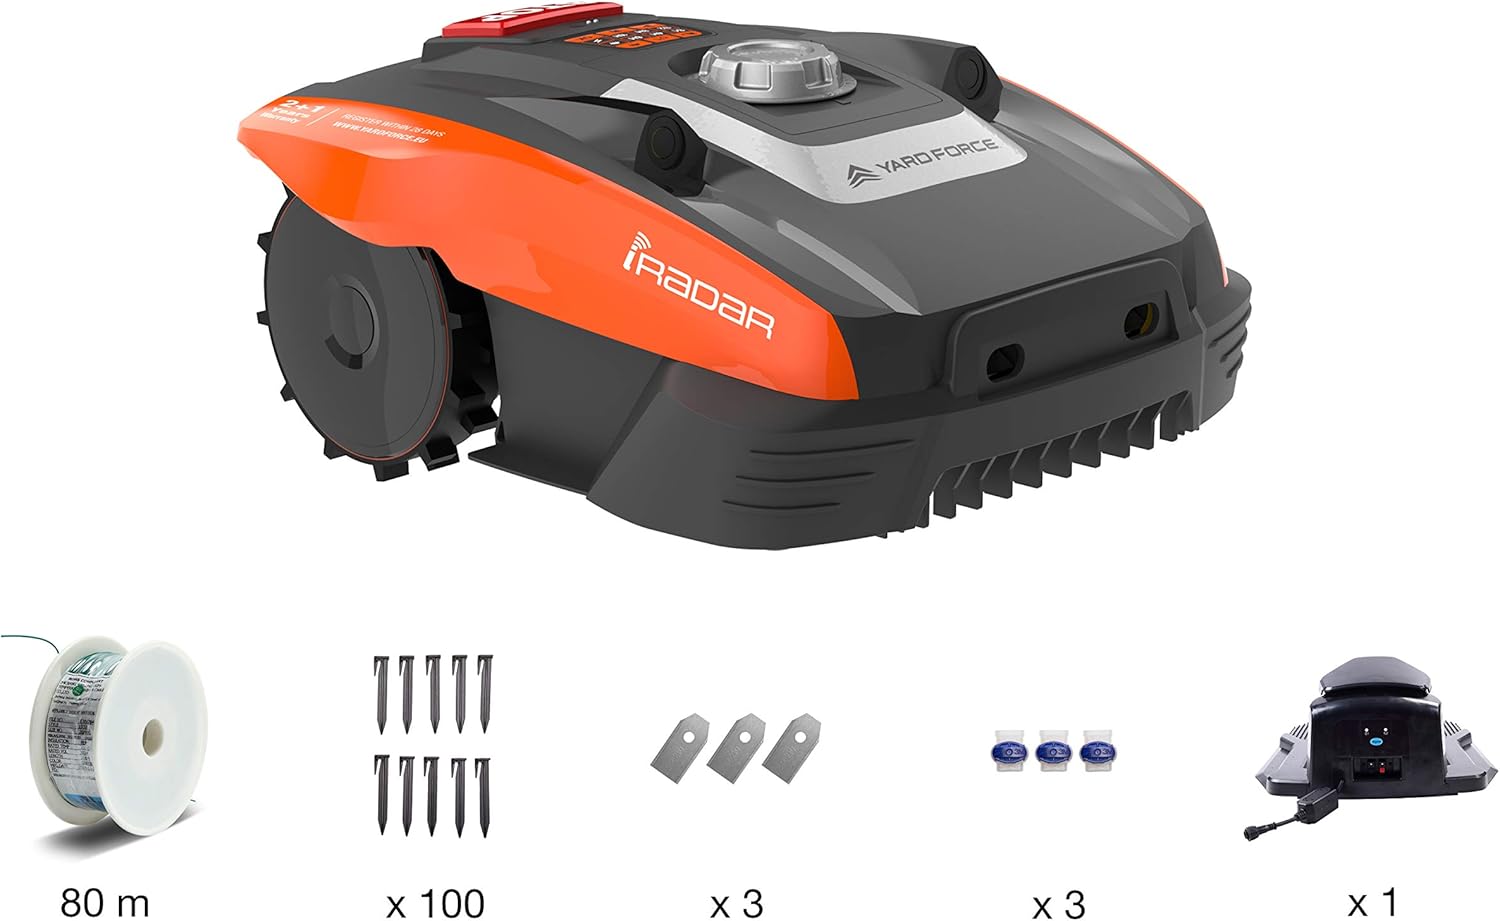
Image: The Yard Force Compact 280R robotic lawn mower shown with its complete set of accessories, including the charging station, perimeter wire, pegs, and spare blades.
4. Asennus
4.1 Latausaseman sijoittaminen
Select a flat area with good access to a power outlet. The charging station should be placed on level ground, preferably in a shaded area to protect it from direct sunlight and heavy rain. Ensure there is at least 1 meter of clear space in front of the station and 0.5 meters on either side.
4.2 Rajalangan asennus
The boundary wire defines the mowing area for your robot. It can be laid on the surface and secured with pegs, or buried slightly below the surface.
- Start laying the wire from the charging station.
- Maintain a distance of approximately 30 cm from obstacles such as walls, fences, or flowerbeds. Use the provided ruler for accurate measurement.
- Secure the wire with pegs every 80 cm to 1 meter, ensuring it is taut and flat against the ground.
- Kytke rajakaapelin molemmat päät latausaseman liittimiin.

Image: A person uses a hammer to secure the green boundary wire into the lawn using a black peg, ensuring the wire is firmly in place.

Image: A person uses an orange ruler to measure the precise distance of the boundary wire from the edge of a garden bed, ensuring correct installation.
4.3 Ensimmäinen lataus
Once the charging station and boundary wire are set up, place the mower onto the charging station. Ensure the charging contacts align. The mower will begin charging automatically. Allow the mower to fully charge before its first operation, which typically takes several hours.
5. Käyttö
5.1 Ohjauspaneeli ohiview
The control panel is located on the top of the mower and includes buttons for starting, stopping, and programming, along with indicator lights.

Kuva: Ylhäältä alas -kuva view of the Yard Force Compact 280R, highlighting the central control panel with various function buttons and the cutting height adjustment dial.
5.2 Käynnistys ja pysäytys
- Aloittaa: Press the 'ON' button, then enter your PIN code (if set), and press 'OK'. The mower will begin its mowing cycle.
- Pysähtyä: Press the large red 'STOP' button on the control panel. The mower will immediately cease operation.
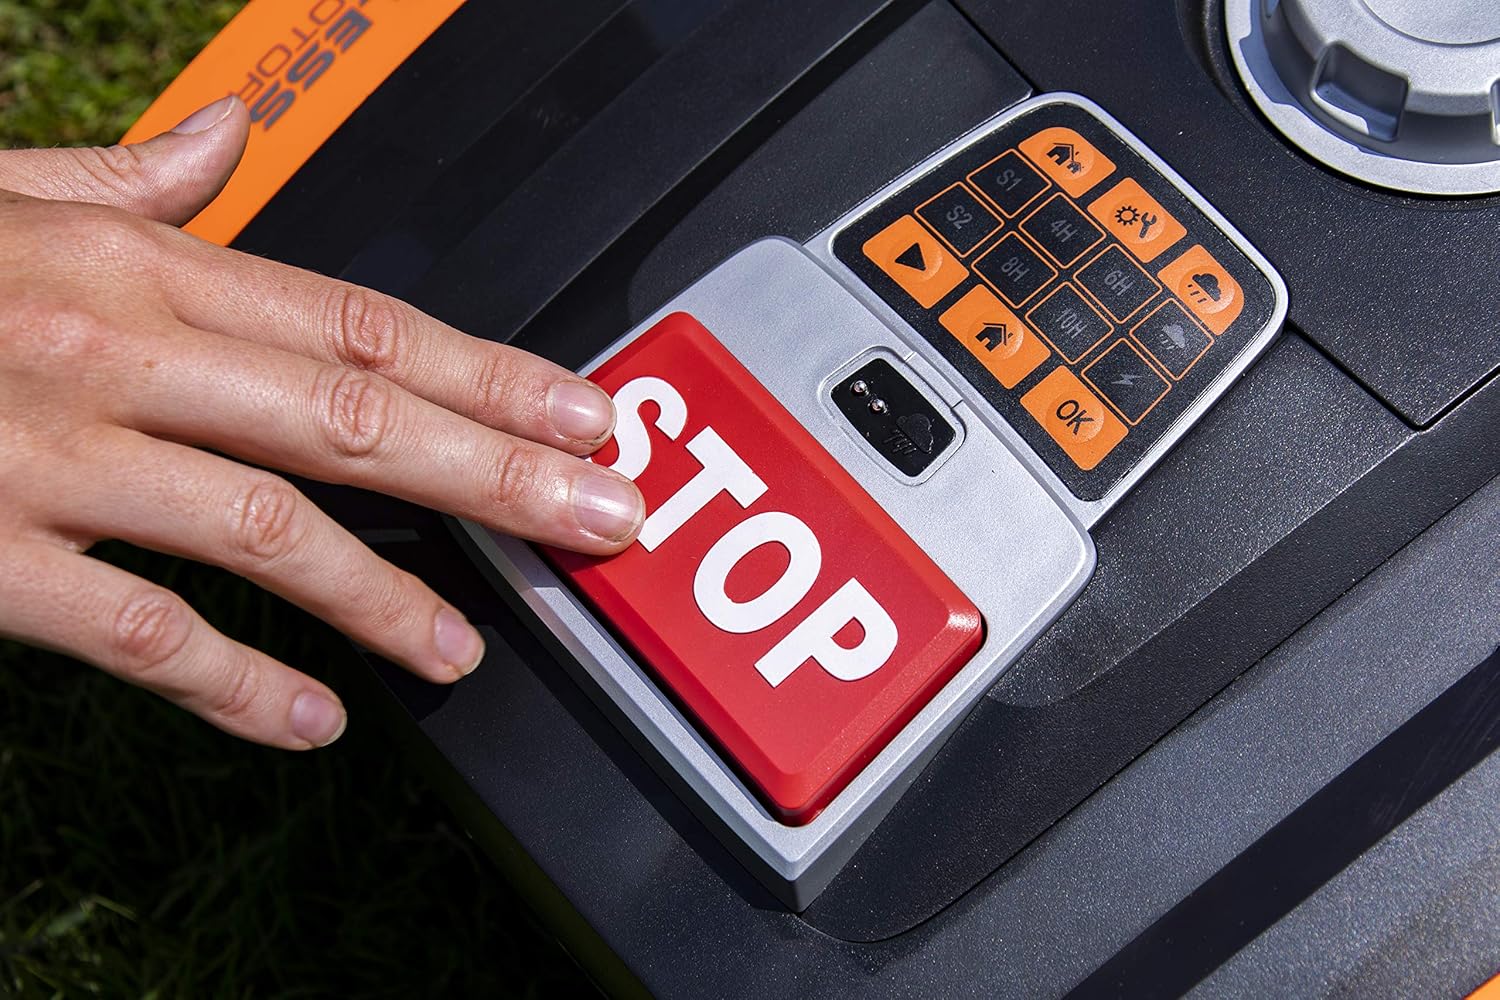
Image: A hand is shown pressing the prominent red 'STOP' button on the control panel of the robotic lawn mower, indicating an immediate halt to operation.
5.3 Programming Mowing Schedule
You can set specific mowing times and durations using the control panel. Refer to the detailed programming section in the full manual for advanced settings. The mower can be programmed to operate for 4, 6, 8, or 10 hours.
5.4 Leikkuukorkeuden säätö
The cutting height can be adjusted from 20mm to 55mm. Rotate the dial located on the top of the mower to your desired height setting. Ensure the mower is stopped before adjusting the cutting height.

Image: A hand is shown turning the circular dial on the top of the robotic lawn mower to adjust the cutting height, with 'MIN' and 'MAX' indicators visible.
5.5 sadetunnistin
The adjustable rain sensors, if activated, will detect precipitation and automatically send the mower back to its charging station. Mowing will resume once the rain stops and the lawn is dry.
5.6 iRadar Technology
The integrated iRadar ultrasonic sensors allow the Compact 280R to detect and avoid obstacles in its path without physical contact, enhancing safety and efficiency during operation.
6. Huolto
Regular maintenance ensures optimal performance and extends the lifespan of your robotic lawn mower.
6.1 Puhdistus
- Clean the underside of the mower regularly to remove grass clippings and debris.
- Use a soft brush or cloth. Avoid using high-pressure water.
- Keep the charging contacts on both the mower and the station clean.
6.2 Terän vaihto
Blades should be replaced when they become dull or damaged. Always replace all blades simultaneously to maintain balance.
- Turn off the mower and remove the safety key.
- Käytä suojakäsineitä.
- Unscrew the old blades and replace them with new ones, ensuring screws are tightened securely.
6.3 Akun hoito
- Store the mower with a fully charged battery during off-season periods.
- Recharge the battery every 3 months during storage to prevent deep discharge.
6.4 Varastointi
For winter storage, clean the mower thoroughly, fully charge the battery, and store it in a dry, frost-free environment. Disconnect the charging station from the power supply.
7. Vianmääritys
This section addresses common issues you might encounter with your Yard Force Compact 280R.
- Mower not charging: Check if the mower is correctly positioned on the charging station and if the power adapter is connected. Ensure charging contacts are clean.
- Mower stuck: Remove any obstacles. Check for uneven terrain or holes in the lawn.
- Mower not staying within boundary: Verify the boundary wire is correctly installed and connected to the charging station. Check for any breaks in the wire.
- Huono leikkausteho: Blades may be dull and require replacement. Ensure cutting height is set appropriately.
Tarkempia vianmääritysohjeita varten katso kattava käyttöohje tai ota yhteyttä asiakastukeen.
8. Tekniset tiedot
| Ominaisuus | Erittely |
|---|---|
| Mallinumero | Compact 280R |
| Niittoalue | Jopa 280 m² |
| Akun tyyppi | 20V 2Ah Lithium-Ion |
| Moottorin tyyppi | Harjaton |
| Suoritusaika | Noin 60 minuuttia |
| Leikkausleveys | 16 cm |
| Leikkuukorkeus | 20–55 mm (säädettävä) |
| Suurin kaltevuus | 30 % |
| Mitat (P x L x K) | 44 x 38.4 x 20.6 cm |
| Tuotteen paino | 14 kg (30.86 lbs) |
| Materiaali | Muovi |
| Toimintatila | Automaattinen |
| International Article Number | 06939500727985 |
9. Takuu ja tuki
Yard Force offers a 2+1 year manufacturer's warranty for the Compact 280R Robotic Lawn Mower. To activate the additional 1-year warranty, please register your product within 28 days of purchase on the official Yard Force websivusto.
For technical support, spare parts, or warranty claims, please contact Yard Force customer service. Refer to the official Yard Force website for contact details and further information.


