1. Johdanto
Kiitos ostoksestasiasing the American Audio WM-419 4-Channel UHF Handheld Wireless Microphone System. This system is designed to provide high-quality, reliable wireless audio for various applications, including PA systems, karaoke, mobile entertainment, schools, and houses of worship. This manual provides essential information for the proper setup, operation, and maintenance of your WM-419 system.
Please read this manual thoroughly before operating the unit to ensure optimal performance and to prevent damage.
2. Pakkauksen sisältö
Varmista, että pakkauksessasi on kaikki alla luetellut osat:
- 1 x WM-419 Wireless Receiver Unit
- 4 x kädessä pidettävää langatonta mikrofonia
- 4 x mikrofonipidikettä
- 8 x AA Batteries (for microphones)
- 1 x Virtalähde vastaanottimelle
- 1 x 1/4" Audio Cable
- Käyttöopas (tämä asiakirja)
Kuva 2.1: Included components of the WM-419 system. This image displays the receiver, four handheld microphones, four detachable antennas, eight AA batteries, a power adapter, and a 1/4" audio cable, along with four microphone clips.
3. Tärkeimmät ominaisuudet
- 4-Channel UHF Wireless Handheld Microphone System
- Intelligent Frequency Autoscan with IR Synchronization
- Individual Volume Control for each microphone channel on the receiver
- XLR Audio Output for each microphone channel
- 50 Channels Available per Receiver (200 total channels)
- 16-Bit Pilot Technology to assist with eliminating frequency interference
- Wireless Range: Up to 300 feet / 90 meters (line of sight)
- Microphone Battery Life: 6-10 hours (with included AA batteries)
- OLED Screen on Handheld MIC Transmitters
4. Asennusopas
4.1 Vastaanottimen sijoittaminen
Place the WM-419 receiver on a stable, flat surface, away from strong electromagnetic interference sources. Ensure there is adequate ventilation around the unit. For optimal signal reception, position the receiver's antennas vertically and ensure they are not obstructed.

Kuva 4.1: Edessä view of the WM-419 receiver with microphones. This image shows the receiver unit with its four antennas extended, and the four handheld microphones resting on top, illustrating the compact design.
4.2 Vastaanottimen kytkeminen
- Virtaliitäntä: Connect the included power adapter to the DC 12-15V input on the rear panel of the receiver. Plug the adapter into a suitable power outlet.
- Äänilähtö: Connect the receiver to your PA system, mixer, or amplifier using the XLR audio outputs for individual microphone channels (Balanced A, B, C, D) or the AF MIX OUT (1/4" unbalanced) for a combined output.

Kuva 4.2: Rear panel connections of the WM-419 receiver. This image highlights the DC power input, four balanced XLR outputs (A, B, C, D), and a mixed 1/4" audio output, along with the antenna connections.
4.3 Installing Batteries in Microphones
Each handheld microphone requires two AA batteries. Ensure correct polarity when inserting the batteries.
- Unscrew the bottom cap of the microphone to reveal the battery compartment.
- Insert two AA batteries, observing the polarity markings (+/-).
- Kierrä pohjakansi tiukasti takaisin kiinni.

Kuva 4.3: Four handheld microphones. This image displays the four individual handheld microphones, each featuring an OLED display and power button, ready for battery installation and use.
5. Käyttöohjeet
5.1 Virran kytkeminen päälle/pois
- Vastaanotin: Press the POWER button on the front panel of the receiver to turn it on or off.
- Mikrofonit: Press and hold the power button on each handheld microphone for a few seconds to turn it on or off. The OLED screen will illuminate when powered on.
5.2 Frequency Synchronization (IR Sync)
The WM-419 features Intelligent Frequency Autoscan and IR Synchronization for easy setup.
- Turn on the receiver and the desired microphone.
- Paina vastaanottimessa SKANNATA button for the channel you wish to set. The receiver will automatically scan for an available clear frequency.
- Once a frequency is found, the display will show "SYNC". Position the IR window of the microphone (usually near the bottom of the display) close to the IR sensor on the receiver (located near the channel display).
- Paina SARJA button on the receiver for that channel. The frequency information will be transmitted to the microphone via infrared. The microphone's display should show the same frequency as the receiver, indicating successful synchronization.
- Repeat this process for each microphone.

Kuva 5.1: Receiver front panel detail. This image provides a close-up view of the receiver's illuminated OLED displays for each channel, showing frequency information, signal strength, and individual volume controls.

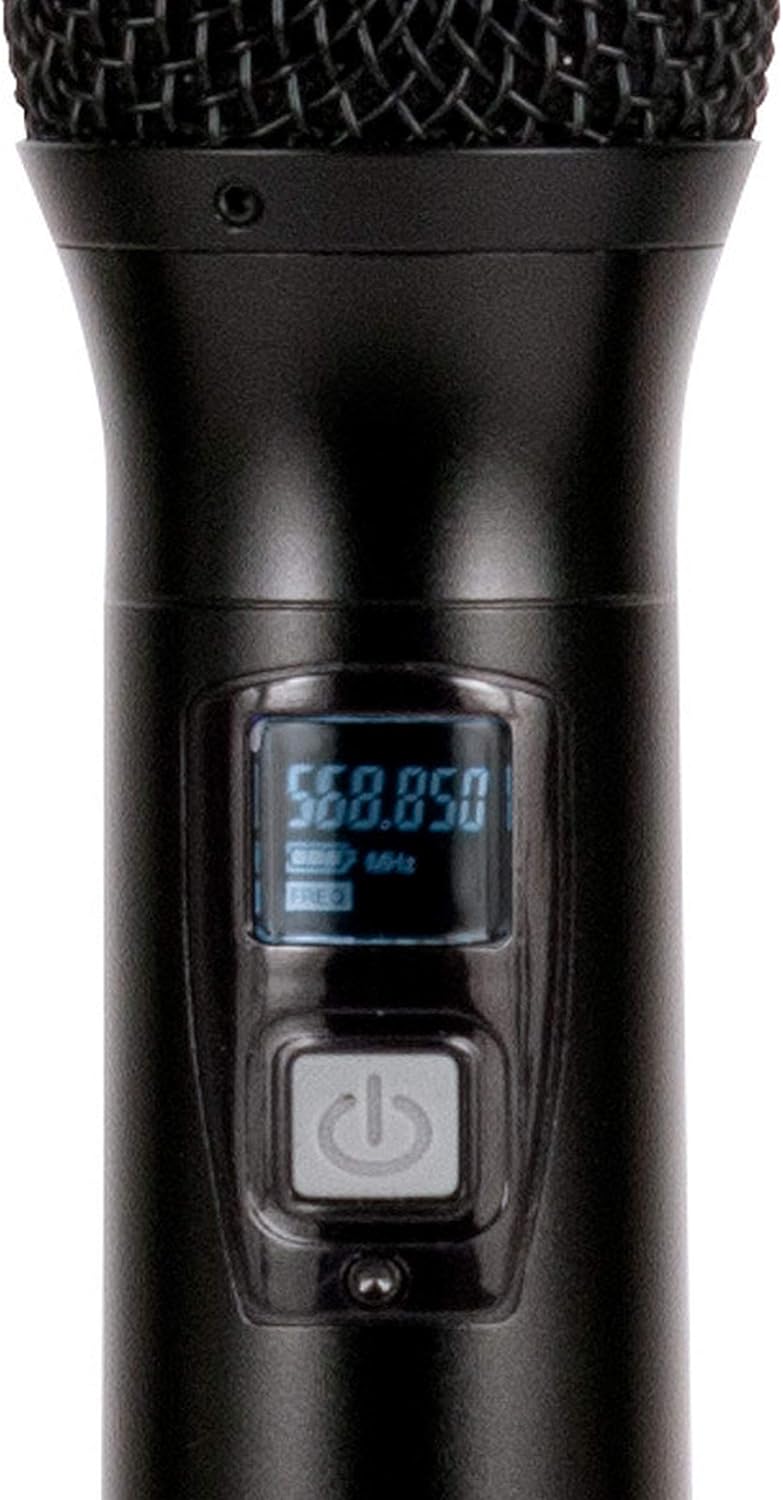
Kuva 5.2: Microphone OLED display. A detailed view of one handheld microphone's OLED screen, showing the current frequency and battery indicator, along with the power/mute button.
5.3 Äänenvoimakkuuden säätäminen
Each channel on the receiver has an independent volume control knob. Adjust these knobs to achieve the desired audio level for each microphone.
5.4 Muting Microphones
A short press of the power button on the handheld microphone will mute/unmute the microphone. The OLED display will indicate the mute status.
6. Huolto
- Puhdistus: Use a soft, dry cloth to clean the surfaces of the receiver and microphones. Do not use abrasive cleaners or solvents.
- Akun vaihto: Replace microphone batteries when the low battery indicator appears on the microphone's OLED screen or when audio quality degrades. Always use fresh AA batteries.
- Varastointi: When not in use for extended periods, remove batteries from the microphones to prevent leakage. Store the system in a cool, dry place.
7. Vianmääritys
| Ongelma | Mahdollinen syy | Ratkaisu |
|---|---|---|
| Ei ääntä mikrofonista | Microphone not powered on; Batteries dead; Microphone not synchronized; Receiver volume too low; Output cable disconnected. | Ensure microphone is on; Replace batteries; Perform IR sync; Increase receiver channel volume; Check audio cable connections to mixer/PA. |
| Häiriöt/Staattinen | Nearby electronic devices; Other wireless systems on same frequency; Obstructions between mic and receiver; Receiver too far from microphone. | Move receiver away from interference sources; Perform Autoscan and re-sync to a clear frequency; Ensure line of sight; Reduce distance between mic and receiver. |
| Lyhyt langaton kantama | Antennas not properly positioned; Obstructions; Low microphone battery. | Ensure antennas are vertical and unobstructed; Minimize physical barriers; Replace microphone batteries. |
| Microphone display not working | Dead batteries; Microphone not powered on. | Replace batteries; Press and hold power button to turn on. |
8. Tekniset tiedot
| Ominaisuus | Yksityiskohta |
|---|---|
| Mallin nimi | American Audio WM-419 |
| Mikrofonin muototekijä | Mikrofonijärjestelmä (kädessä pidettävä) |
| Kanavien lukumäärä | 4 (50 channels available per receiver, 200 total) |
| Yhteystekniikka | UHF Wireless, XLR |
| Virtalähde | Receiver: AC Adapter; Microphones: 2 x AA Batteries (per mic) |
| Battery Life (Microphones) | 6-10 tuntia |
| Wireless Range | Up to 300 feet / 90 meters (line of sight) |
| Signaali-kohinasuhde | 70 dB |
| Melutaso | 85 dB |
| Tuotteen mitat (vastaanotin) | 22 x 14 x 6 tuumaa |
| Tuotteen paino | 9 kiloa |
| Väri | Musta |
| Yhteensopivat laitteet | PA System, Karaoke Machine |
| Erikoisominaisuus | Volume Control (individual channel) |
| Napainen kuvio | Yksisuuntainen |
9. Takuu ja tuki
For warranty information and technical support, please contact ADJ Products directly or visit their official websivusto. Säilytä ostokuitti ostotodistuksena mahdollisten takuuvaatimusten varalta.
Valmistaja: ADJ tuotteet
Merkki: ADJ
Websivusto: www.adj.com
10. Turvallisuustiedot
VAROITUS: Tämä tuote voi altistaa sinut kemikaaleille, mukaan lukien lyijy, jonka Kalifornian osavaltion tiedetään aiheuttavan syöpää ja synnynnäisiä vikoja tai muita lisääntymishäiriöitä. Lisätietoja saat osoitteesta www.P65Warnings.ca.gov.
- Älä altista laitetta sateelle tai kosteudelle.
- Älä poista kantta. Sisällä ei ole käyttäjän huollettavia osia. Jätä huolto pätevälle henkilöstölle.
- Varmista asianmukainen ilmanvaihto. Älä tuki tuuletusaukkoja.
- Käytä vain laitteen mukana toimitettua virtalähdettä.
- Hävitä paristot vastuullisesti paikallisten määräysten mukaisesti.


