1. Johdanto
This manual provides detailed instructions for the installation, operation, maintenance, and troubleshooting of the Hikvision DS-9632NI-I8 32-Channel 4K Network Video Recorder (NVR). Please read this manual thoroughly before using the product to ensure proper and safe operation. Keep this manual for future reference.
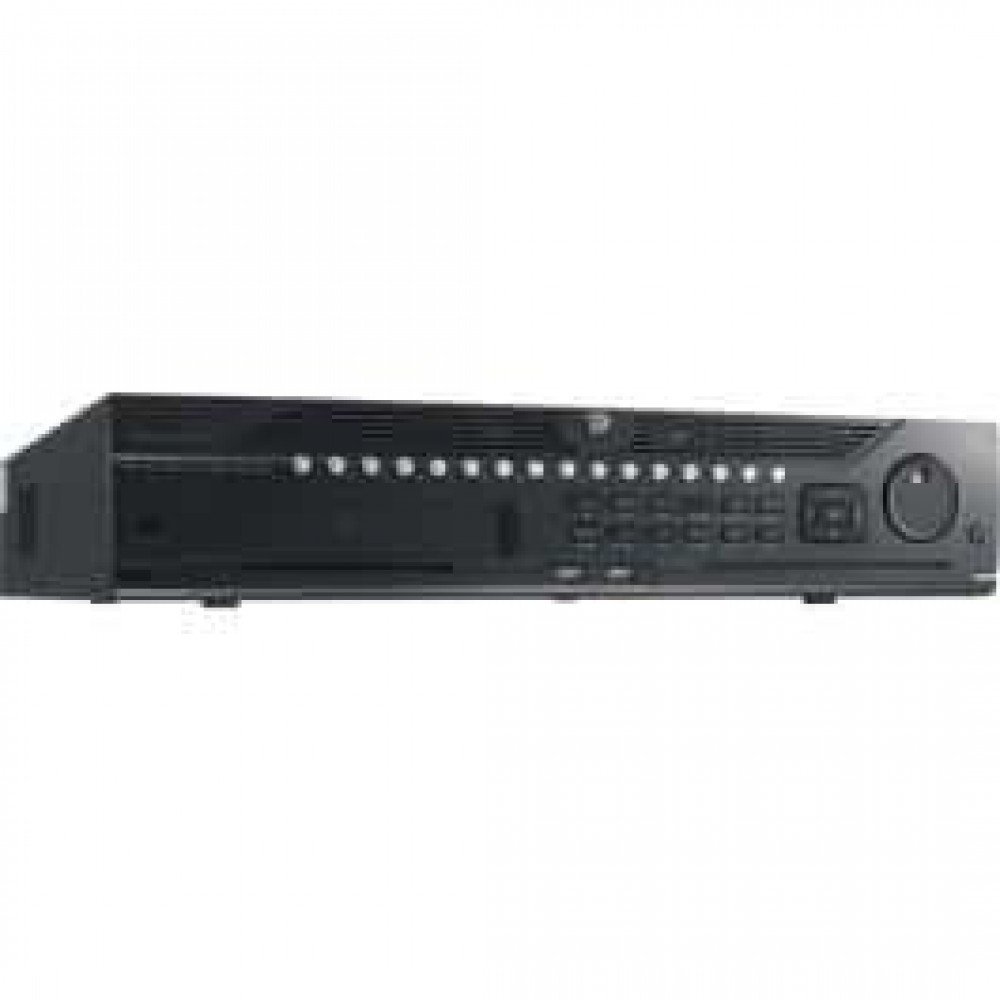
Kuva 1: Etuosa view of the Hikvision DS-9632NI-I8 NVR, showing its robust chassis and various interface ports.
2. Turvallisuustiedot
Always follow basic safety precautions to reduce the risk of fire, electric shock, and injury to persons. This includes, but is not limited to:
- Käytä ainoastaan valmistajan määrittelemää virtalähdettä.
- Varmista riittävä ilmanvaihto ylikuumenemisen estämiseksi.
- Älä altista NVR-laitetta vedelle tai kosteudelle.
- Avoid placing the NVR near heat sources or in direct sunlight.
- Anna kaikki huoltotoimenpiteet pätevän huoltohenkilöstön tehtäväksi.
3. Pakkauksen sisältö
Verify that all items are present and in good condition. If any item is missing or damaged, contact your dealer immediately.
- Hikvision DS-9632NI-I8 NVR Unit
- Virtasovitin/kaapeli
- USB Mouse
- Kiintolevyn asennusruuvit
- Pika-aloitusopas
- CD-ROM (sisältää ohjelmiston ja täydellisen käyttöohjeen)
4. Asennus
4.1 Laitteiston asennus
- Prepare Hard Disk Drives (HDDs): The DS-9632NI-I8 supports up to 8 SATA HDDs. Install HDDs into the NVR chassis using the provided screws. Ensure each HDD is securely mounted.
- Liitä oheislaitteet:
- Liitä näyttö HDMI- tai VGA-lähtöporttiin.
- Liitä mukana tuleva USB-hiiri USB-porttiin.
- Liitä NVR verkkoosi Ethernet-kaapelilla.
- Virta päälle: Connect the power adapter to the NVR and then to a power outlet. Press the power button on the front panel.
4.2 Alkukokoonpano
Upon first boot, the NVR will guide you through an initial setup wizard.
- Aseta järjestelmänvalvojan salasana: Create a strong password for the 'admin' user.
- Verkkoasetukset: Configure network parameters (DHCP or Static IP). Ensure the NVR is accessible on your local network.
- Päivämäärä ja aika: Aseta oikea päivämäärä, aika ja aikavyöhyke.
- Kiintolevyn alustus: The NVR will prompt you to initialize the installed HDDs. This process will format the drives for recording.
- Lisää IP-kameroita: Use the wizard to search for and add compatible Hikvision IP cameras to the NVR.
5. Käyttöohjeet
5.1 Livenä View
Kirjautumisen jälkeen NVR näyttää reaaliaikaisen kuvan. view interface, showing feeds from connected cameras. You can switch between different camera views and layouts.
- Yksi kamera View: Double-click a camera window to view se koko näytöllä.
- Asettelun valinta: Use the layout icons at the bottom of the screen to choose different grid arrangements (e.g., 4-channel, 9-channel).
5.2 Tallennuksen hallinta
The NVR supports continuous, scheduled, and event-triggered recording.
- Configure Recording Schedule: Navigoi kohteeseen Määritykset > Tallennustila > Aikatauluasetukset to define recording times for each camera.
- Manuaalinen tallennus: Click the record icon on the live view käyttöliittymä manuaalisen tallennuksen aloittamiseen/lopettamiseen.
5.3 Toisto
Uudelleenview tallennettu footage:
- Siirry kohtaan Toisto valikosta.
- Valitse haluttu(t) kamera(t) ja päivämäärä-/aikaväli.
- Käytä aikajanaa navigoidaksesi tallenteiden välillä.
- Playback controls (play, pause, fast forward, rewind) are available.
5.4 Etäkäyttö
NVR-laitteeseen voi käyttää etänä web browser or Hik-Connect mobile app.
- Web Selain: Syötä NVR-laitteen IP-osoite web selain.
- Hik-Connect: Lataa Hik-Connect-sovellus, rekisteröi tili ja lisää NVR-laitteesi skannaamalla sen QR-koodi tai syöttämällä sen sarjanumero.
6. Huolto
6.1 laiteohjelmistopäivitystä
Regularly check for and install firmware updates to ensure optimal performance and security. Firmware can be downloaded from the official Hikvision websivusto.
- Navigoi kohteeseen Configuration > System > Maintenance > Upgrade.
- Follow the on-screen instructions to perform the upgrade. Do not power off the NVR during the update process.
6.2 Kiintolevyn hallinta
Monitor the health of your HDDs and manage storage space.
- HDD Status: Check HDD status in Configuration > Storage > HDD Management.
- Korvaustila: Configure the NVR to overwrite old recordings when storage is full (default behavior).
6.3 Puhdistus
Keep the NVR clean to prevent dust buildup, which can affect performance and lifespan.
- Power off and unplug the NVR before cleaning.
- Pyyhi ulkopinta pehmeällä, kuivalla liinalla.
- Käytä paineilmaa pölyn poistamiseen tuuletusaukoista.
7. Vianmääritys
| Ongelma | Mahdollinen syy | Ratkaisu |
|---|---|---|
| Ei videolähtöä näytöllä. | Löysä kaapeliliitäntä, väärä tulolähde näytössä, NVR ei ole päällä. | Check HDMI/VGA cable connections. Ensure monitor is set to correct input. Verify NVR power. |
| NVR-laitetta ei voi käyttää etänä. | Network configuration issues, firewall blocking, incorrect port forwarding. | Verify NVR network settings. Check router firewall and port forwarding rules. Ensure Hik-Connect is properly configured. |
| Cameras not recording. | HDD not initialized, recording schedule not set, HDD full. | Initialize HDDs. Configure recording schedule. Check HDD status and capacity. |
| Unohditko järjestelmänvalvojan salasanan. | Salasana kadonnut. | Refer to the full manual or Hikvision support for password reset procedures. This often involves a security code or a physical reset button. |
8. Tekniset tiedot
| Ominaisuus | Yksityiskohta |
|---|---|
| Malli | DS-9632NI-I8 |
| Videotulo | 32-Channel IP Video Input |
| Videolähtö | HDMI (up to 4K), VGA |
| Dekoodausmuoto | H.265 + / H.265 / H.264 + / H.264 |
| Äänitulo/lähtö | 1-ch, RCA (2.0 Vp-p, 1 kΩ) / 2-ch, RCA (Linear, 1 kΩ) |
| SATA | 8 SATA-liitäntää kahdelle kiintolevylle |
| Kapasiteetti | Up to 10 TB for each HDD (examptodellinen kapasiteetti voi vaihdella) |
| Verkkoliitäntä | 2 RJ-45 10M/100M/1000M self-adaptive Ethernet interfaces |
| USB-liitäntä | Etupaneeli: 2 × USB 2.0; Takapaneeli: 1 × USB 3.0 |
| Mitat (L × S × K) | 23 x 22 x 8 tuumaa (arvioitu) |
| Virtalähde | 100--240 VAC, 50-60 Hz |
9. Takuu ja tuki
9.1 Rajoitettu takuu
Hikvision products are covered by a limited warranty. The specific terms and duration of the warranty may vary by region and product type. Please refer to the official Hikvision webverkkosivustolta tai ostodokumentaatiosta saadaksesi tarkemmat takuutiedot.
- Säilytä ostokuitti takuuvaatimuksia varten.
- Unauthorized repairs or modifications may void the warranty.
9.2 Tekninen tuki
For technical assistance, product inquiries, or service requests, please contact Hikvision support through the following channels:
- Virallinen Websivusto: Vierailla www.hikvision.com tukiresursseja, usein kysyttyjä kysymyksiä ja yhteystietoja varten.
- Asiakaspalvelu: Refer to the contact details provided on the Hikvision websivusto omalle alueellesi.
- Valtuutetut jälleenmyyjät: Your authorized Hikvision dealer can also provide support and service.


