1. Tuote ohiview
The Lutron Maestro MS-OPS6M2N-DV-WH is an advanced occupancy/vacancy sensor switch designed to automatically control lighting in a room. This device utilizes passive infrared (PIR) technology to detect human motion and presence, ensuring lights are only on when needed. It combines the functionality of a standard light switch with an integrated motion sensor, offering convenience and energy savings.
Tärkeimmät ominaisuudet:
- Passive infrared motion detection with Lutron XCT technology for fine motion sensing.
- 180-degree sensor field-of-view for comprehensive room coverage.
- Requires a neutral wire for installation.
- Occupancy version supports both auto-on/auto-off and manual-on/auto-off modes.
- Vacancy version is available to comply with CA Title 24 requirements.
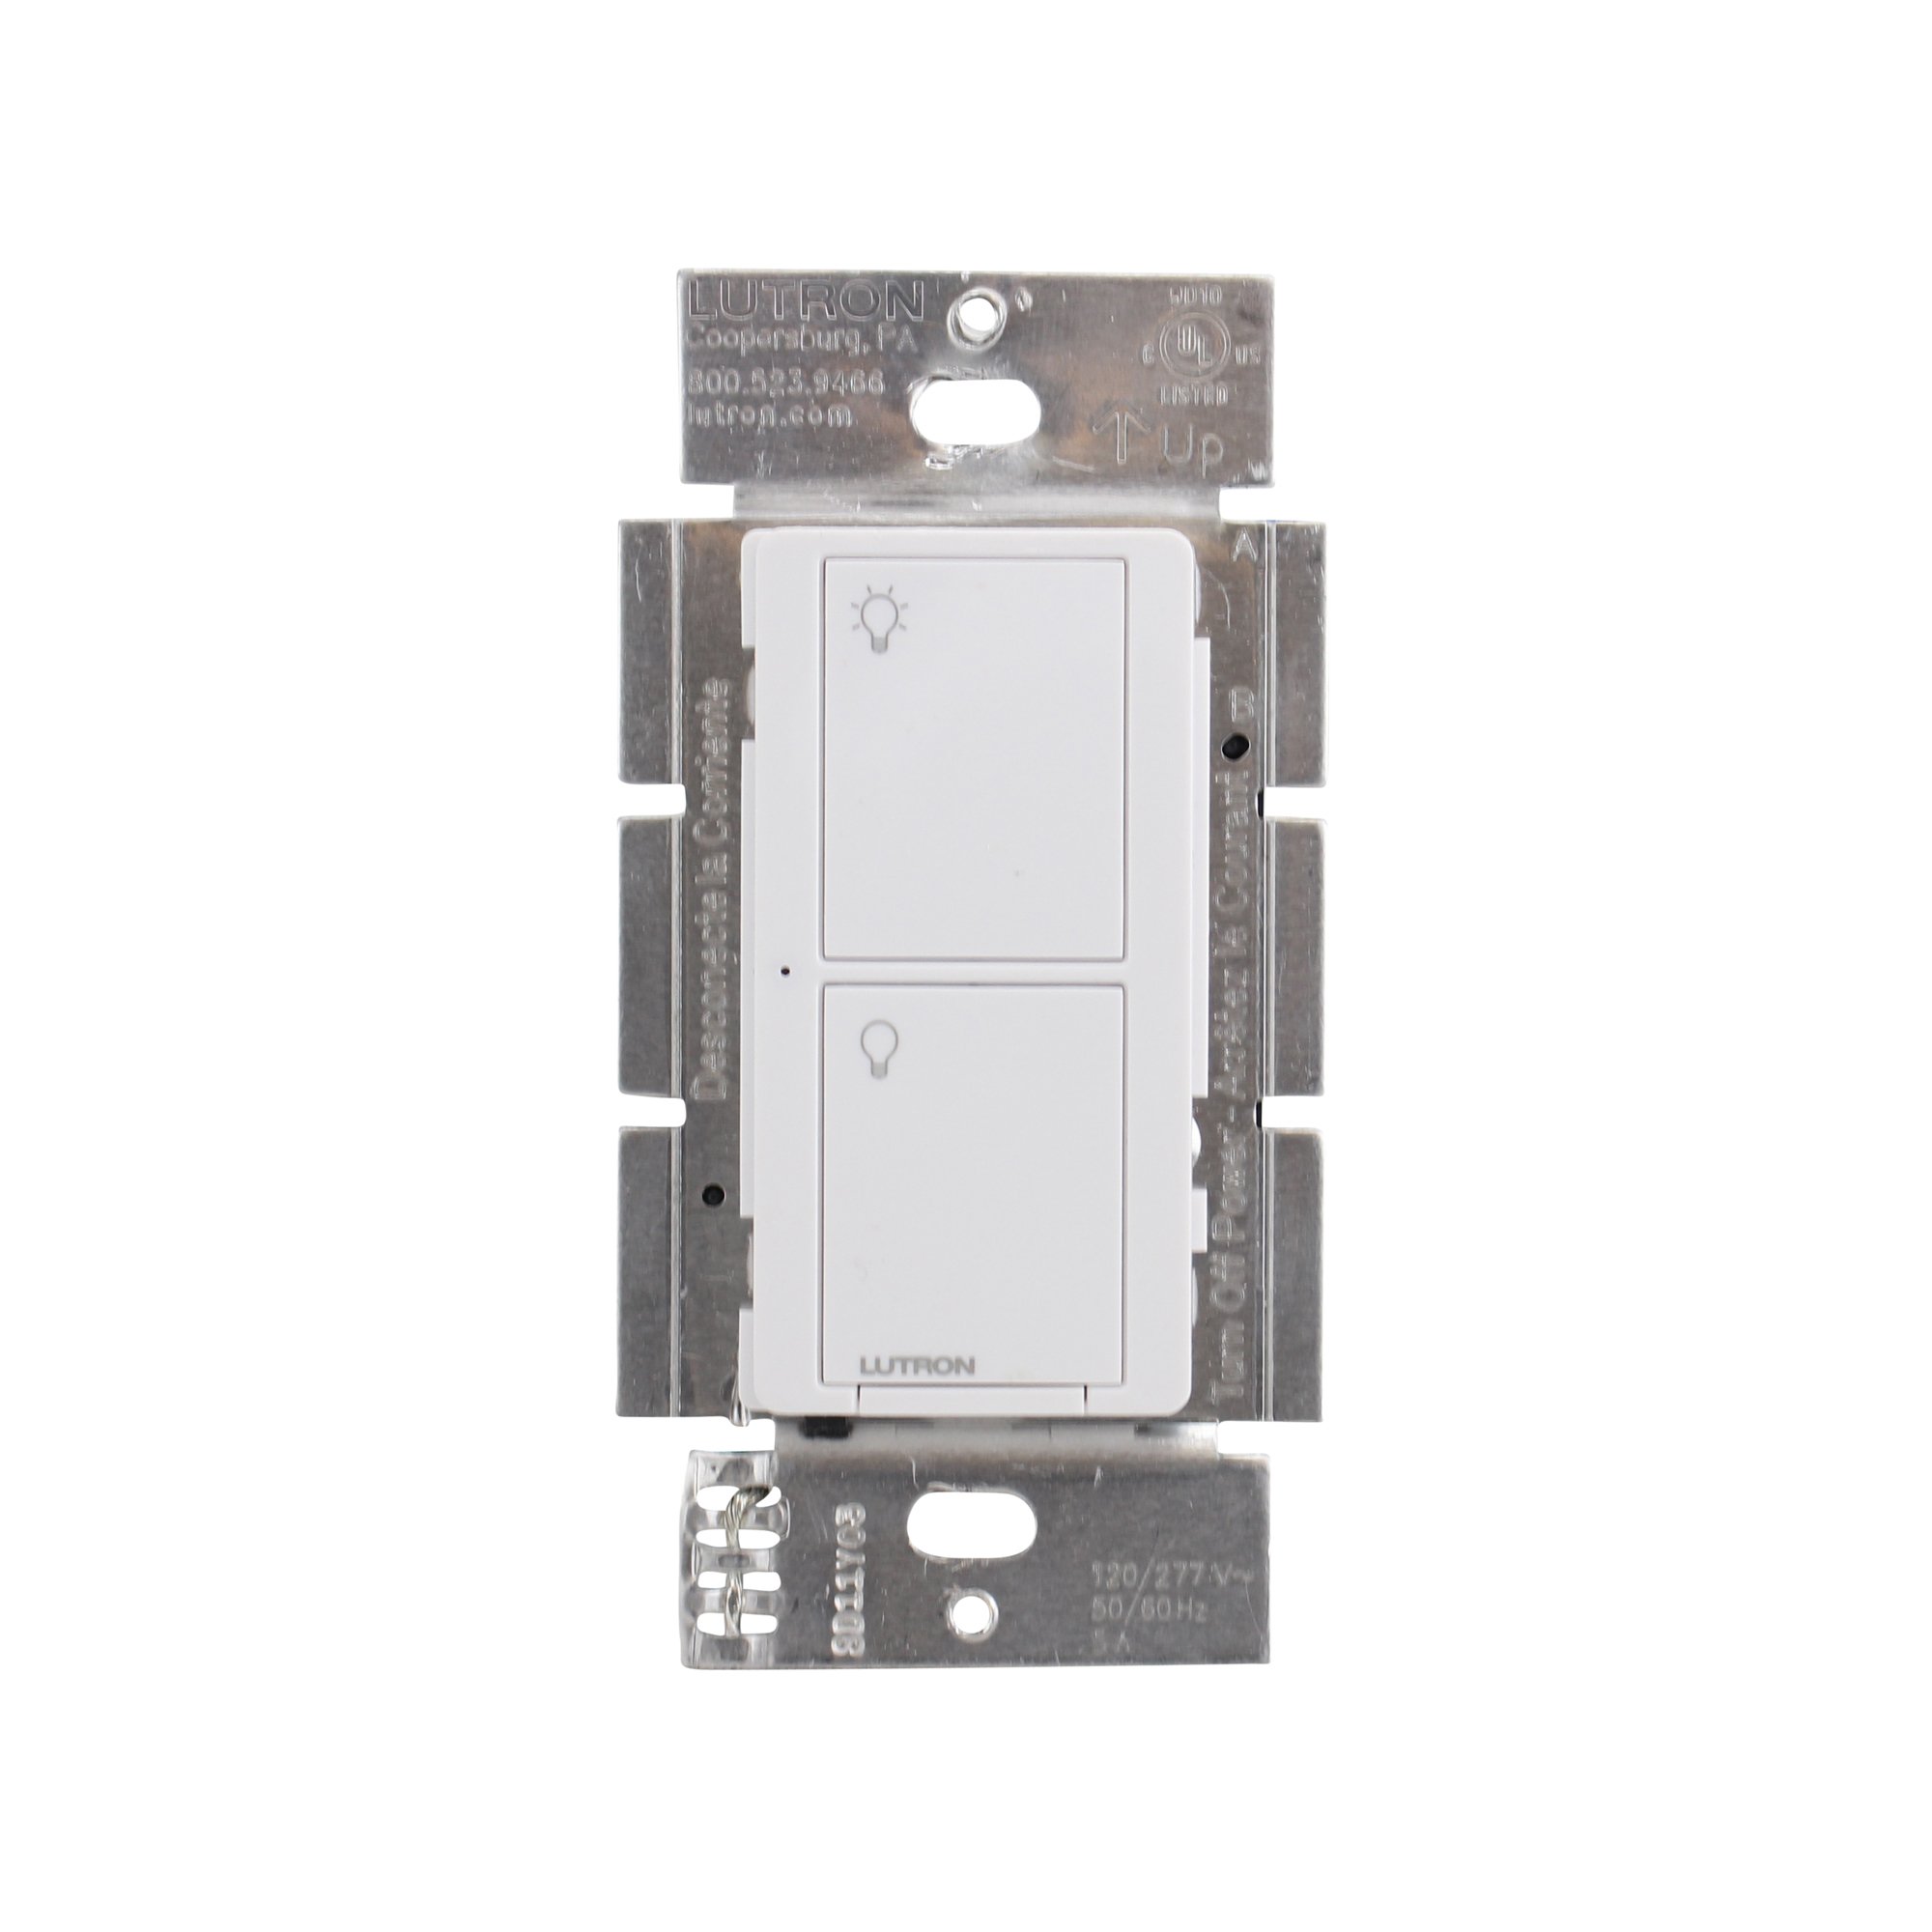
Kuva 1: Etuosa view of the Lutron Maestro MS-OPS6M2N-DV-WH sensor switch.
2. Asennus ja asennus
Tärkeitä turvallisuustietoja: Before beginning installation, turn off power at the circuit breaker or fuse box. Incorrect installation can lead to electrical shock or fire. If you are unsure about any part of these instructions, consult a qualified electrician.
Tarvittavat työkalut: Screwdriver (Phillips and flathead), wire strippers, electrical tape.
2.1 Kytkentäohjeet
- Sammuta virta: Paikanna vaihdettavan kytkimen suojakatkaisija ja kytke se OFF-asentoon. Varmista, että virta on katkaistu jännitemittarilla.tage testaaja.
- Poista olemassa oleva kytkin: Irrota seinälevy varovasti ja ruuvaa vanha kytkin irti seinärasiasta. Irrota johdot vanhasta kytkimestä.
- Tunnista johdot:
- Hot (Line) Wire: Tyypillisesti musta, tuo virran sulakkeesta.
- Kuormituslanka: Typically black, connects to the light fixture.
- Nollajohdin: Typically white, required for this switch.
- Maadoitusjohto: Typically bare copper or green.
Note: If you are replacing a 3-way switch, you will also have traveler wires. This model supports 3-way circuits. Refer to the detailed wiring diagram for 3-way installations.
- Connect Wires to Maestro Switch:
- Yhdistä maadoitusjohto from the wall box to the green ground wire on the Maestro switch.
- Yhdistä nollajohdin from the wall box to the white neutral wire on the Maestro switch.
- Yhdistä hot (line) wire ja load wire from the wall box to the two black wires on the Maestro switch. If the light does not function correctly, swap these two black wires.
- For 3-way applications, connect the traveler wires as per the specific 3-way wiring diagram provided with the product packaging.
- Suojattu kytkin: Carefully push the wired switch into the wall box, ensuring wires are not pinched. Screw the switch into place.
- Asenna seinälevy: Attach the decorative wall plate.
- Palauta virta: Kytke virta takaisin päälle sulakkeesta.

Kuva 2: Esimample wiring diagram for a single-pole installation. Consult the included manual for 3-way wiring.
3. Käyttöohjeet
The Maestro sensor switch offers flexible operation modes to suit various needs.
3.1 Toimintatavat
- Occupancy Mode (Auto-On/Auto-Off): In this mode, the lights automatically turn ON when motion is detected and automatically turn OFF after a set time delay when no motion is detected. This is ideal for high-traffic areas where hands-free operation is desired.
- Vacancy Mode (Manual-On/Auto-Off): In this mode, the lights must be manually turned ON by pressing the switch button. They will then automatically turn OFF after a set time delay when no motion is detected. This mode is often used to meet energy codes and provides more control over when lights are initially activated.
3.2 Asetusten säätäminen
The Maestro sensor switch typically has small buttons or dip switches behind the wall plate for adjusting settings such as:
- Aikaviive: How long the lights remain on after the last detected motion (e.g., 1, 5, 15, 30 minutes).
- Herkkyys: The level of motion required to trigger the sensor.
- Toimintatila: Switching between Occupancy (Auto-On) and Vacancy (Manual-On) modes.
Refer to the detailed instructions included with your product for specific steps on how to access and adjust these settings.
4. Huolto
The Lutron Maestro sensor switch requires minimal maintenance to ensure optimal performance.
- Puhdistus: To clean the surface of the switch, use a soft, damp liinalla. Älä käytä hankaavia puhdistusaineita, liuottimia tai voimakkaita kemikaaleja, sillä ne voivat vahingoittaa pintakäsittelyä tai sisäisiä komponentteja.
- Anturin tukos: Ensure the sensor lens is not obstructed by furniture, curtains, or other objects that could block its field of view. A clear path to the sensor is crucial for accurate motion detection.
- Pölyn kertyminen: Periodically wipe the sensor lens to prevent dust accumulation, which can reduce sensitivity.
5. Vianmääritys
If you encounter issues with your Maestro sensor switch, refer to the following common troubleshooting steps:
- Lights do not turn ON automatically (Occupancy Mode):
- Verify the sensor's field of view ei ole estetty.
- Check the sensitivity setting; it might be too low.
- Ensure the switch is in Occupancy (Auto-On) mode.
- Confirm power is supplied to the switch.
- Lights do not turn OFF:
- Varmista, ettei anturin kantaman sisällä ole jatkuvaa liikettä.
- Check the time delay setting; it might be set too long.
- Verify the switch is correctly wired, especially the load wire.
- Lights flicker or behave erratically:
- Confirm that a neutral wire is properly connected. This switch requires a neutral wire for stable operation.
- Varmista, että kaikki johdinliitännät ovat kunnolla kiinni.
- If in a 3-way setup, ensure compatible companion switches are used and wired correctly.
- Switch is unresponsive:
- Turn off power at the circuit breaker for 15 seconds, then restore power. This can reset the switch.
- Tarkista kaikki johdotusliitännät löysyyden tai väärän sijoituksen varalta.
If these steps do not resolve the issue, contact Lutron customer support for further assistance.
6. Tekniset tiedot
| Ominaisuus | Yksityiskohta |
|---|---|
| Mallinumero | MS-OPS6M2N-DV-WH |
| Merkki | Lutron |
| Toimintatila | automaattisesti |
| Yhteyden tyyppi | Normaalisti auki |
| Liittimen tyyppi | Ruuviliittimet |
| Terminaali | Ruuvi |
| Tuotteen mitat (P x L x K) | 2.2 x 2.2 x 4.5 tuumaa |
| Piirin tyyppi | 3-suuntainen |
| Toimilaitteen tyyppi | Painike |
| Yhteysmateriaali | Kupari |
| Kansainvälinen turva-arviointi | IP54 |
| Valvontamenetelmä | Kosketa |
| Yhteysprotokolla | Infrapuna |
| Väri | Valkoinen |
| Tuotteen paino | 3.52 unssia |
| Neutraalijohto vaaditaan | Kyllä |
7. Tuotevideot
7.1 Lutron Maestro Sensor Switch Overview
Video 1: Ylilyöntiview of the Lutron Maestro sensor switch features and benefits. This video provides a general introduction to the product's capabilities.
7.2 Advanced Features and Configuration
Video 2: A detailed look into the advanced features and configuration options of the Lutron Maestro sensor switch, including setting adjustments.
8. Takuutiedot
Lutron products typically come with a limited warranty covering defects in materials and workmanship. For specific warranty terms and conditions applicable to your MS-OPS6M2N-DV-WH sensor switch, please refer to the warranty card included in the product packaging or visit the official Lutron websivusto. Säilytä ostokuitti takuuvaatimuksia varten.
9. Asiakastuki
For technical assistance, troubleshooting, or product inquiries, please contact Lutron customer support. You can find contact information on the official Lutron websivustolla tai tuotedokumentaatiossa.
Verkkoresurssit:
- Vieraile virkailijalla Lutron-kauppa Amazonissa saadaksesi lisää tuotteita ja tietoa.
- Refer to the comprehensive FAQs and support documents available on the Lutron corporate websivusto.


