
1. Johdanto
The diymore Battery Capacity Indicator is a versatile digital display designed to monitor the voltage ja veloitus prosenttiatage of various battery types. It supports a wide voltage range from 7V to 100V, making it suitable for 12V, 24V, 36V, 48V, 60V, 72V, and 84V battery systems. This device is compatible with lithium batteries, lead-acid batteries, and lithium iron phosphate (LiFePO4) batteries. Its clear color display provides real-time information on battery status.
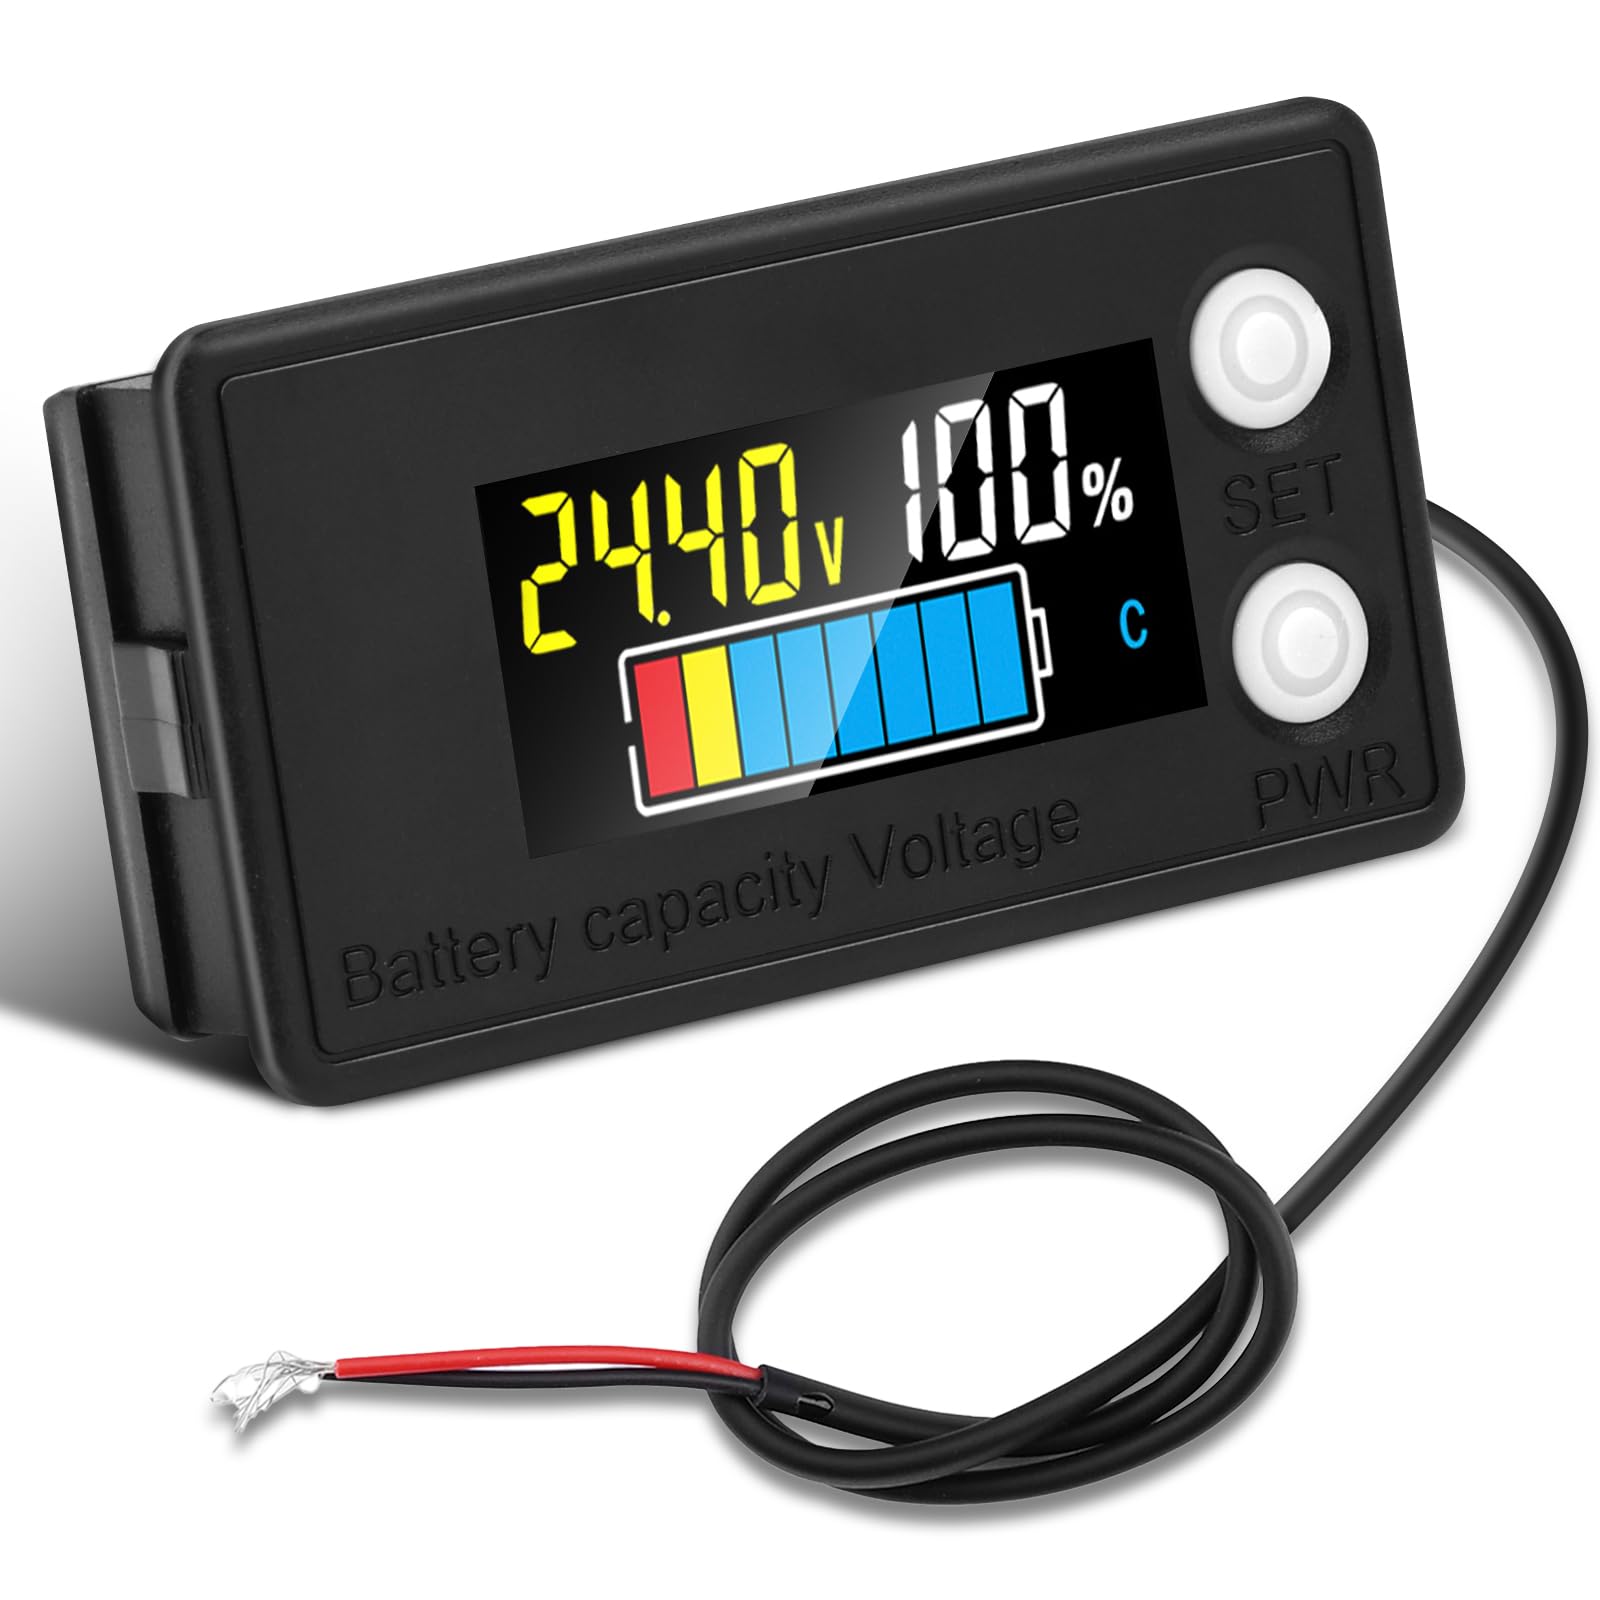
Image: The diymore Battery Capacity Indicator (Style 1) displaying 24.40V and 100% charge, with a colorful battery bar.
2. Tuotteen ominaisuudet
- Laaja yhteensopivuus: Suitable for lithium, lead-acid, and LiFePO4 batteries with voltages from 7V to 100V (12V, 24V, 36V, 48V, 60V, 72V, 84V).
- Kirkas värinäyttö: Provides clear readings of power and percentage.
- Six Setting Modes: Includes settings for lead-acid (P), lithium-iron (F), LiFePO4, custom high/low voltage, backlight adjustment, and low voltage hälytys.
- Helppo käyttö: Simple button presses for display control and entering settings.
- Katkaisumuisti: Energy-saving function with power-off memory.
- Käänteisen napaisuuden suojaus: Designed to prevent damage from incorrect wiring.
- IP67 vedenpitävyysluokitus: Provides protection against water ingress (note: not for prolonged submersion).
3. Asennus ja asennus
3.1 Fyysiset mitat
Before installation, ensure the product dimensions are suitable for your intended mounting location.

Image: Diagram showing the dimensions of the battery capacity indicator: 63mm (2.48in) length, 34mm (1.34in) width, and 15mm (0.59in) depth. Also shows close-ups of the wiring connector and back vents.
3.2 Johdotusliitäntä
Connect the indicator to your battery system. The device features reverse polarity protection to prevent damage from incorrect wiring. Ensure proper connection for both series and parallel battery configurations.

Image: Wiring diagrams illustrating how to connect the battery capacity indicator to batteries in series and parallel configurations. The diagram highlights reverse polarity protection.
4. Käyttöohjeet
4.1 Peruskäyttö
- Virta päälle/pois: Briefly press the "PWR" button on the main side to turn the display on or off.
- Siirry asetustilaan: Press and hold the "SET" button for 2 seconds to enter the mode setting function page.
4.2 Mode Setting Instructions
The device offers several setting modes to configure it for different battery types and preferences.

Image: A visual guide listing the available mode settings: Acid battery P measurement, Ternary lithium battery L measurement, Fe lithium battery F measurement, Custom voltage setting, Low voltage alarm setting, and Backlight setting.
4.2.1 Acid Battery (P) Measurement Setting
- On the main page, press and hold the "SET" button for 2 seconds to enter the mode setting function page for lead-acid battery settings.
- The display will show "SET-12 P" (for a 12V lead-acid battery).
- Short press the "PWR" button to make the number flash, then short press the "PWR" button again to select the required lead-acid battery voltagesim. (12 V, 24 V, 36 V, 48 V, 60 V, 72 V, 84 V).
- Kun olet valinnut voltage, short press the "SET" button to confirm (the number will light up and save after confirmation).
- Press and hold the "SET" button for 2 seconds again to return to the main page. The setting is now complete.

Image: The display showing "SET-12 P" with detailed steps for configuring the indicator for lead-acid batteries.
4.2.2 Ternary Lithium Battery (L) Setting
- On the main page, press and hold the "SET" button for 2 seconds to enter the mode setting function page.
- Short press the "SET" button to select the ternary lithium battery setting page: "SET-03L" (for a ternary lithium battery with 3 strings).
- Short press the "PWR" button to make the number flash, then short press the "PWR" button again to select the required number of ternary lithium battery strings (03/04/05...19/20 strings).
- After selecting the number of strings, short press the "SET" button to confirm (the number will light up and save after confirmation).
- Long press the "SET" button for 2 seconds again to return to the main page. The setting is now complete.

Image: The display showing "SET-03 L" with detailed steps for configuring the indicator for ternary lithium batteries.
4.2.3 Lithium Iron (F) Battery Setting
- On the main page, press and hold the "SET" button for 2 seconds to enter the mode setting function page.
- Short press the "SET" button to select the iron-lithium battery setting page: "SET-03 F" (for an iron-lithium battery with 3 strings).
- Short press the "PWR" button to make the number flash, then short press the "PWR" button again to select the required number of iron-lithium battery strings (03/04/05...24/25 strings).
- After selecting the number of strings, short press the "SET" button to confirm (the number will light up and save after confirmation).
- Long press the "SET" button for 2 seconds again to return to the main page. The setting is now complete.

Image: The display showing "SET-03 F" with detailed steps for configuring the indicator for lithium iron batteries.
4.2.4 Pienjännitetage Hälytysasetus
- On the main page, press and hold the "SET" button for 2 seconds to enter the mode setting function page.
- Short press the "SET" button to select the low voltage alarm setting page: "00.00V" (low voltage hälytyksen asetustila).
- Short press the "PWR" button to make the number flash, then short press the "SET" button to adjust the value.
- Short press the "PWR" button to switch between digits for setting.
- After all 4 digits are set, press and hold the "SET" button for 2 seconds to confirm (all 4 digits will remain lit and saved).
- Press and hold the "SET" button for 2 seconds again to return to the main page. The setting is now complete.

Image: The display showing "00.00V" with a lightning bolt icon and a low battery symbol, along with detailed steps for configuring the low voltage hälytys.
5. Huolto
The diymore Battery Capacity Indicator is designed for durability and features an IP67 waterproof rating. However, proper care is essential for its longevity.
- Vedenkestävyys: The device is waterproof, but it should not be exposed to water for prolonged periods or submerged.
- Puhdistus: Puhdista näyttö ja c pehmeällä, kuivalla liinalla.asing. Vältä hankaavia puhdistusaineita tai liuottimia.
- Varastointi: Säilytä laitetta kuivassa paikassa, kun sitä ei käytetä.

Image: The battery capacity indicator shown with water droplets, indicating its IP67 waterproof rating. A note warns against prolonged water exposure.
6. Vianmääritys
If you encounter issues with your diymore Battery Capacity Indicator, please refer to the following common troubleshooting steps:
- Ei näyttöä:
- Tarkista kaikki johdotusliitännät varmistaaksesi, että ne ovat tukevasti kiinni ja että ne on polarisoitu oikein.
- Varmista, että akun tilavuustage is within the operating range of 7V-100V.
- Ensure the "PWR" button has been pressed to turn on the display.
- Väärät lukemat:
- Varmista, että oikea pariston tyyppi ja tilavuustage/string settings have been configured in the settings menu (refer to Section 4.2).
- Testaa akun tilavuustage with a separate multimeter to cross-reference readings.
- Asetukset eivät tallennu:
- Ensure you press and hold the "SET" button for 2 seconds to confirm and save settings after making changes.
Jos ongelmat jatkuvat, ota yhteyttä asiakastukeen lisäapua varten.
7. Tekniset tiedot
| Ominaisuus | Erittely |
|---|---|
| Merkki | diymore |
| Malli | Tyyli 1 |
| Sovellettavat akkutyypit | Lithium, Lead-Acid, LiFePO4 |
| Käyttö Voltage Alue | DC 7V-100V |
| Vähimmäiskäyttötilavuustage | 7 volttia (DC) |
| Mittaustyyppi | Volttimittari |
| Väri | Musta |
| Mukana olevat komponentit | Akun kapasiteetti Voltage Mittari |
| Vesitiivis luokitus | IP67 (not for prolonged submersion) |
8. Sovellukset
This battery capacity indicator is suitable for a wide range of applications where battery monitoring is essential, including:
- Electric Motorcycles
- Moottoripyörät
- Golfkärryt
- Autot
- RVs (Recreational Vehicles)
- Veneitä
- Haarukkatrukit
- Solar Power Systems
- Other DIY battery projects

Image: A collage showing the battery capacity indicator in the center, surrounded by images of a forklift, truck, RV, golf cart, and boat, illustrating its diverse applications.
9. Tuki ja takuu
diymore is committed to meeting your expectations with high-quality products and reliable customer service.
- Laadunvarmistus: Products are manufactured with best quality and safest processing.
- Tekninen tuki: A professional team of technicians is available for support.
- Asiakaspalvelu: Dedicated customer service is provided for any inquiries or issues.

Image: A banner displaying the diymore logo and the text "OUR PROMISE TO YOU: Meeting Your Expectations," with icons representing production quality, safety, and professional customer service.