
1. Johdanto
Thank you for choosing the Lepro Pen LED Flashlight. This compact and ultra-bright tactical penlight is designed for various applications, offering convenience and reliability. This manual provides essential information for the proper setup, operation, and maintenance of your flashlight.
2. Tuotteen ominaisuudet
- 3 valaistustilaa: Provides 120 lumens for illumination with high brightness, low brightness, and flash modes for different circumstances. Flash mode can discharge for approximately 8 hours.
- Kompakti koko: With a diameter of 0.59 inches and a length of 5.19 inches, weighing 29g, this pocket flashlight is easy to carry and store.
- IPX4 Vedenkestävä: Constructed from high-performance aluminum alloy, it is sturdy, durable, and protected against splashing water from any direction.
- Intuitiivinen käyttö: Features a simple push-button switch for easy control of power and lighting modes.
- Laajat sovellukset: Sopii camping, hiking, medical use, emergency survival, and professional tasks for doctors, nurses, and security personnel.

Image: The Lepro Pen LED Flashlight showing its compact dimensions (13cm/5.19in length, 1.6cm/0.63in diameter) and how it easily fits into a pocket.
3. Tekniset tiedot
| Valmistaja | Lepro |
| Mallinumero | 120023L-GN-US-2 |
| Tuotteen mitat | 1.6 x 1.6 x 13.21 cm; 110 g |
| Virtalähde | Paristokäyttöinen |
| Akun tyyppi | Vaatii 4 AAA-paristoa (mukana) |
| Valonlähteen tyyppi | LED (XPE) |
| Valkoinen kirkkaus | 120 lumenia |
| Materiaali | Alumiini |
| Erikoisominaisuudet | Durable, Lightweight, Portable, Waterproof (IPX4) |
4. Asennus
4.1 Akun asennus
The Lepro Pen LED Flashlight requires 2 AAA batteries for operation. Please follow these steps to install the batteries correctly:
- Kierrä taskulampun takakansi irti.
- Insert two AAA batteries into the battery compartment, ensuring the positive (+) and negative (-) terminals align with the indicators inside the flashlight.
- Kierrä takakansi kunnolla kiinni.

Kuva: Räjähtänyt view of the flashlight showing the tail cap, two AAA batteries, and the main body, with an arrow indicating correct battery insertion direction.
Video: A demonstration of how to insert AAA batteries into a similar Lepro pen flashlight and operate its basic functions.
4.2 Klipsin kiinnittäminen
The flashlight comes with a detachable clip for versatile carrying options. You can attach it to your pocket, backpack strap, or even reverse it to clip onto a cap brim for hands-free use.

Image: Step-by-step guide showing how to remove the clip, reverse its mounting, and clip the flashlight onto a cap brim for hands-free illumination.
5. Käyttöohjeet
5.1 Virta päälle/pois ja tilan valinta
The flashlight features an intuitive switch located on the tail cap for easy operation.
- Käynnistää: Press the tail cap button once.
- Tilan vaihtaminen: While the flashlight is on, press the tail cap button repeatedly to cycle through the modes: High Brightness → Low Brightness → Flash Mode.
- Sammuttaa: Continue cycling through the modes until the flashlight turns off, or press and hold the button for a few seconds.
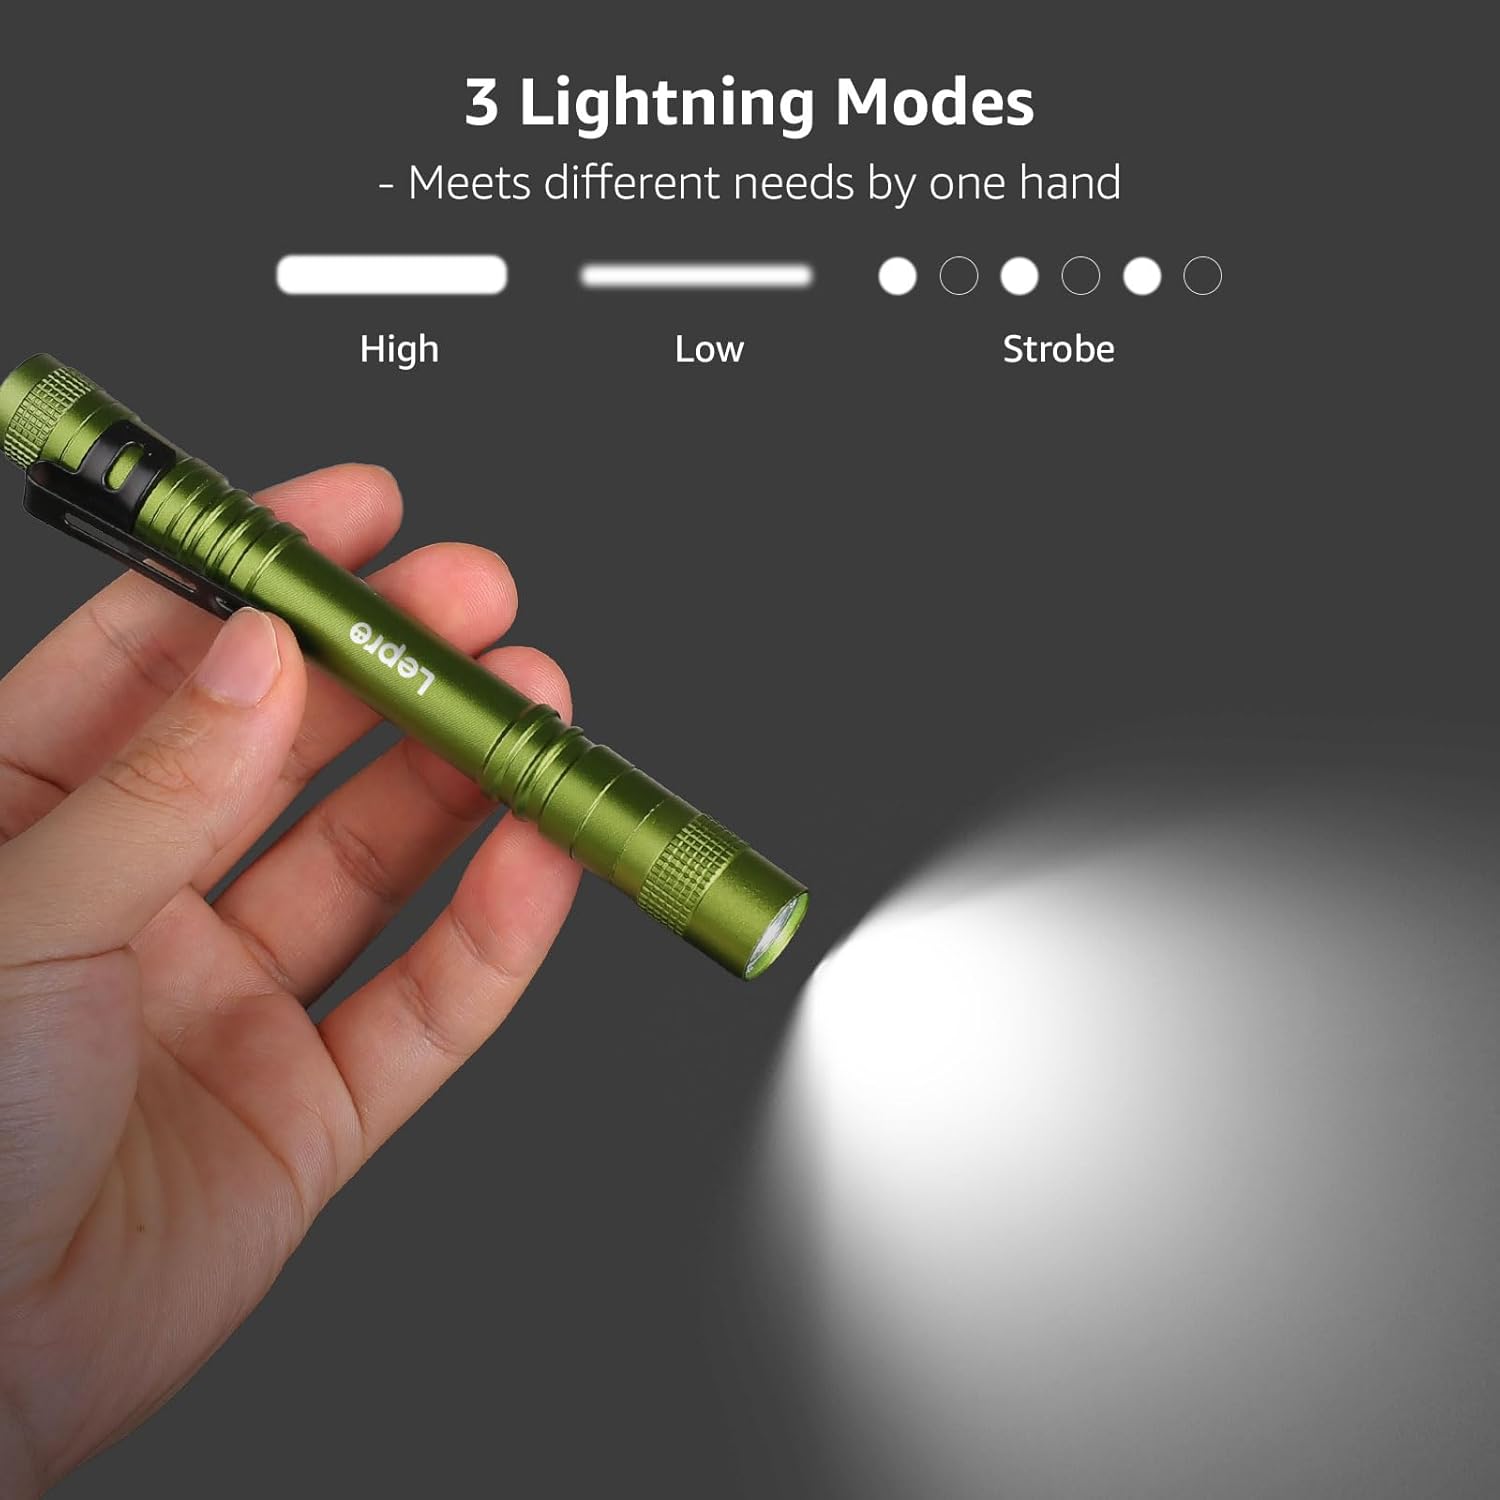
Image: Visual representation of the flashlight emitting light in High, Low, and Strobe (Flash) modes, demonstrating its versatility.
5.2 Vedenkestävyys
The flashlight is IPX4 water-resistant, meaning it is protected against splashing water. It is suitable for use in light rain or damp olosuhteissa, mutta sitä ei saa upottaa veteen.

Image: The flashlight standing upright amidst moss and leaves, with water droplets splashing around it, illustrating its IPX4 water-resistant feature.
6. Huolto
To ensure the longevity and optimal performance of your Lepro Pen LED Flashlight, please follow these maintenance guidelines:
- Puhdistus: Wipe the flashlight with a clean, soft cloth. Avoid using abrasive cleaners or solvents that may damage the finish or internal components.
- Akun hoito: If the flashlight will not be used for an extended period, remove the batteries to prevent leakage and corrosion.
- Varastointi: Säilytä taskulamppua viileässä, kuivassa paikassa suojassa suoralta auringonvalolta ja äärimmäisiltä lämpötiloilta.
- O-renkaat: Periodically check the O-rings for wear and tear. Lubricate them with silicone grease if necessary to maintain water resistance.
7. Vianmääritys
If you encounter any issues with your flashlight, please refer to the following common troubleshooting steps:
| Ongelma | Mahdollinen syy | Ratkaisu |
|---|---|---|
| Taskulamppu ei syty | Tyhjät tai väärin asennetut paristot | Vaihda paristot uusiin varmistaen oikean napaisuuden. |
| Himmeä valoteho | Alhainen akun teho | Vaihda paristot. |
| Ajoittainen toiminta | Loose tail cap or dirty contacts | Tighten the tail cap. Clean battery contacts with a clean cloth. |
| Water ingress (despite IPX4 rating) | Damaged O-rings or improper sealing | Check O-rings for damage and replace if necessary. Ensure tail cap is fully tightened. |
8. Turvallisuustiedot
Lue ja noudata seuraavia turvallisuusohjeita:
- Älä katso suoraan LED-valoon sen ollessa päällä, sillä se voi aiheuttaa tilapäistä näkövammaa.
- Pidä poissa lasten ulottuvilta.
- Älä sekoita vanhoja ja uusia paristoja tai erityyppisiä paristoja.
- Hävitä käytetyt paristot vastuullisesti paikallisten määräysten mukaisesti.
- Älä yritä purkaa tai muokata taskulamppua, sillä se voi mitätöidä takuun ja aiheuttaa turvallisuusriskin.
9. Takuu ja tuki
For warranty information or technical support, please refer to the product packaging or contact Lepro customer service through their official website or the retailer where the product was purchased. Please have your model number (120023L-GN-US-2) and purchase details ready.