
1. Johdanto
This manual provides detailed instructions for setting up, operating, and maintaining your TESmart HKS201-M24 8K HDMI KVM Switch. This device allows you to control two computers using a single keyboard, mouse, and monitor, supporting high-resolution displays up to 8K@60Hz and 4K@144Hz. Please read this manual thoroughly before use to ensure optimal performance and safety.
2. Pakkauksen sisältö
Varmista, että pakkauksessasi on kaikki tarvittavat osat:
- 1 x TESmart HKS201-M24 2x1 HDMI 2.1 KVM Switch
- 2 x KVM Cables (HDMI + USB)
- 1 x IR Remote Control (paristot eivät sisälly hintaan)
- 1 x DC 12V virtalähde
- 1 x Käyttöohje
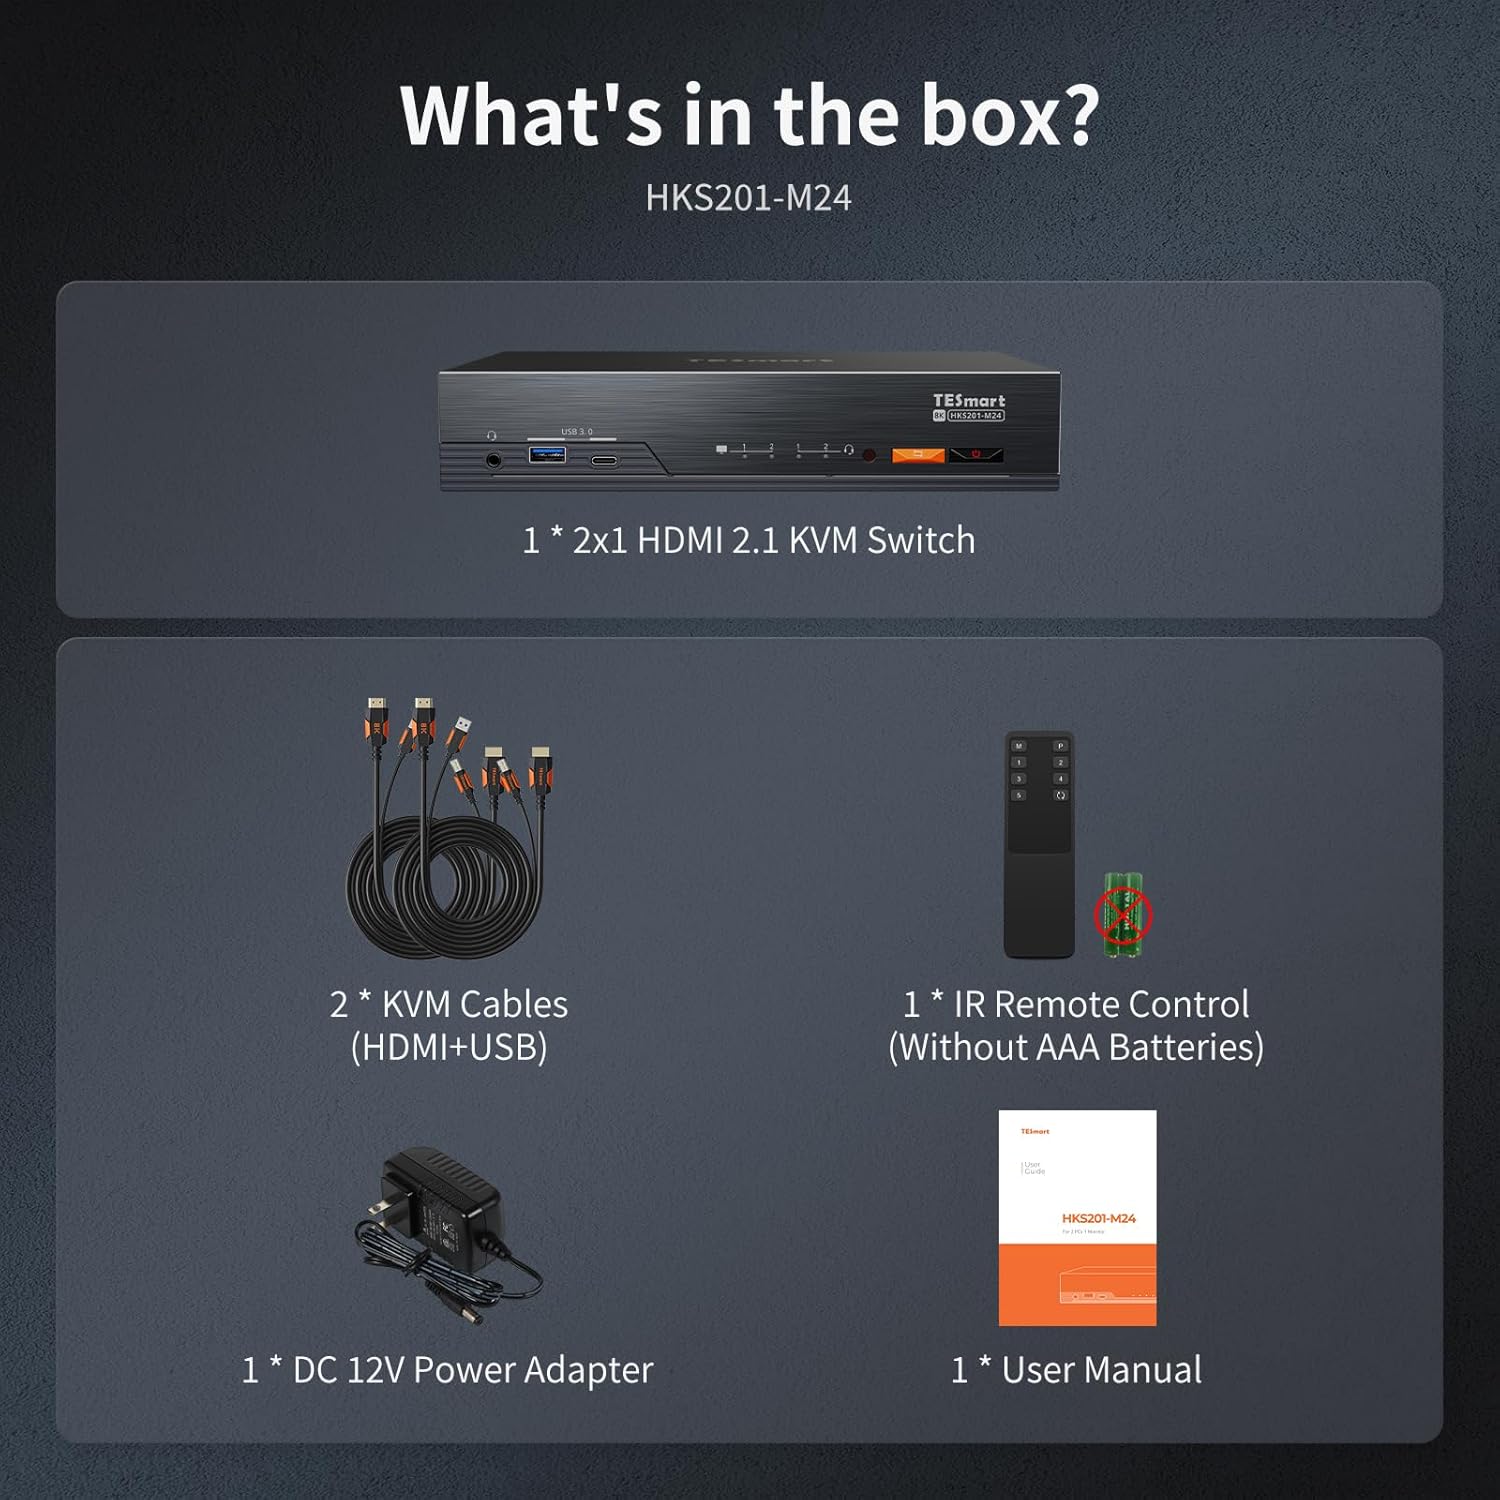
Image: The TESmart HKS201-M24 KVM Switch with its included accessories: two KVM cables, an IR remote, a DC 12V power adapter, and the user manual.
3. Tuote ohiview
3.1 Etupaneeli

Image: Front panel of the TESmart HKS201-M24 KVM Switch, showing USB 3.0 ports, audio jacks, and control buttons.
- USB 3.0 Portit: Two USB 3.0 ports for high-speed data transfer and device charging.
- 3.5 mm:n ääniliitännät: Kuulokkeiden ja mikrofonien kytkemiseen.
- näppäimistö: Buttons for manual switching between connected computers.
- Virtakytkin: On/Off button for the device.
3.2 Takapaneeli

Image: Rear panel of the TESmart HKS201-M24 KVM Switch, displaying input/output ports for PCs, monitor, and peripherals.
- DC 12V: Virransyöttöportti.
- Huoltoportti: For firmware updates and maintenance.
- LAN Port (1000 Mbps): Gigabit Ethernet port for network connectivity.
- K&M Ports: Dedicated USB ports for keyboard and mouse.
- Input Ports (PC1 & PC2): HDMI and USB 3.0 ports for connecting two computers.
- Lähtöportti: HDMI port for connecting a single monitor.
4. Asennusohjeet
Asenna KVM-kytkimesi seuraavasti:
- Virtaliitäntä: Connect the DC 12V power adapter to the KVM switch and then plug it into a power outlet.
- Verkkoyhteys (valinnainen): Insert an Ethernet cable into the LAN port on the KVM switch.
- Näppäimistö ja hiiri: Connect your keyboard and mouse to the dedicated K&M USB ports on the rear panel of the KVM switch.
- Connect PC1: Use one of the included KVM (HDMI+USB) cables to connect your first computer (PC1) to the Input 1 HDMI and USB 3.0 ports on the KVM switch.
- Connect PC2: Use the second included KVM (HDMI+USB) cable to connect your second computer (PC2) to the Input 2 HDMI and USB 3.0 ports on the KVM switch.
- Näytön liitäntä: Connect your monitor to the HDMI output port on the KVM switch. Note: An HDMI output cable is not included.
- Äänilaitteet (valinnainen): Connect your headphones or speakers to the 3.5mm audio output jack on the front panel. Connect your microphone to the 3.5mm microphone input jack.
- USB-oheislaitteet (valinnainen): Plug any additional USB devices (e.g., USB flash drive, printer) into the USB 3.0 ports on the front or rear panel.
Video: A detailed guide on setting up the TESmart 8K HDMI 2.1 KVM Switch, demonstrating cable connections for power, computers, monitor, and peripherals.
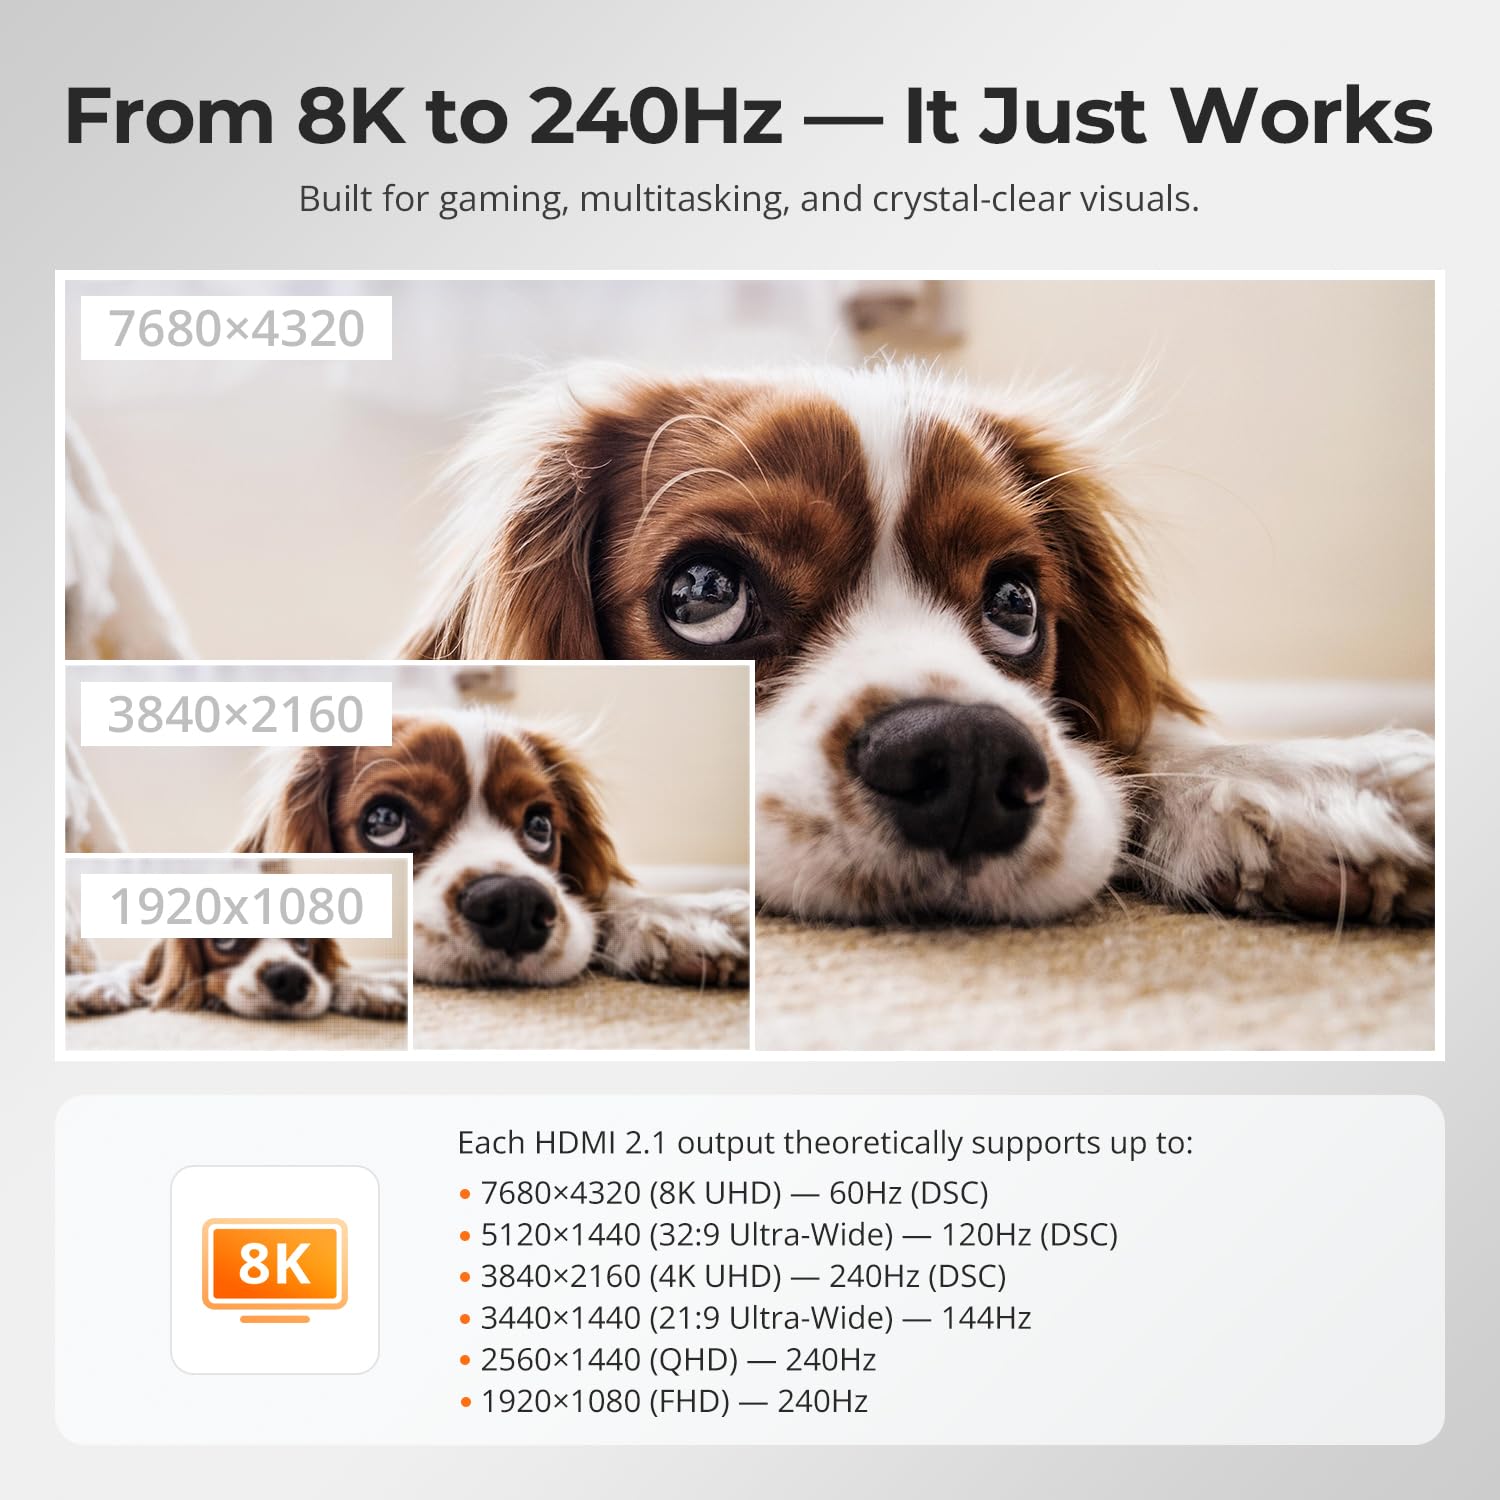
Image: Connection diagram illustrating how to link two PCs to the KVM switch and a single 8K monitor.
5. Käyttöohjeet
5.1 Tietokoneiden välillä vaihtaminen
KVM-kytkin tarjoaa useita tapoja vaihtaa kytkettyjen tietokoneiden välillä:
- Pikanäppäinten vaihto: Use custom hotkeys on your keyboard (e.g., Right Ctrl + Right Ctrl + 1 for PC1, Right Ctrl + Right Ctrl + 2 for PC2).
- Etupaneelin painike: Press the dedicated button on the front panel of the KVM switch to cycle between inputs.
- IR-kaukosäädin: Use the included IR remote to select the desired PC input.
- Mouse Wheel Switching: This feature is typically off by default. It can be enabled via keyboard hotkey commands. Once enabled, double-click the mouse wheel to switch inputs.

Image: Visual representation of the four switching methods: hotkeys, front panel button, IR remote, and mouse wheel.
Video: Demonstration of the KVM switch's one-click switching functionality between connected computers.
5.2 Independent USB & Audio Focus Lock
This feature allows you to maintain USB and audio connections to one computer while switching the display to another. This is useful for tasks like listening to audio from one PC during a meeting while working on another. Use specific hotkeys (e.g., Scroll Lock + Scroll Lock + 0) to disable/enable follow mode and switch USB 3.0 and audio channels independently.

Image: Illustration of the Independent USB & Audio Focus Lock feature, showing how USB and audio can remain connected to one PC while the display switches to another.
5.3 Auto Detect Mode
The KVM switch can automatically detect an active signal and switch to that device. For example, if PC1 is active and PC2 is turned on, the display will automatically switch to PC2 without manual intervention.

Image: Visual explanation of the Auto Detect Mode, showing automatic switching to an active PC.
6. Tärkeimmät ominaisuudet
- Dual PC Control: Manage two computers with a single keyboard, mouse, and monitor.
- 8K Visuals & HDMI 2.1: Supports 8K@60Hz 4:4:4 and 4K@120Hz/144Hz resolutions with HDMI 2.1 (48Gbps). Compatible with VRR, FVA, ALLM for high-performance displays.
- EDID Emulators: Maintains display resolution and screen settings when switching, preventing screen flicker or layout resets.
- Useita kytkentämenetelmiä: Switch inputs via hotkeys, front panel button, IR remote, or mouse wheel.
- Shared Gigabit LAN: Both connected PCs can access a wired 1000 Mbps Ethernet connection through the KVM switch.
- USB 3.2 Gen 1 SuperSpeed: Offers ultra-fast data transfer and front-panel charging for mobile devices.
- Integroitu ääni: Includes microphone and L/R audio output for comprehensive audio management.

Image: Visual detailing the KVM switch's support for 8K@60Hz and 4K@144Hz resolutions, ideal for gaming and high-resolution tasks.

Image: Explanation of EDID emulation, which prevents desktop icon rearrangement and screen flicker when switching inputs.

Image: The KVM switch functioning as a shared docking station with USB 3.0 ports and Gigabit LAN connectivity.
7. Tekniset tiedot
| Attribuutti | Arvo |
|---|---|
| Merkki | TESmart |
| Malli | HKS201-M24-USBK |
| Tuotteen mitat (P x L x K) | 9 x 5 x 2 tuumaa |
| Väri | Musta |
| Materiaali | Metalli |
| Yhteysprotokolla | Ethernet |
| Wattage | 36 wattia |
| Käyttö Voltage | 12 volttia |
| Ylempi lämpötila | 50 astetta |
| Kansainvälinen turva-arviointi | IP41 |
| Erittely Met | FCC |
8. Vianmääritys
- No Display/Screen Flicker: Ensure all HDMI cables are securely connected. The built-in EDID emulators should prevent most display issues; however, if problems persist, try restarting the KVM switch and connected computers.
- Näppäimistö/hiiri ei vastaa: Verify that the keyboard and mouse are connected to the dedicated K&M USB ports. If using a wireless keyboard/mouse, ensure the receiver is connected to a K&M port. Try connecting them directly to the computer to rule out device issues.
- Kytkentäviiveet: While the KVM switch is designed for quick switching, some monitors or systems may experience slight delays. Ensure all cables are high-quality and meet HDMI 2.1 specifications for optimal performance.
- Ei ääntä: Check audio cable connections to the KVM switch and your audio devices. Ensure the correct audio output is selected on your computer.
- USB-laitteita ei havaittu: Ensure USB devices are properly connected to the USB 3.0 ports. If using a high-power device, ensure it has its own power supply if needed.
- Verkkoyhteysongelmat: Verify the Ethernet cable is securely connected to the KVM switch and your network source. Check network settings on both connected PCs.
9. Takuu ja tuki
TESmart offers a comprehensive warranty and support for this product:
- Takuu: The product includes a standard 1-year warranty, extendable by an additional 2 years with TESmart+ Extended Protection, totaling 3 years.
- Tekninen tuki: 24/7 technical support is available for assistance with setup, operation, and troubleshooting.
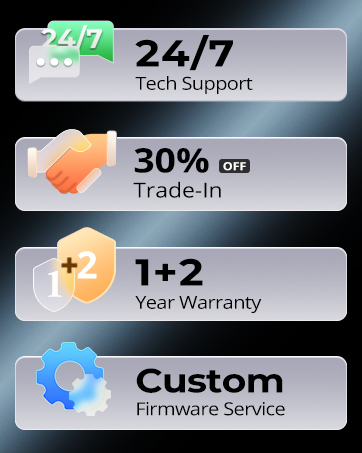
Image: TESmart support offerings, including 24/7 technical support and extended warranty options.


