Johdanto
This instruction manual provides essential information for the proper setup and operation of your GODIYMODULES 15-48V Phantom Power Electret Condenser Microphone Amplifier Board. This board is designed to amplify electret microphones, enabling their use with 15-48V phantom power sources for various audio applications.
Ominaisuudet
- Designed for 15-48V phantom power operation.
- Compatible with universal and single-point electret microphones.
- Suitable for applications such as karaoke, recording, and conference speech.
- Optimized for low noise performance when paired with a low-noise electret microphone.
Tekniset tiedot
| Parametri | Arvo |
|---|---|
| Mikrofonin tyyppi | Elektreettimikrofoni |
| Virtalähde | 15-48V Phantom Power |
| Lähtöimpedanssi | 250 ohmia |
| Äänenpainetaso (SPL) | 125 dB |
| Signaali-kohinasuhde (SNR) | 60 dB |
| Työvirta | Noin 3.2 mA |
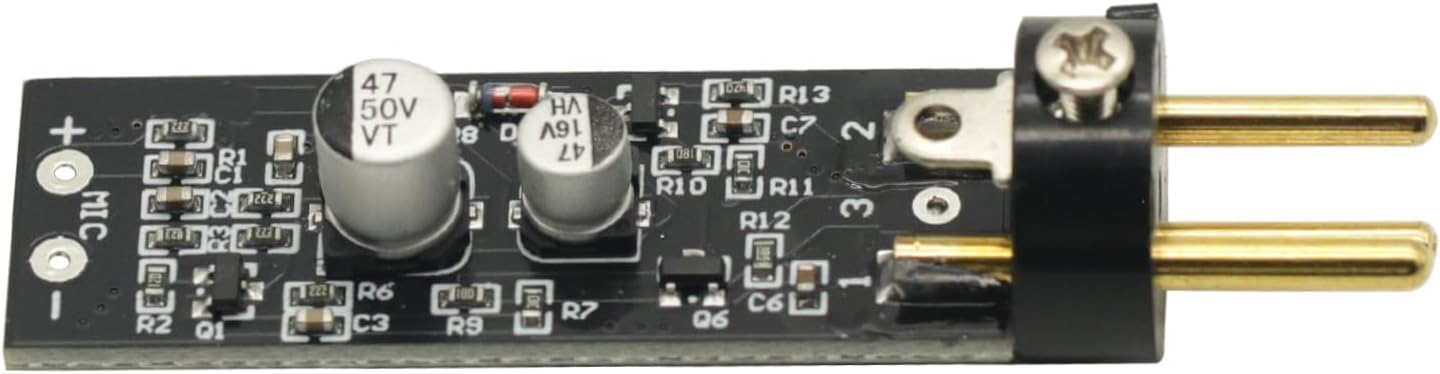
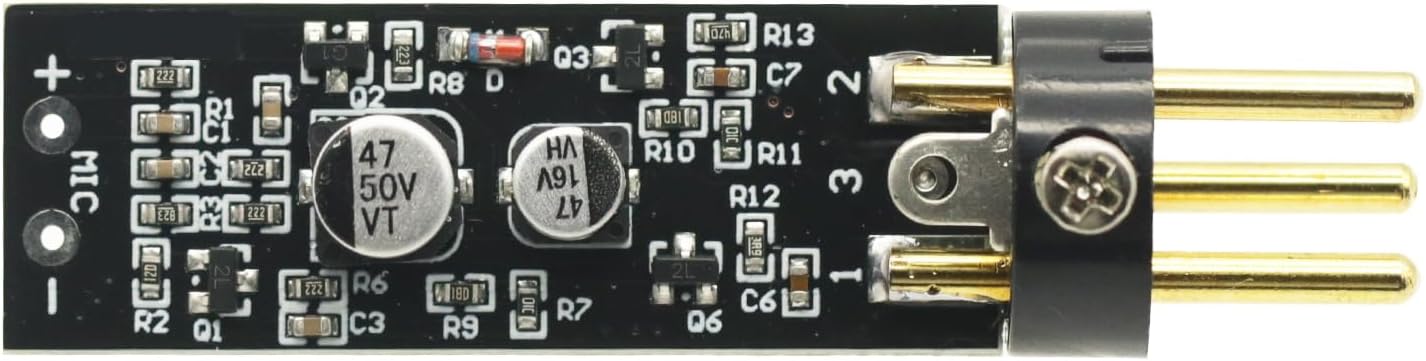
| Lautan koko | 45mm x 15.82mm (excluding cannon head part) |
| Tuotteen paino | 1.06 unssia |
| Pakkauksen mitat | 3.94 x 1.97 x 0.79 tuumaa |
Pakkauksen sisältö
- 1 x Electret Condenser Microphone Ampnostaja hallitus
Asennus ja yhteys
Tämä amplifier board requires an electret microphone and a phantom power source (15-48V) for operation. The board converts the phantom power into the necessary bias voltage for the electret microphone and amplifies its signal.
- Connect the Electret Microphone: Solder or connect your electret microphone to the designated 'MIC +' and 'MIC -' pads on the amplifier board. Ensure correct polarity.
- Connect to Phantom Power Source: The output pins of the amplifier board are designed to connect to an XLR input that provides 15-48V phantom power. This connection will supply power to the board and the microphone, and carry the amptaattua äänisignaalia.
- Liitä äänilaitteisiin: The XLR output from your phantom power source (or directly from the board if integrated) should then be connected to your mixer, audio interface, or other recording/sound equipment.
Tärkeää: The overall noise performance of the system is significantly influenced by the quality of the electret microphone used. For optimal results, it is recommended to use a low-noise electret microphone.
Toiminta
Once properly connected, the amplifier board operates automatically when phantom power is supplied. It boosts the low-level signal from the electret microphone to a line-level signal suitable for professional audio equipment.
- Varmista, että kaikki liitännät ovat kunnolla kiinni ennen virran kytkemistä.
- Activate the phantom power on your mixer or audio interface.
- Monitor audio levels on your connected equipment to prevent clipping or distortion. Adjust gain settings on your mixer/interface as needed.
Huolto
The amplifier board requires minimal maintenance. Keep the board clean and free from dust and moisture. Avoid exposing it to extreme temperatures or direct sunlight. Do not attempt to disassemble the board beyond necessary connections, as this may void any potential warranty.
Vianetsintä
- Ei äänilähtöä:
- Verify that phantom power (15-48V) is active on your connected audio equipment.
- Tarkista kaikkien kaapeliliitäntöjen oikea kiinnitys ja jatkuvuus.
- Ensure the electret microphone is correctly wired to the board with correct polarity.
- Test with a different electret microphone or cable if available.
- Liiallinen melu/hurina:
- Varmista kaikkien äänilaitteiden asianmukainen maadoitus.
- Use shielded cables for all connections.
- Verify that the electret microphone itself is low-noise.
- Tarkista lähellä olevat elektroniset laitteet, jotka saattavat aiheuttaa häiriöitä.
- Low Output Level:
- Confirm that the phantom power voltage on 15–48 V:n alueella.
- Adjust the gain settings on your mixer or audio interface.
Visuaaliset apuvälineet


Tuotevideo
Video 1: Tämä video tarjoaa visuaalisen kuvanview of the Electret Microphone Amplifier Boards, showing their packaging and physical appearance. It demonstrates the compact size and how the electret microphone capsule connects to the board.
Takuu ja tuki
For warranty information or technical support, please refer to the seller's policies on the platform where the product was purchased. Keep your purchase receipt as proof of purchase.