
1. Johdanto
Welcome to the user manual for your Tawson 3-Light Convertible Chandelier. This manual provides essential information for safe installation, operation, and maintenance of your lighting fixture. Please read all instructions carefully before beginning installation.
Turvallisuustiedot:
- Always turn off the power at the main fuse or circuit breaker before installation or maintenance.
- Käänny pätevän sähköasentajan puoleen, jos olet epävarma asennusprosessista.
- Varmista, että kaikki sähköliitännät ovat paikallisten määräysten ja määräysten mukaisia.
- Älä ylitä suositeltua wattiatage polttimoille.
- Käsittele lasikomponentteja varoen.
2. Pakkauksen sisältö
Varmista, että kaikki osat ovat mukana ennen asennuksen aloittamista.
- Kattokruunun runko
- Glass shades (3)
- Asennustarvikesarja
- Adjustable rods (various lengths)
- Käyttöohje

Image: A diagram illustrating the chandelier's dimensions, including the 28-inch height and 18-inch width, along with adjustable rods (two 6-inch and two 12-inch) and a note that bulbs are not included. Various compatible bulb types are shown at the bottom, indicating an E26 base.
3. Tekniset tiedot
| Ominaisuus | Yksityiskohta |
|---|---|
| Merkki | Tawson |
| Mallinumero | 13810 |
| Väri | Harjattu nikkeli |
| Materiaali | Lasi, Metalli |
| Tyyli | Moderni |
| Valaisinmuoto | Chandelier (Convertible) |
| Tuotteen mitat | 18.1 cm P x 18.1 cm L x 13.8 cm K |
| Sisä-/ulkokäyttö | Sisätiloissa |
| Virtalähde | AC |
| Asennustyyppi | Puolitasoinen asennus |
| Valonlähteen tyyppi | Incandescent, LED, Fluorescent, Halogen |
| Viimeistelytyyppi | Harjattu |
| Varjostimen materiaali | Lasi |
| Valonlähteiden lukumäärä | 3 |
| Voitage | 110-120 V (AC) |
| Polttimopohja | E26 |
| Wattage | Up to 100 watts per bulb |
| Kirkkaus | 5100 lumenia (yhteensä) |
| Tehokkuus | 51 lumenia per watti |
| Asennus vaaditaan | Vähimmäisasennus vaaditaan |
4. Asennus ja asennus
This chandelier can be installed as a pendant or a semi-flush mount fixture. Follow these steps carefully.
4.1 Tarvittavat työkalut (eivät sisälly toimitukseen)
- Ruuvimeisseli
- Sivuleikkurit
- Pihdit
- Sähköteippi
- Tikapuut
4.2 Esiasennus
- Katkaise virta: Paikanna sulake- tai katkaisijan sijainti ja katkaise virta kytkentärasiasta, johon valaisin asennetaan.
- Pura pakkauksesta: Poista kaikki osat varovasti pakkauksesta.
- Tarkastaa: Check for any damage during shipping. Do not install if damaged.
4.3 Kokoamisvaiheet
- Kiinnitä asennuslevy: Kiinnitä kiinnityslevy kytkentärasiaan mukana toimitetuilla ruuveilla.
- Determine Height (Pendant Option): Select the desired length of adjustable rods. Connect the rods to the fixture body and the canopy.
- Johdotus:
- Connect the fixture's ground wire to the supply ground wire (usually bare copper or green).
- Connect the fixture's neutral wire (usually white) to the supply neutral wire (white).
- Connect the fixture's hot wire (usually black) to the supply hot wire (black).
- Kiinnitä kaikki liitännät vaijerimuttereilla ja sähköteipillä.
- Turvallinen katos: Carefully push the canopy up to the ceiling, covering the junction box, and secure it with the provided screws or nuts.
- Asenna lasiverhot: Attach the three satin etched glass shades to the fixture arms.
- Asenna polttimot: Insert three E26 base bulbs (not included) into the sockets. Do not exceed 100W per bulb.

Kuva: Yksityiskohtainen view highlighting the brushed nickel metal components and the white frosted glass shades, emphasizing the quality of materials and finish.
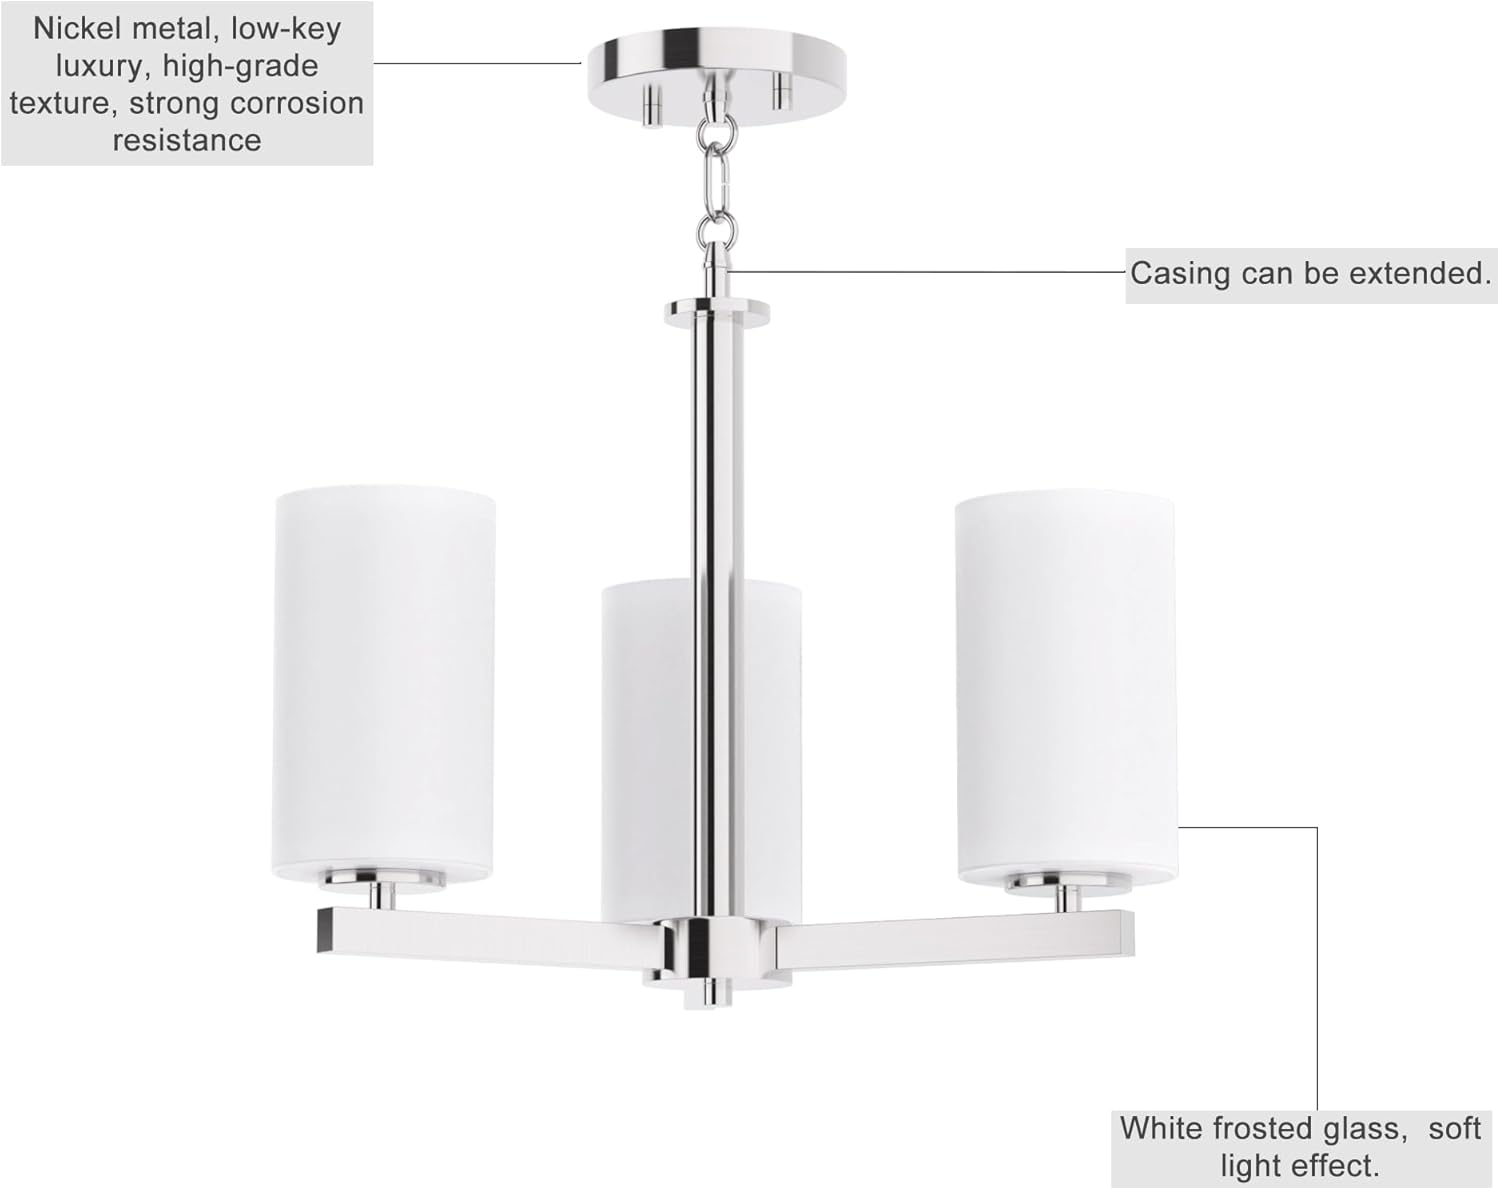
Image: A composite image showing close-ups of various parts of the chandelier: the connection point of the glass shade to the arm, the ceiling canopy with chain link, the central rod connection, and the arm connection to the central body. This illustrates the modular design and connection points.
5. Käyttöohjeet
Once installed, restore power at the circuit breaker. The chandelier operates via your wall switch.
- Kytkeminen päälle/pois: Use the standard wall switch connected to the fixture to turn the lights on or off.
- Himmennystoiminto: If you have a compatible wall dimmer switch, use dimmable bulbs to utilize the dimming feature. Bulbs are not included.
Video: Lyhyt videoesitysasing the Tawson 3-Light Chandelier in various room settings, demonstrating its aesthetic appeal and how it illuminates different spaces. The video highlights the brushed nickel finish and the soft glow from the glass shades.
6. Huolto ja hoito
Regular cleaning and proper care will ensure the longevity and appearance of your chandelier.
- Puhdistus:
- Katkaise virta ennen puhdistamista.
- Pyyhi metalliosat pehmeällä, kuivalla liinalla.
- Clean glass shades with a mild glass cleaner and a soft cloth. Avoid abrasive cleaners.
- Polttimon vaihto:
- Varmista, että virta on katkaistu.
- Anna sipulien jäähtyä ennen kuin kosketat niitä.
- Unscrew old bulbs and replace with new E26 base bulbs (max 100W each).
- Tarkastus: Tarkista säännöllisesti kaikkien liitosten ja kiinnitystarvikkeiden kireys.
7. Vianmääritys
Jos kattokruunussasi on ongelmia, tutustu seuraaviin yleisiin ongelmiin ja ratkaisuihin:
| Ongelma | Mahdollinen syy | Ratkaisu |
|---|---|---|
| Valo ei syty | Valaisimeen ei ole virtaa | Check circuit breaker/fuse. Ensure wall switch is on. |
| Bulbs not working | Löysät tai vialliset polttimot | Ensure bulbs are screwed in tightly. Replace with new bulbs. |
| Vilkkuvat valot | Löysät johdot tai yhteensopimaton himmennin | Turn off power, check wire connections. If using a dimmer, ensure bulbs are dimmable and compatible with the dimmer switch. |
| Kiinnitys löysällä | Mounting hardware not secure | Turn off power, tighten mounting screws and canopy nuts. |
8. Takuu ja tuki
For warranty information or technical support, please contact Tawson customer service. Keep your purchase receipt for warranty claims.
Yhteystiedot: Refer to your product packaging or the Tawson official websivustolta uusimmat tukitiedot.
9. Käyttöesimerkkiamples
The Tawson 3-Light Convertible Chandelier is versatile and suitable for various indoor settings.
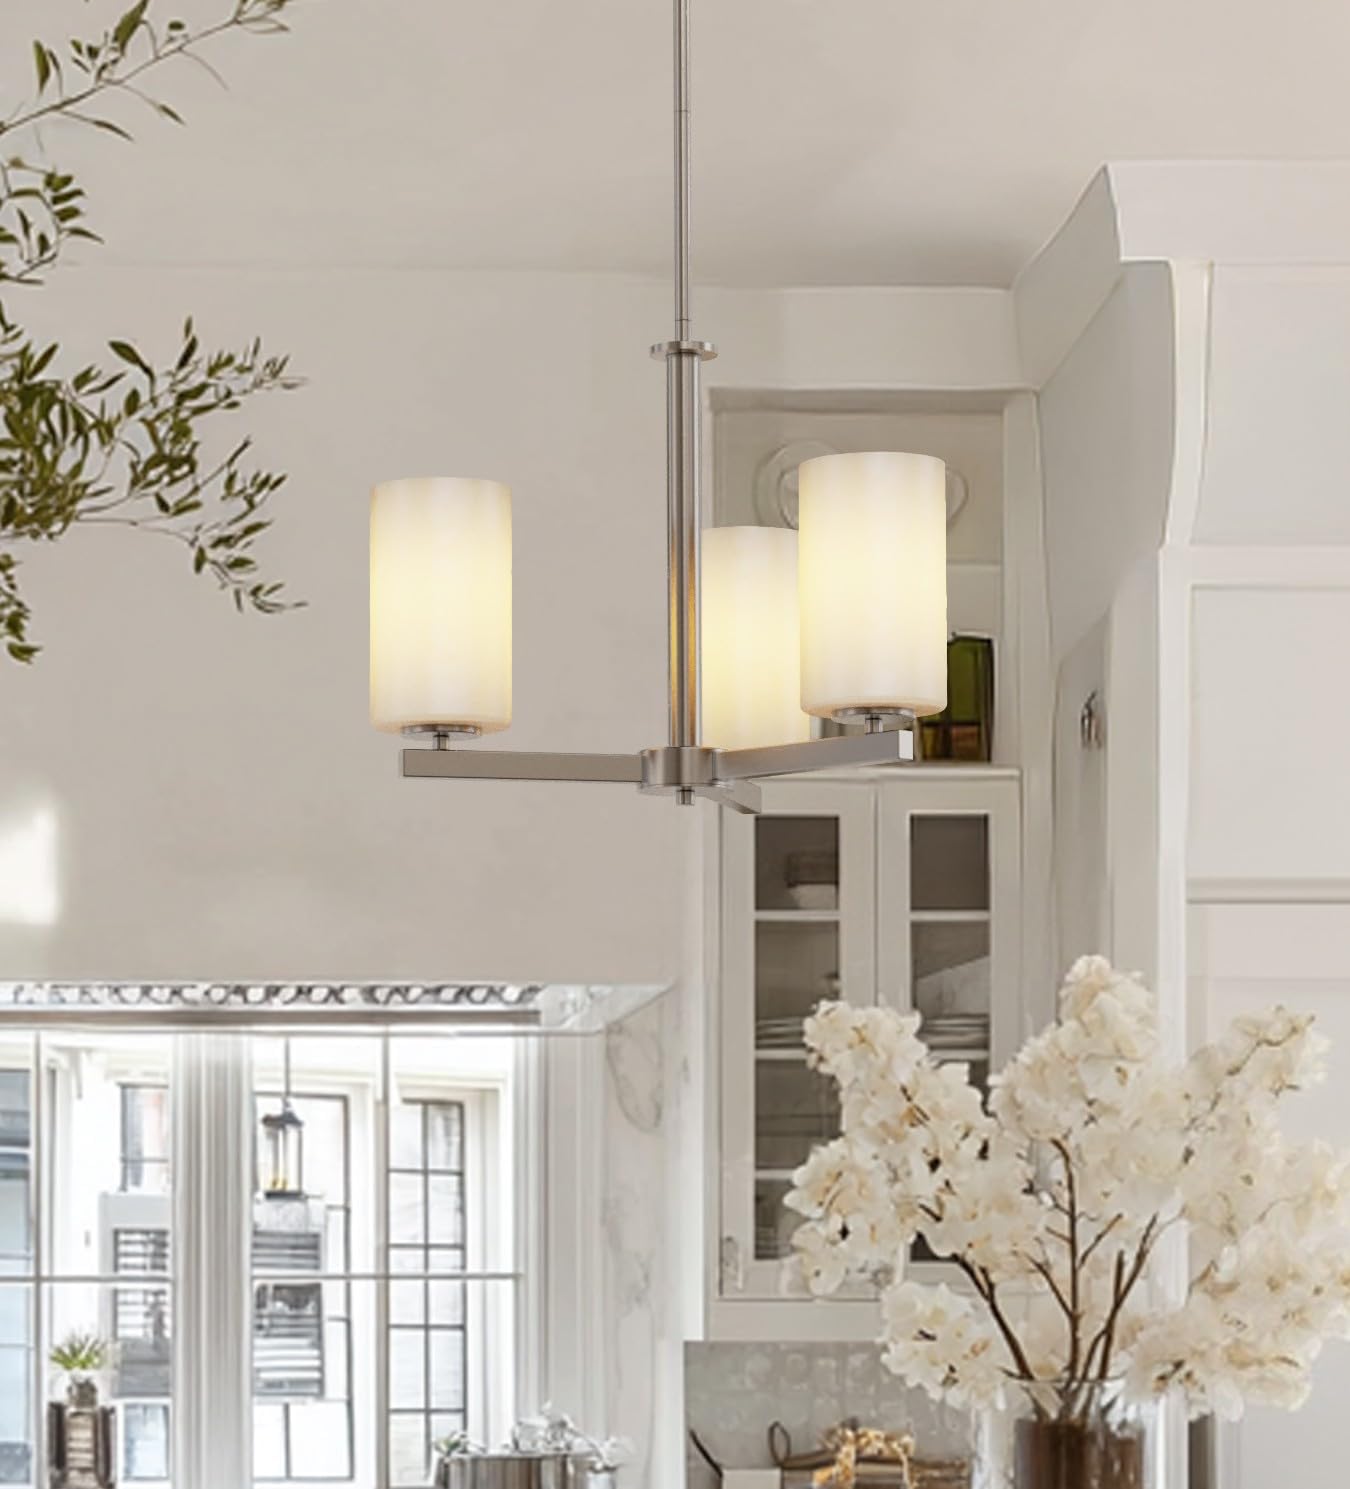
Image: The chandelier illuminating a contemporary kitchen space, featuring white cabinetry, a dark island, and light-colored flooring. The fixture provides ambient lighting above the island.

Image: The chandelier positioned above a dining table in a room with large windows, demonstrating its suitability for dining areas and its ability to complement natural light.

Image: The chandelier installed in a spacious bathroom, featuring a large vanity mirror, a white marble fireplace, and patterned floor tiles, showcasing its elegant integration into a sophisticated bathroom design.

Image: The chandelier hanging above a home bar or serving station, which includes patterned wallpaper, wooden shelves with bottles, and glassware, illustrating its use in a stylish entertainment space.