
Zenwire A10
Zenwire A10 Mini kannettavan projektorin käyttöohje
Malli: A10
1. Johdanto
Kiitos ostoksestasiasing the Zenwire A10 Mini Portable Projector. This device is designed to provide a versatile and convenient projection experience, allowing you to display content from various sources, including smartphones, tablets, and computers. Please read this manual carefully before using the projector to ensure proper operation and to maximize its lifespan.
2. Tärkeitä turvallisuusohjeita
- Älä katso suoraan projektorin linssiin, kunamp on päällä.
- Varmista projektorin ympärillä oleva asianmukainen ilmanvaihto ylikuumenemisen estämiseksi. Älä tuki tuuletusaukkoja.
- Käytä ainoastaan projektorin mukana toimitettua virtalähdettä.
- Pidä projektori poissa vedestä, kosteudesta ja syttyvistä materiaaleista.
- Älä yritä purkaa tai korjata projektoria itse. Ota yhteyttä pätevään huoltohenkilöstöön saadaksesi apua.
- Aseta projektori vakaalle, tasaiselle alustalle.
- Irrota projektori pistorasiasta ukkosmyrskyjen aikana tai jos sitä ei käytetä pitkään aikaan.
3. Pakkauksen sisältö
Tarkista pakkauksen sisältö purkamisen jälkeen. Jos jokin puuttuu tai on vaurioitunut, ota yhteyttä jälleenmyyjään.
- Zenwire A10 Mini Portable Projector
- Kaukosäädin
- Virtalähde
- Käyttöopas
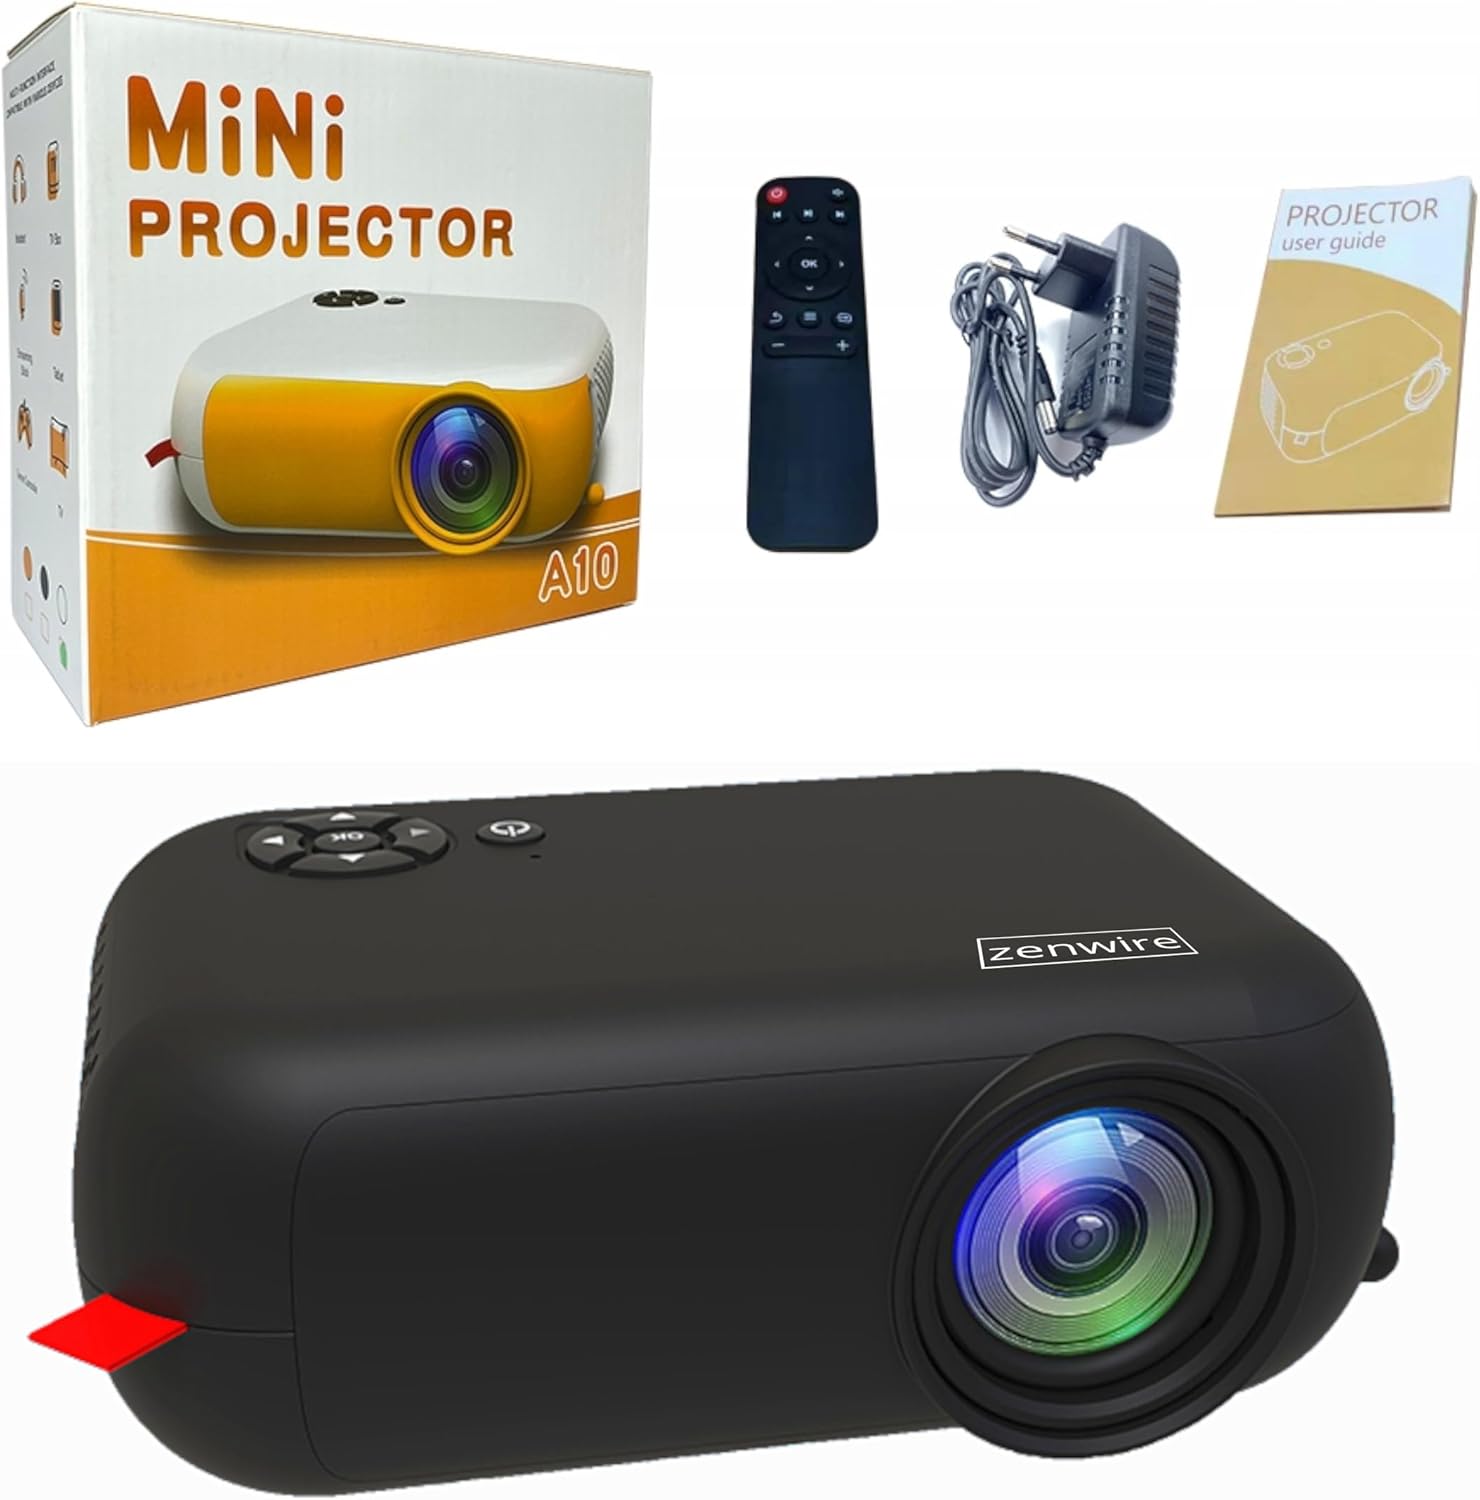
Image: Contents of the Zenwire A10 Mini Projector package, including the projector, remote control, power adapter, and user manual.
4. Tuote ohiview
4.1 Projector Dimensions and Design
The Zenwire A10 is designed for portability, featuring a compact and lightweight form factor. Its dimensions are approximately 14cm x 10cm x 5.5cm, making it easy to carry and set up in various locations.

Image: The Zenwire A10 Mini Projector held in a hand, illustrating its compact size and portability.
4.2 Portit ja ohjausobjektit
The projector features a range of input and output ports for versatile connectivity, along with intuitive controls.

Image: Rear panel of the Zenwire A10 Mini Projector, showing the 5V-IN DC power input, IR receiver, USB port, 3.5mm audio jack, HDMI port, and SD card slot.
- 5V-IN DC: Projektorin virransyöttö.
- IR: Infrapunavastaanotin kaukosäätimelle.
- USB: Liitä USB-tallennuslaitteet median toistoa varten.
- Kuulokeliitäntä (3.5 mm): Liitä ulkoiset kaiuttimet tai kuulokkeet.
- HDMI: Connect devices such as laptops, gaming consoles, or streaming sticks.
- SD: Aseta Micro SD -kortit median toistoa varten.
- Tarkennuspyörä: Adjust image sharpness (located on the side).
- Ohjauspaneeli: Buttons on top for navigation and selection.
5. Asennus
5.1 Virtaliitäntä
- Kytke toimitettu virtalähde pistorasiaan 5V-IN DC projektorin portti.
- Liitä verkkolaite pistorasiaan.
- Käynnistä projektori painamalla virtapainiketta tai kaukosäädintä.
5.2 Placement and Focus Adjustment
- Place the projector on a stable surface or mount it according to your preference. Ensure the projector lens is facing the projection surface (wall or screen).
- Adjust the distance between the projector and the screen to achieve your desired image size. The projector supports screen sizes up to 100 inches.
- Rotate the focus wheel (typically located near the lens) until the projected image appears clear and sharp.

Image: Diagram illustrating the Zenwire A10 Mini Projector's capability to project various screen sizes, from 13 inches up to 100 inches, depending on the projection distance.
6. Projektorin käyttö
6.1 Wireless Connection (Miracast & Airplay)
The Zenwire A10 supports wireless screen mirroring via 2.4/5GHz WiFi, compatible with Android (Miracast) and iOS (Airplay) devices.
- Varmista, että projektori ja mobiililaite on yhdistetty samaan Wi-Fi-verkkoon.
- On the projector's main menu, select the 'Screen Mirroring' or 'Wireless Display' option.
- Androidille: On your Android phone/tablet, enable 'Wireless Display', 'Screen Mirroring', 'Smart View', or similar function (names may vary by device). Select the projector from the list of available devices.
- iOS: On your iPhone/iPad, open Control Center and tap 'Screen Mirroring'. Select the projector from the list of available devices.
- The content from your mobile device should now be mirrored on the projector screen.
6.2 Kiinteät liitännät
The projector offers multiple wired input options for various devices.

Image: The Zenwire A10 Mini Projector connected to various devices such as smartphones, tablets, laptops, desktop computers, gaming consoles, and media players, highlighting its versatile connectivity.
- HDMI: Connect a laptop, PC, gaming console (e.g., Xbox, PlayStation), or streaming device (e.g., Amazon Fire TV Stick, Google Chromecast) using an HDMI cable. Select the HDMI input source on the projector.
- USB: Insert a USB flash drive or external hard drive into the USB port. The projector's media player will allow you to browse and play supported video, audio, and image files.
- Micro SD: Insert a Micro SD card into the SD card slot. Similar to USB, you can access media files through the projector's interface.
- Äänilähtö (3.5 mm:n liitin): Connect external speakers or headphones to enhance the audio experience.
6.3 Navigointi valikossa
Use the remote control or the buttons on the projector to navigate through the on-screen menu. Select input sources, adjust picture settings (brightness, contrast, color), sound settings, and other system preferences.
7. Huolto
- Linssien puhdistus: Pyyhi projektorin linssi varovasti pehmeällä, nukkaamattomalla liinalla, joka on erityisesti suunniteltu optisille linsseille. Vältä hankaavien puhdistusaineiden käyttöä tai liiallista voimaa.
- Pölynpoisto: Regularly clean the projector's exterior with a soft, dry cloth. Use a small brush or compressed air to clear dust from the ventilation openings to ensure proper airflow.
- Varastointi: Kun projektoria ei käytetä, säilytä sitä viileässä, kuivassa paikassa, poissa suorasta auringonvalosta ja äärimmäisistä lämpötiloista. Käytä alkuperäistä pakkausta tai suojakoteloa pölyn kertymisen ja vaurioiden estämiseksi.
8. Vianmääritys
If you encounter issues with your Zenwire A10 projector, refer to the following common problems and solutions:
| Ongelma | Mahdollinen syy | Ratkaisu |
|---|---|---|
| Ei kuvaa näytöllä | Virtaa ei ole kytketty; Väärä tulolähde; Laite ei ole kytketty oikein. | Check power cable; Select correct input source (HDMI, USB, etc.); Reconnect source device. |
| Kuva on epäselvä | Tarkennusta ei ole säädetty; Projektori on liian lähellä/kaukana valkokankaasta. | Adjust the focus wheel; Adjust projection distance. |
| Ei ääntä | Äänenvoimakkuus liian alhainen; Mykistetty; Ulkoista äänilaitetta ei ole kytketty/valittu. | Increase volume; Unmute; Check external speaker connection or select internal speaker. |
| Langattoman yhteyden ongelmat | Not on same Wi-Fi network; Device not compatible; Interference. | Ensure both devices are on the same Wi-Fi; Verify device compatibility; Try moving closer to Wi-Fi router. |
9. Tekniset tiedot
| Ominaisuus | Yksityiskohta |
|---|---|
| Merkki | Zenwire |
| Mallinumero | A10 |
| Tuotetyyppi | Compact and Portable Projector |
| Alkuperäinen resoluutio | 480 x 360p |
| Suurin näytön tarkkuus | 1920 x 1080 (Full HD) |
| Kirkkaus | 1800lm / 60 ANSI |
| Kontrastisuhde | 2000:1 |
| Näytön tyyppi | LED |
| Yhteystekniikka | Wi-Fi (2.4/5GHz), HDMI, USB, Micro SD, 3.5mm Audio Jack |
| Langattomat ominaisuudet | Miracast, Airplay |
| Yhteensopivat laitteet | Smartphones (Android, iOS), Tablets, Laptops, PCs, Gaming Consoles |
| Suositellut käyttötavat | Kotiteatteri |
| Mitat (noin) | 14cm x 10cm x 5.5cm |
10. Takuu ja tuki
The Zenwire A10 Mini Portable Projector comes with a standard manufacturer's warranty. For specific warranty terms and conditions, please refer to the documentation provided at the time of purchase or contact your retailer. For technical support or service inquiries, please reach out to Zenwire customer service through their official websivustolla tai tuotteen mukana toimitetuissa yhteystiedoissa.
Ask a question about this manual
Ask about setup, troubleshooting, compatibility, parts, safety, or missing instructions. Manuals+ will review the question and use this page’s manual context to help answer it.