
1. Johdanto
This manual provides essential information for the safe and effective use of your nvmw 24V 2A Electric Scooter Battery Charger. Please read these instructions carefully before use and retain them for future reference. This charger is designed to provide reliable power for compatible electric scooters and wheelchairs.
2. Turvallisuustiedot
WARNING: To reduce the risk of fire and burns, observe the following precautions:
- Älä pura laturia.
- Do not squeeze or puncture the charger.
- Avoid short-circuiting external contacts.
- Do not dispose of the charger in fire.
- Keep the charger away from water and excessive moisture.
- Use the charger only with compatible devices as specified in this manual.
- Varmista riittävä tuuletus latauksen aikana ylikuumenemisen estämiseksi.
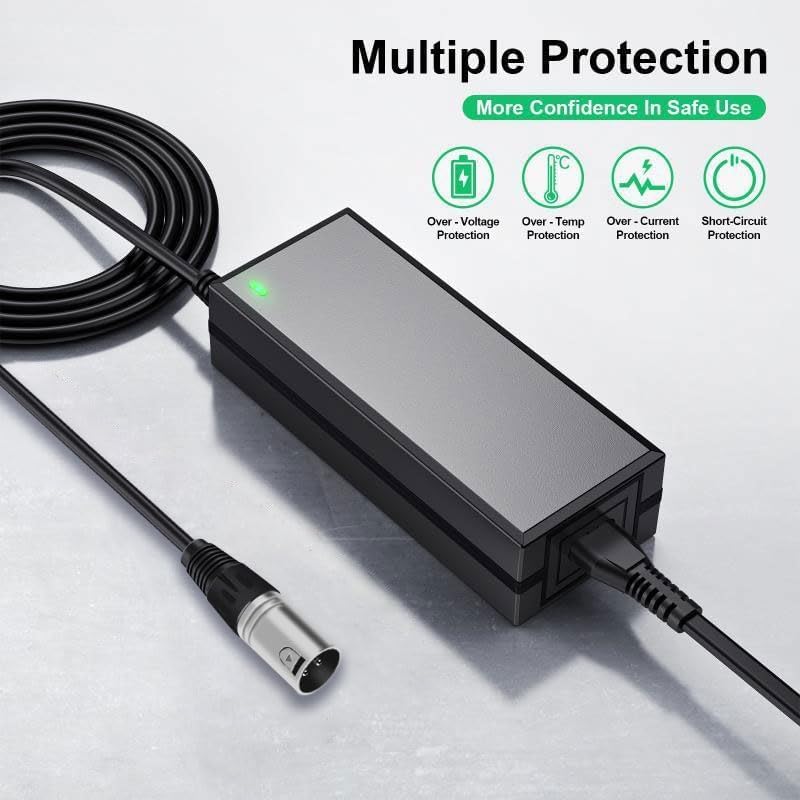
Kuva 1: The nvmw 24V 2A Electric Scooter Battery Charger highlighting its multiple protection features including over-voltage, over-temperature, over-current, and short-circuit protection.
3. Tuote ohiview
The nvmw 24V 2A Electric Scooter Battery Charger is designed for efficient and safe charging of various electric scooters and wheelchairs. It features built-in protection mechanisms to ensure reliable operation.
Tärkeimmät ominaisuudet:
- Suojaus: Short circuit protection, constant current and voltage regulation, overcurrent protection, and overload protection.
- Syöte: AC 100-240V, 50/60Hz.
- Lähtö: DC 24V 2A.
- Liitin: Male 3-pin XLR.
- LED-ilmaisin: Näyttää lataustilan.

Kuva 2: Kenraali view of the nvmw 24V 2A Electric Scooter Battery Charger, showing the main unit and the 3-pin XLR output connector.
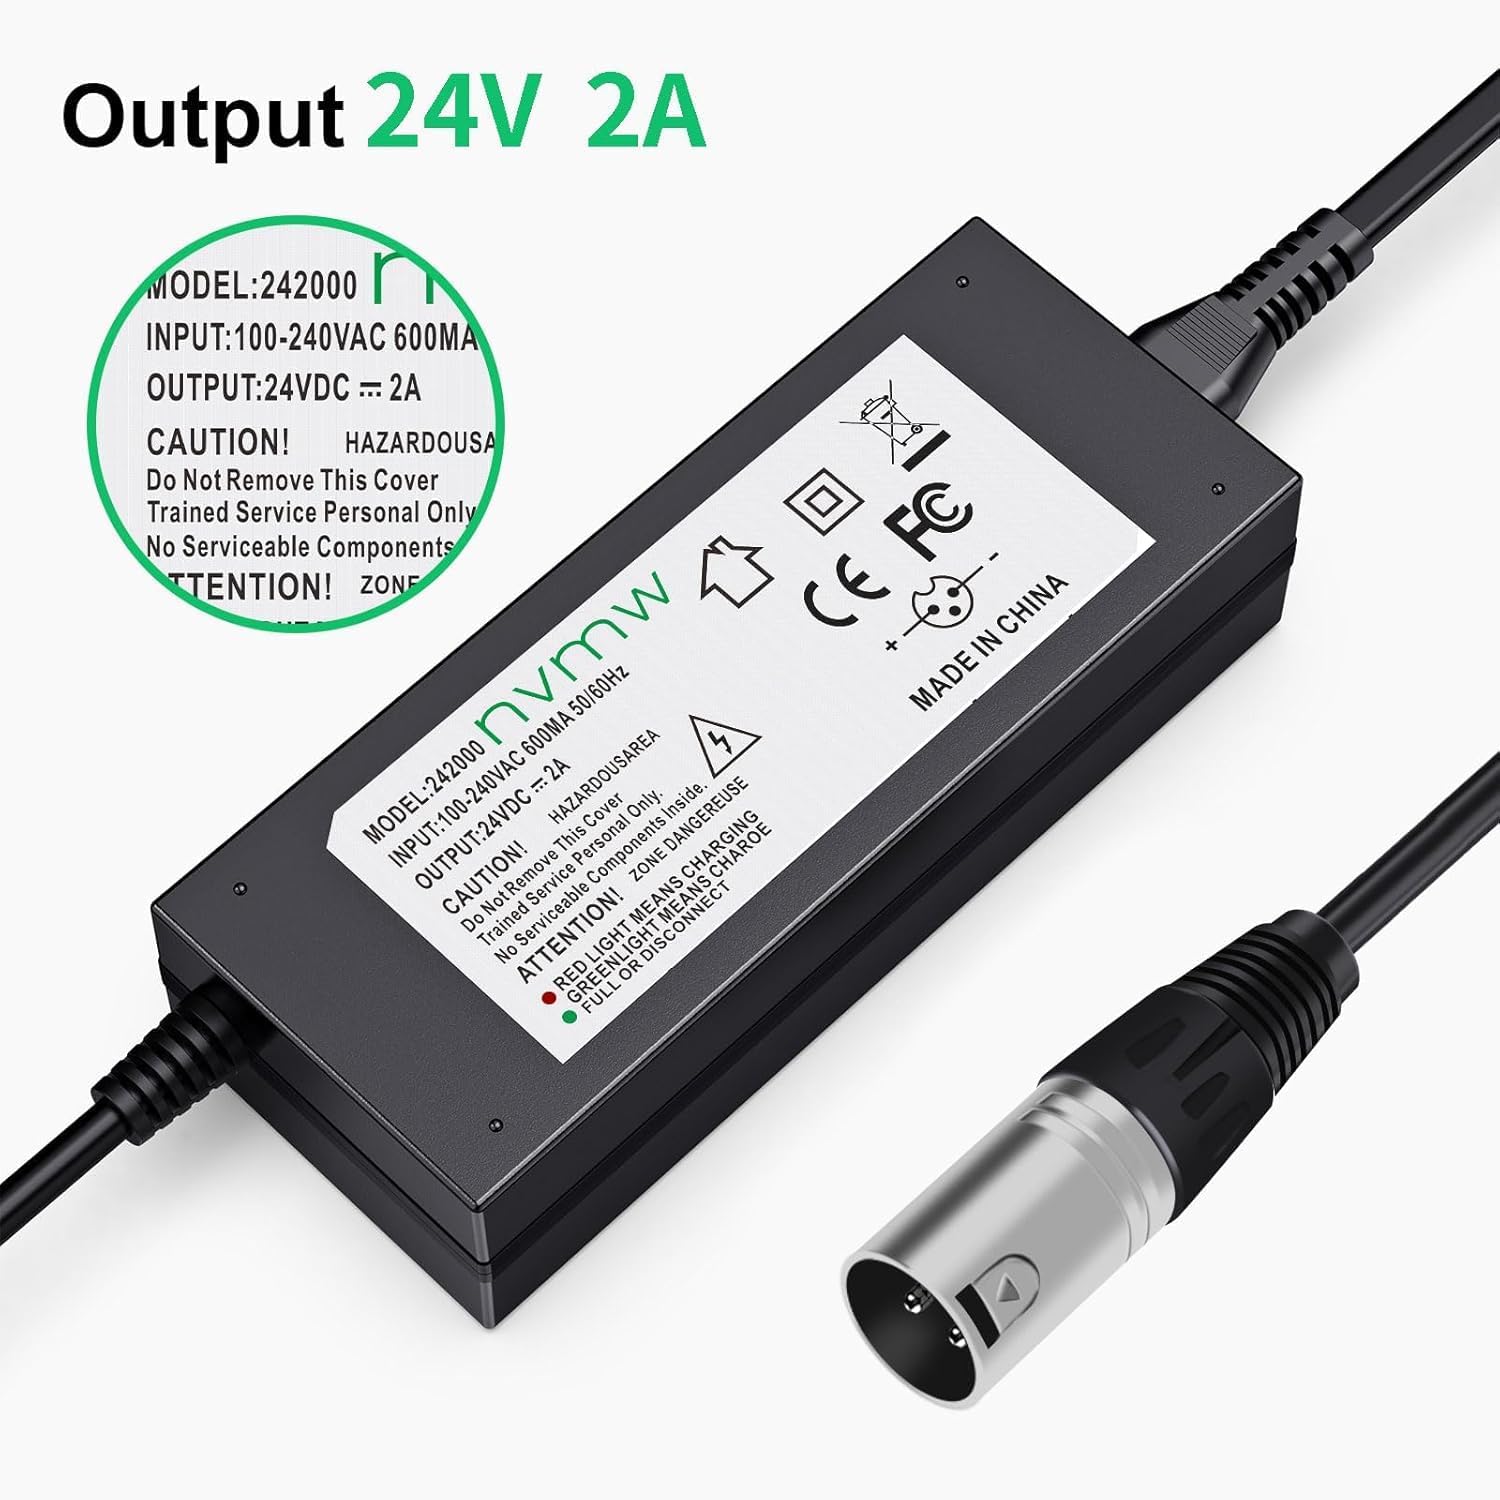
Kuva 3: Close-up of the charger's label, indicating an output of 24V DC, 2A, and input voltage valikoima.
4. Asennus
Valmistele laturi käyttöä varten noudattamalla näitä ohjeita:
- Pura pakkauksesta: Poista laturi ja virtajohto varovasti pakkauksestaan.
- Kytke virtajohto: Insert the included US input power cord into the charger's AC input port.
- Inspect Connector: Ensure the 3-pin XLR connector on the charger's output cable is clean and free from damage.
- Tarkista yhteensopivuus: Confirm that your electric scooter or wheelchair requires a 24V 2A charger with a male 3-pin XLR connector.
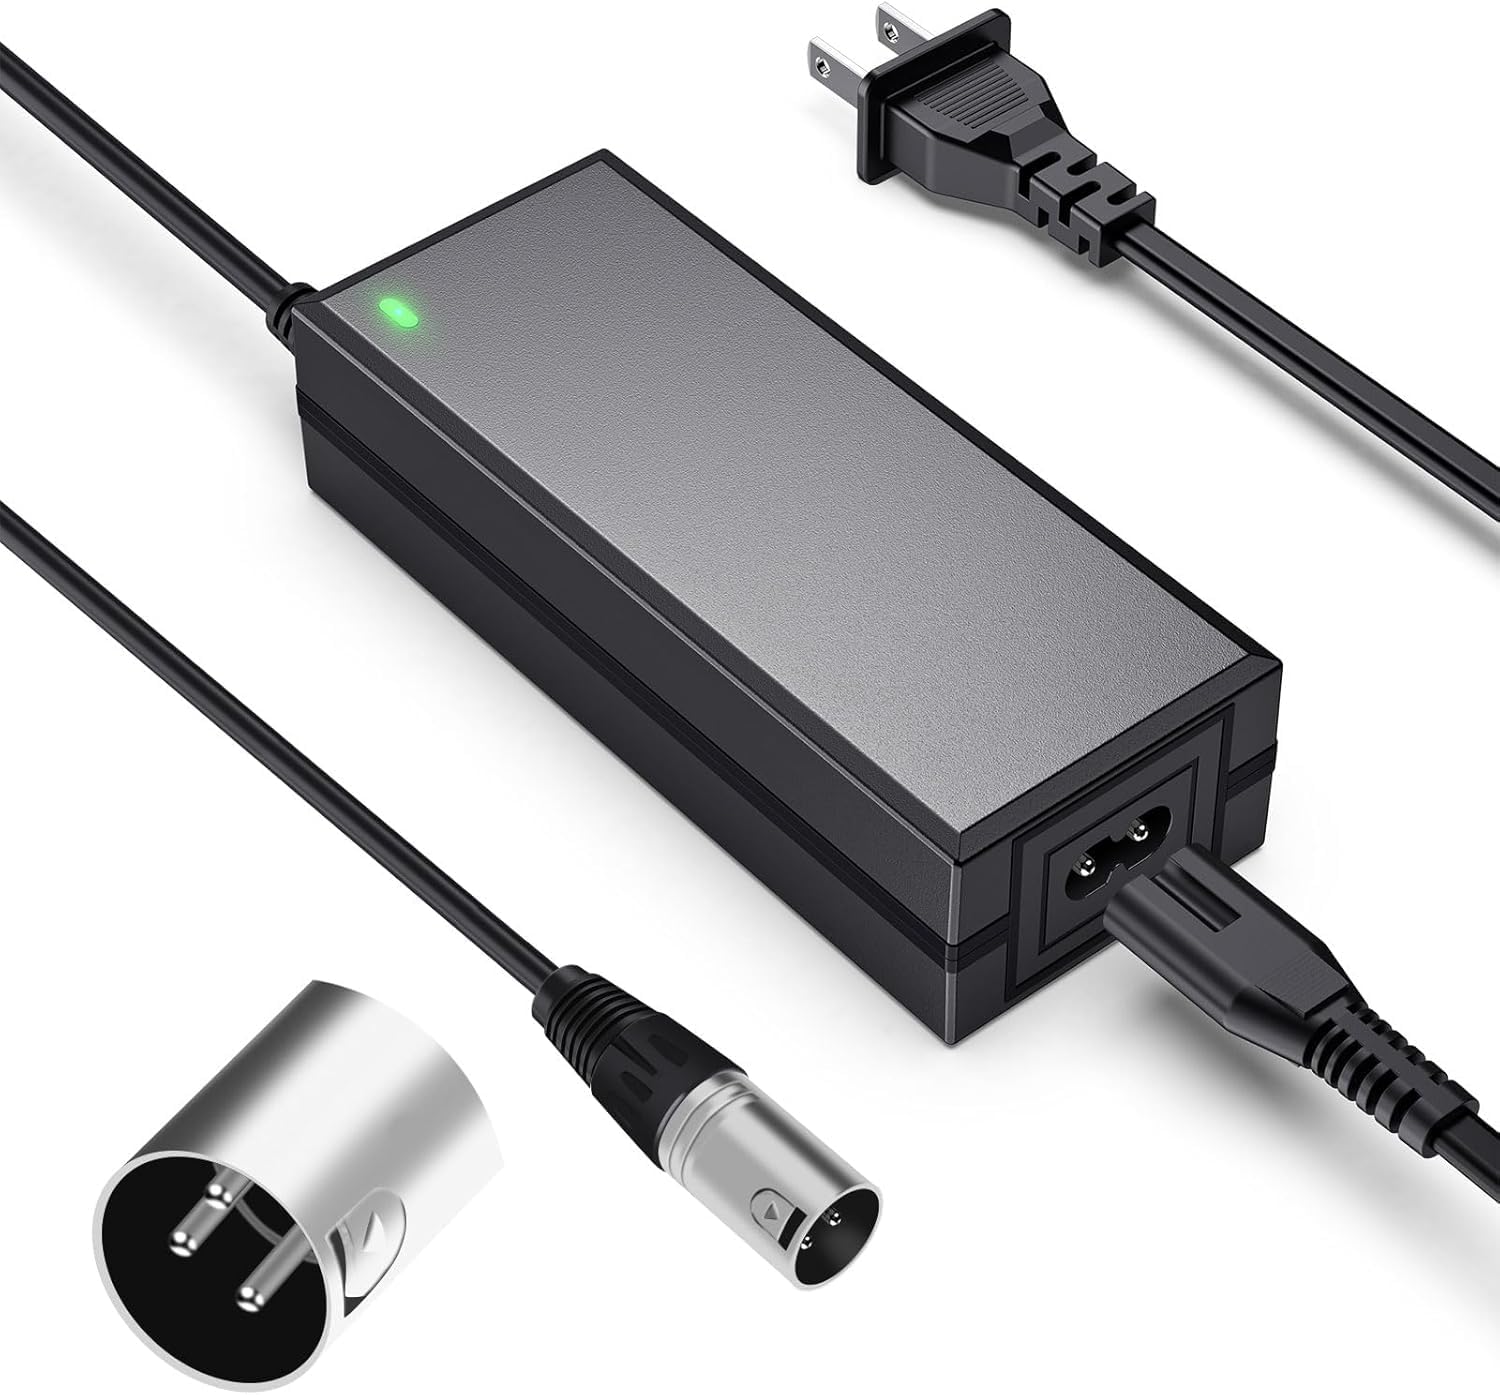
Kuva 4: The charger unit, its detachable power cord, and the 3-pin XLR output connector, illustrating the components included.
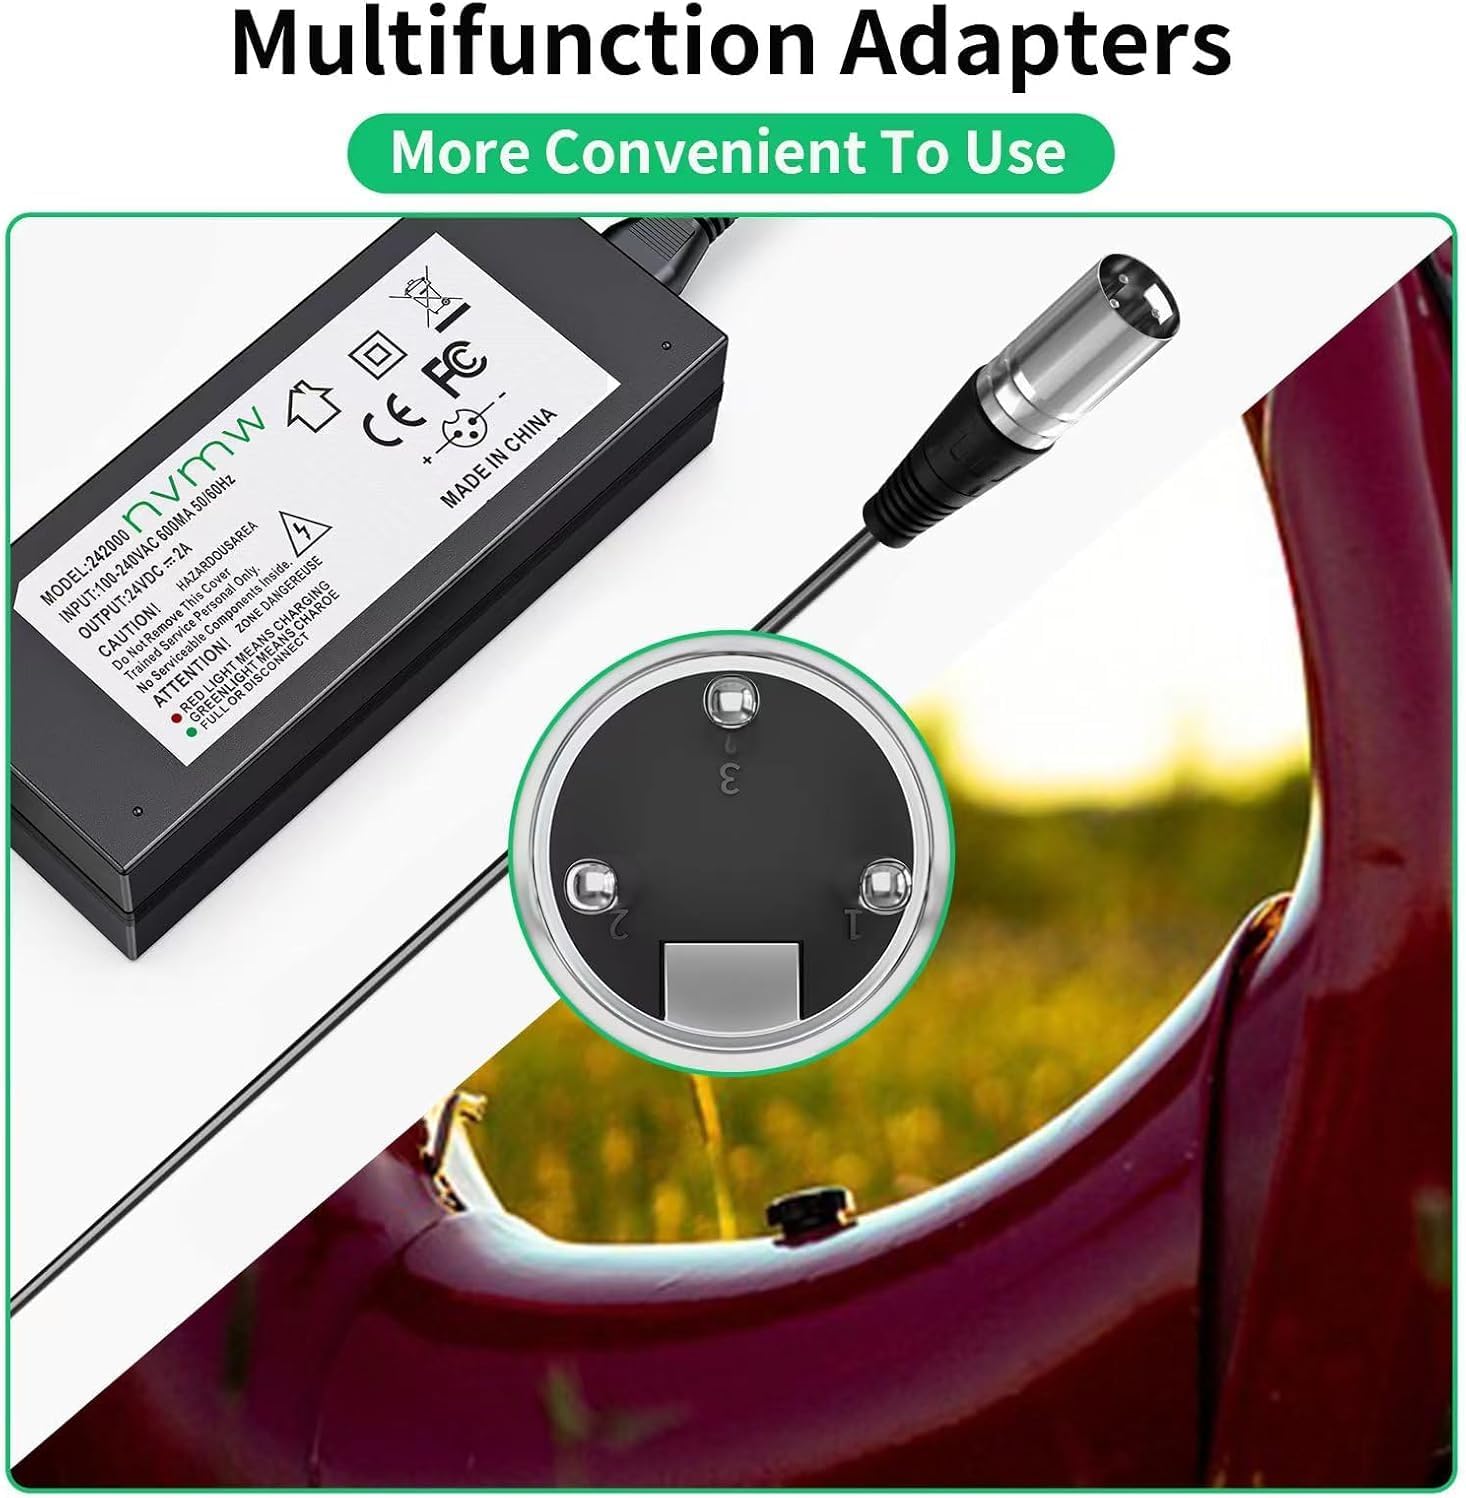
Kuva 5: Yksityiskohtainen view of the 3-pin XLR connector, showing its pin configuration, alongside the charger's label.
5. Käyttöohjeet
Lataa laitteesi seuraavasti:
- Yhdistä laitteeseen: Plug the 3-pin XLR connector from the charger into the charging port of your electric scooter or wheelchair. Ensure a secure connection.
- Liitä pistorasiaan: Plug the AC power cord into a standard wall outlet (AC 100-240V).
- Näytön lataus: Tarkkaile laturin LED-merkkivaloa:
- Punainen valo: Ilmaisee, että laite latautuu parhaillaan.
- Vihreä valo: Indicates that charging is complete, or the charger is connected but not actively charging (e.g., if the battery is already full).
- Katkaise yhteys: Once the green light indicates a full charge, first unplug the AC power cord from the wall outlet, then disconnect the XLR connector from your device.
6. Huolto
Oikea huolto varmistaa laturin pitkän käyttöiän ja suorituskyvyn:
- Puhdistus: Pyyhi laturi kuivalla, pehmeällä liinalla. Älä käytä nestemäisiä puhdistusaineita tai liuottimia.
- Varastointi: Säilytä laturia viileässä, kuivassa paikassa, poissa suorasta auringonvalosta ja äärimmäisistä lämpötiloista, kun sitä ei käytetä.
- Kaapelihuolto: Avoid bending or crimping the cables excessively. Do not pull the cable to disconnect; always grasp the plug.
- Tarkastus: Periodically inspect the charger, cables, and connectors for any signs of damage. If damage is found, discontinue use and replace the charger.
7. Vianmääritys
Jos laturissasi on ongelmia, katso alla olevaa taulukkoa:
| Ongelma | Mahdollinen syy | Ratkaisu |
|---|---|---|
| Laturin LED-valo ei syty. | Ei virtaa pistorasiasta; löysä liitos; viallinen laturi. | Check wall outlet with another device. Ensure all connections are secure. If problem persists, charger may be faulty. |
| LED remains green, but device is not fully charged. | Device battery is already full; incorrect connection; battery issue. | Verify device battery level. Re-seat the XLR connector. Consult device manual for battery diagnostics. |
| Laturi kuumenee liikaa. | Poor ventilation; faulty charger or battery. | Ensure charger is in a well-ventilated area. Discontinue use if overheating persists and contact support. |
| Charger does not fit device. | Incompatible connector type or voltage. | Verify your device's charging port type and voltage requirements match the charger's 3-pin XLR and 24V output. |
8. Tekniset tiedot
| Ominaisuus | Yksityiskohta |
|---|---|
| Merkki | nvmw |
| Mallinumero | nvmw24-1 |
| Tulo Voltage | AC 100-240V |
| Taajuusalue | 50 - 60 XNUMX Hz |
| Lähtö Voltage | DC 24V |
| Lähtövirta | 2A |
| Wattage | 24 wattia |
| Liittimen tyyppi | 3-pin XLR (Male) |
| Mukana olevat komponentit | Virtajohto |
| Erikoisominaisuudet | Short Circuit Protection, Overcurrent Protection, Overload Protection |
| Materiaali | Muovi |
| Tuotteen paino | 0.34 kg |
| Virtapistokkeen tyyppi | Tyyppi A - 2-nastainen (pohjoisamerikkalainen) |
| Yhteensopivat laitteet | Electric Scooters, Wheelchairs (e.g., Go Go Elite Traveler, Pride Mobility, Jazzy Power Chair, eZip Mountain Trailz, etc.) |

Kuva 6: Dimensional parameters of the charger unit and its cables, showing lengths and unit size.
9. Takuu ja tuki
The product comes with a 1-year warranty. For technical support, warranty claims, or further assistance, please refer to the contact information provided with your purchase or visit the manufacturer's official websivusto.