
Roxicosly CR1001E
Roxicosly Digital Alarm Clock User Manual
Model: CR1001E
1. Johdanto
This manual provides detailed instructions for the setup, operation, and maintenance of your Roxicosly Digital Alarm Clock. Designed for ease of use, this alarm clock features a large LED display, dual alarms, adjustable brightness and volume, a USB charging port, and battery backup for convenience and reliability.
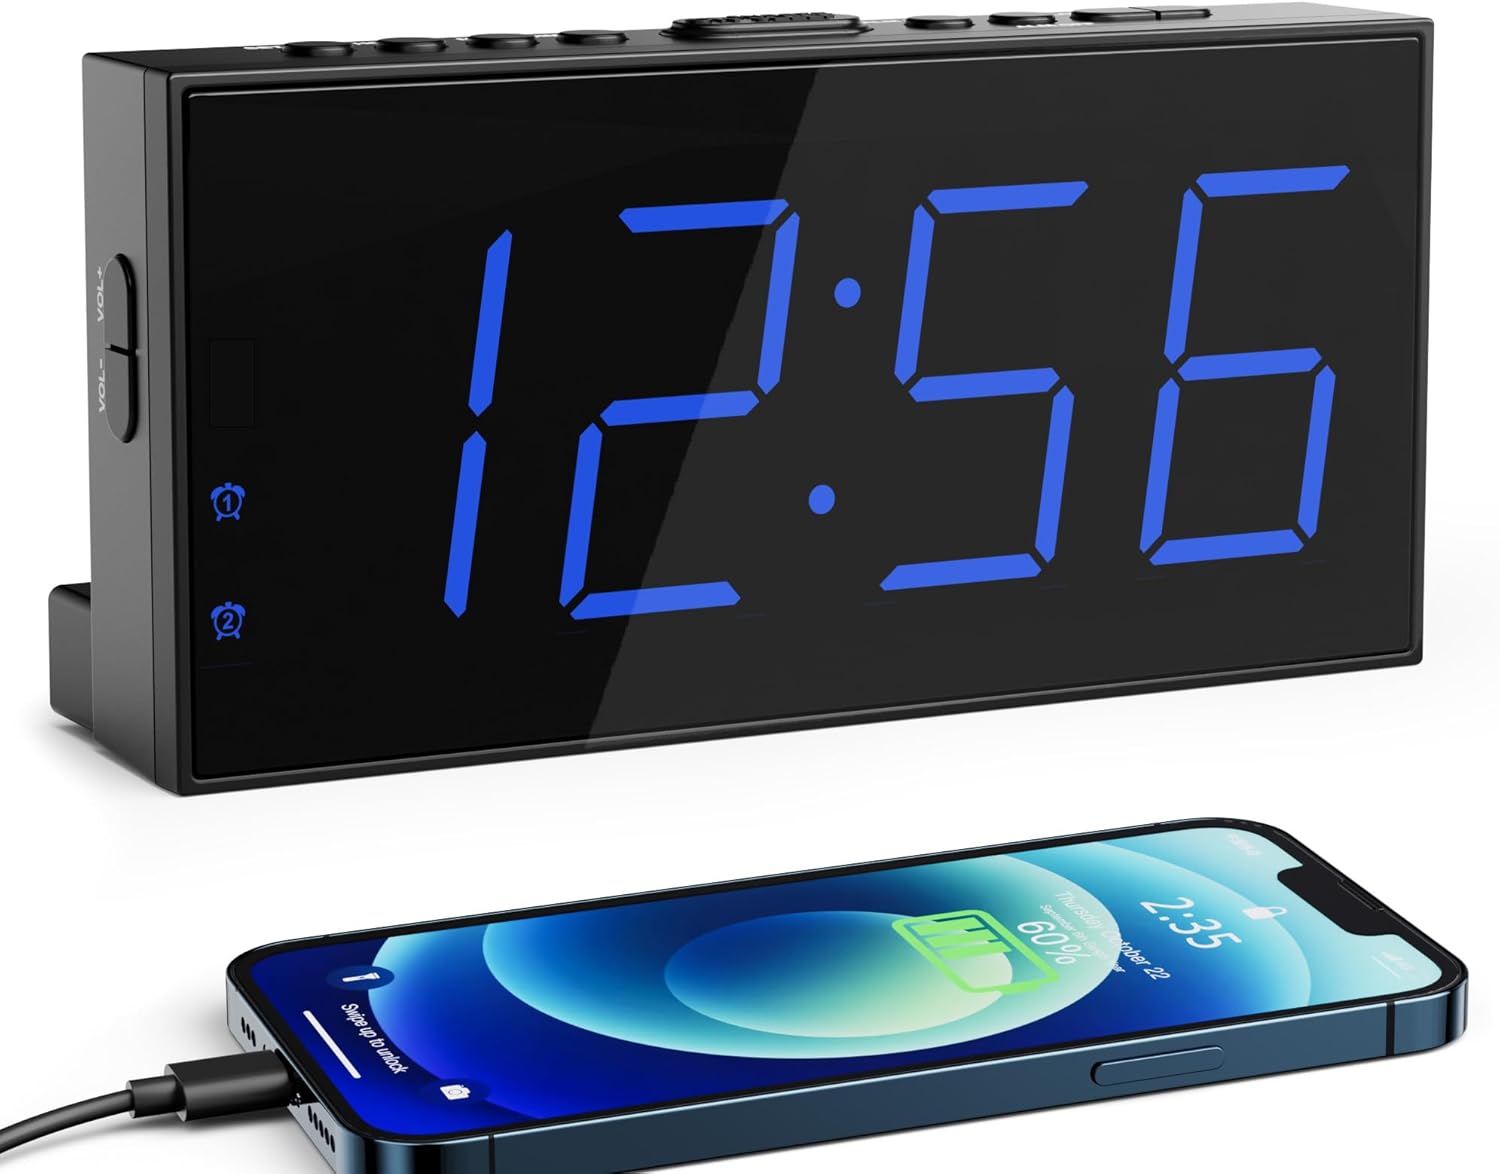
Image 1.1: The Roxicosly Digital Alarm Clock displaying time, with a smartphone connected for charging.
2. Tuotteen ominaisuudet
- 7.5-inch Large LED Display: Provides clear visibility of time from a distance.
- 5-Level Adjustable Screen Brightness: Customize display intensity for day or night viewing.
- Kaksoishälytys: Set two independent wake-up times.
- 5-Level Adjustable Alarm Volume: Ensures effective waking for various sleep preferences.
- 9 minuutin torkkutoiminto: Allows for a brief extension of sleep.
- USB-latausportti: Conveniently charge external devices (e.g., smartphones).
- 12/24H Format & DST Function: Switch between time formats and adjust for Daylight Saving Time.
- Vaihtovirta ja vara-akku: Operates on AC power with AAA batteries (not included) to retain settings during power outages.
- Stable Standing Design: Includes two back holders for secure tabletop placement.
3. Asennusohjeet
3.1 Pakkauksen purkaminen ja osat
Poista kaikki osat varovasti pakkauksesta. Pakkauksen tulee sisältää:
- Roxicosly Digital Alarm Clock
- Pistoke
- 1.5 m virtajohto
- Two Back Holders
- Käyttöopas (tämä asiakirja)

Image 3.1: Included components of the alarm clock package.
3.2 Virtaliitäntä
- Connect the provided power cable to the DC IN port on the back of the alarm clock.
- Plug the power adapter into a standard AC power outlet (100-240V). The clock display will illuminate.

Image 3.2: Connecting the alarm clock to AC power.
3.3 Akun varmuuskopioinnin asennus
For retaining time and alarm settings during power outages, install two AAA batteries (not included).
- Avaa kellon takana olevan paristolokeron kansi.
- Aseta kaksi 1.5 V:n AAA-paristoa paikoilleen varmistaen oikean napaisuuden (+ ja -).
- Sulje paristolokeron kansi.
Huomautus: Batteries are for backup only; the clock requires AC power for normal operation and display illumination.

Image 3.3: Installing AAA batteries for backup.
3.4 Vakaa sijoitus
Insert the two provided back holders into the designated slots on the bottom rear of the clock for enhanced stability on flat surfaces.
4. Käyttöohjeet
4.1 Kellonajan asettaminen
- Paina ja pidä painettuna ASETTAA AIKA -painiketta, kunnes tuntinumerot alkavat vilkkua.
- Käytä TUNNIN ja MIN buttons to adjust the hour and minute respectively.
- Paina ASETTAA AIKA uudelleen vahvistaaksesi ja poistuaksesi ajan asetustilasta.
4.2 12/24 Hour Format and DST
To switch between 12-hour and 24-hour time formats, or to activate/deactivate Daylight Saving Time (DST):
- Paina 12/24H & DST button. Each press will cycle through 12H, 24H, and DST modes.
- In 12H format, a 'PM' indicator will appear for afternoon hours.
- When DST is active, a 'DST' indicator will be displayed, and the time will adjust by one hour.

Image 4.1: 12/24H and DST function button.
4.3 Näytön kirkkauden säätäminen
The clock features 5 levels of display brightness. To adjust:
- Paina HIMMENNIN button repeatedly to cycle through the 5 brightness levels (from brightest to darkest, then off).
- Select the desired brightness level for comfortable viewing.
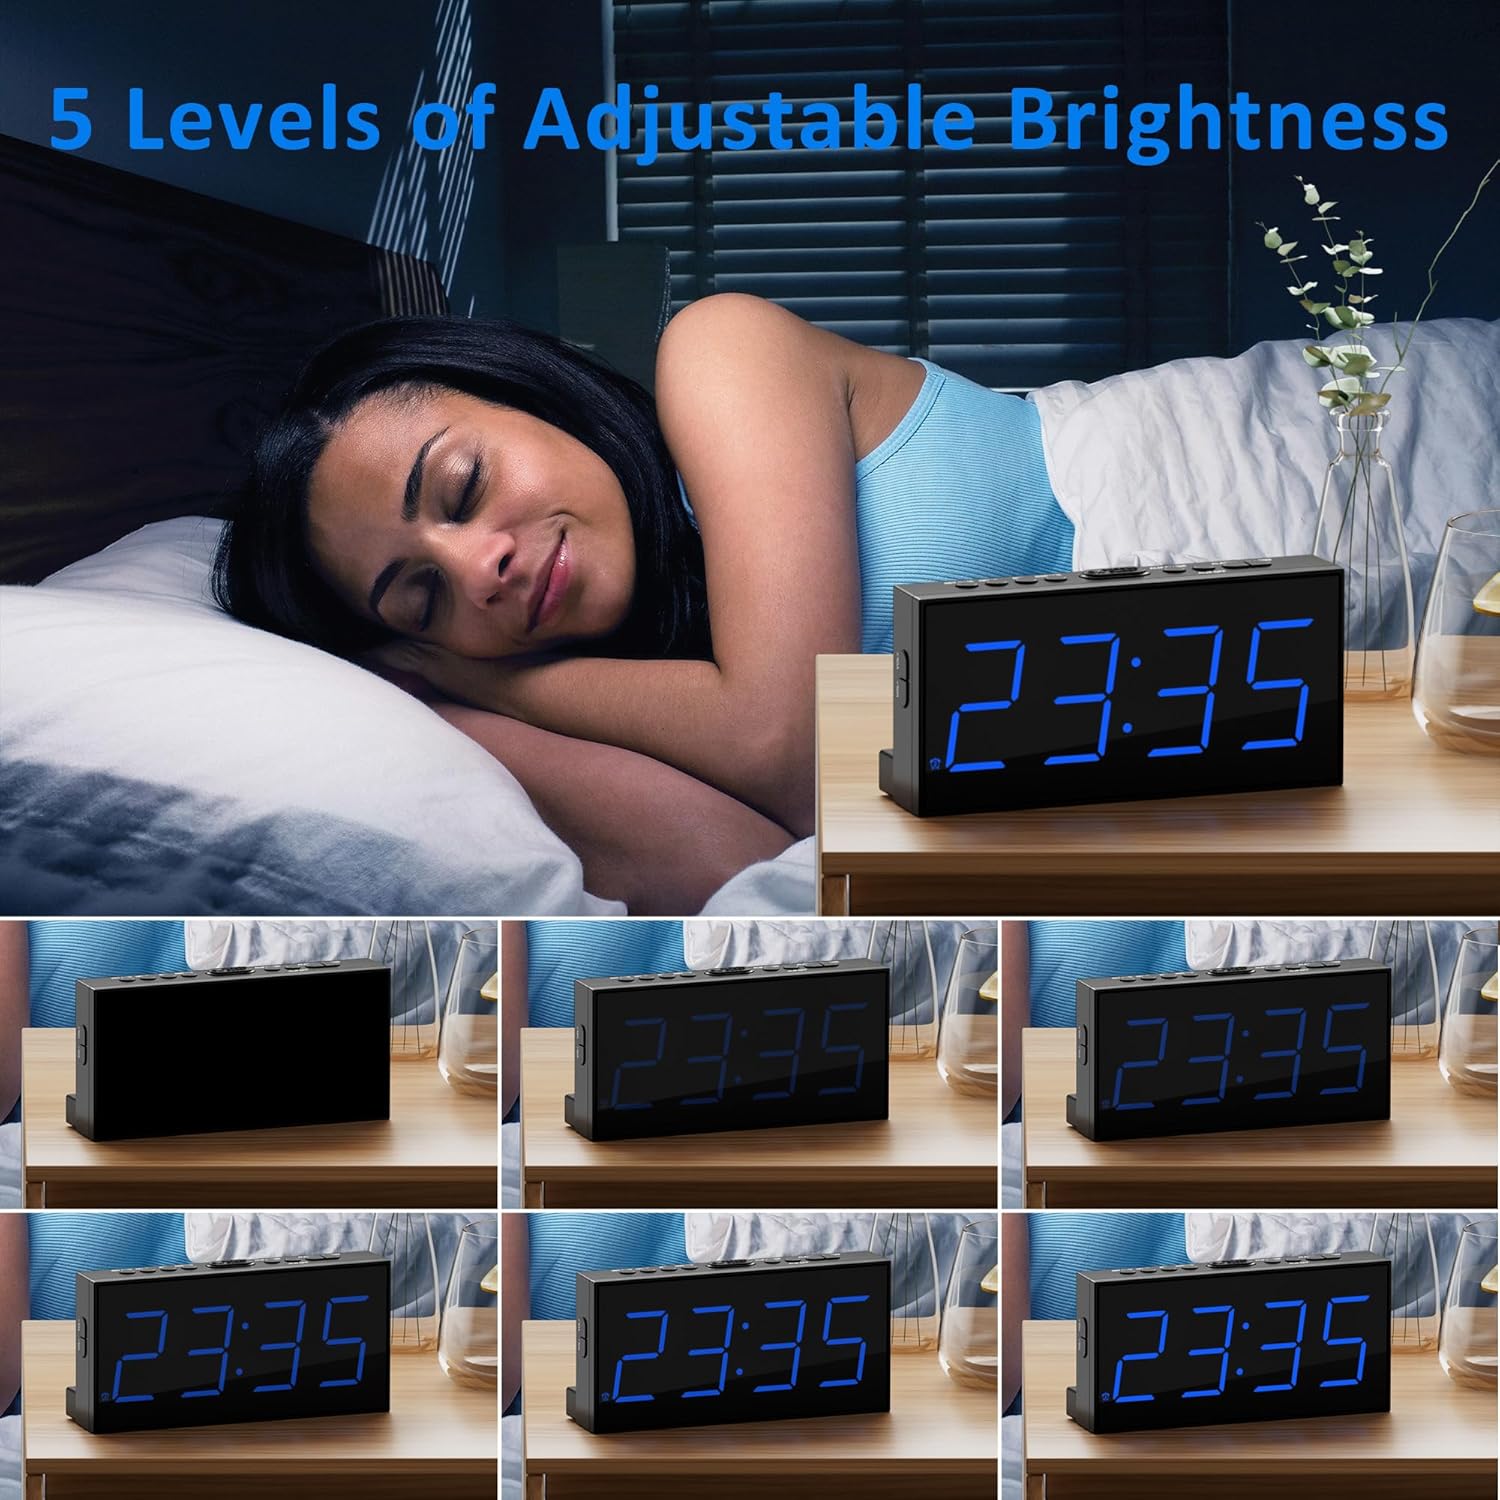
Kuva 4.2: Esim.amples of the 5 adjustable brightness levels.
4.4 Hälytysten asettaminen (hälytys 1 ja hälytys 2)
The clock allows you to set two independent alarms.
- Paina HÄLYTYS 1 or HÄLYTYS 2 -painiketta kerran nähdäksesi nykyisen herätysajan.
- Press and hold the respective HÄLYTYS -painiketta, kunnes tuntinumerot vilkkuvat.
- Käytä TUNNIN ja MIN painikkeita halutun hälytysajan asettamiseksi.
- Paina HÄLYTYS button again to confirm and activate the alarm. The corresponding alarm icon (1 or 2) will appear on the display.
- To deactivate an alarm, press the respective HÄLYTYS -painiketta, kunnes hälytyskuvake katoaa.

Image 4.3: Dual alarm functionality.
4.5 Torkku -toiminto
Kun hälytys soi, paina isoa TORKUTA button located on top of the clock to temporarily silence the alarm for 9 minutes. The alarm will sound again after 9 minutes.
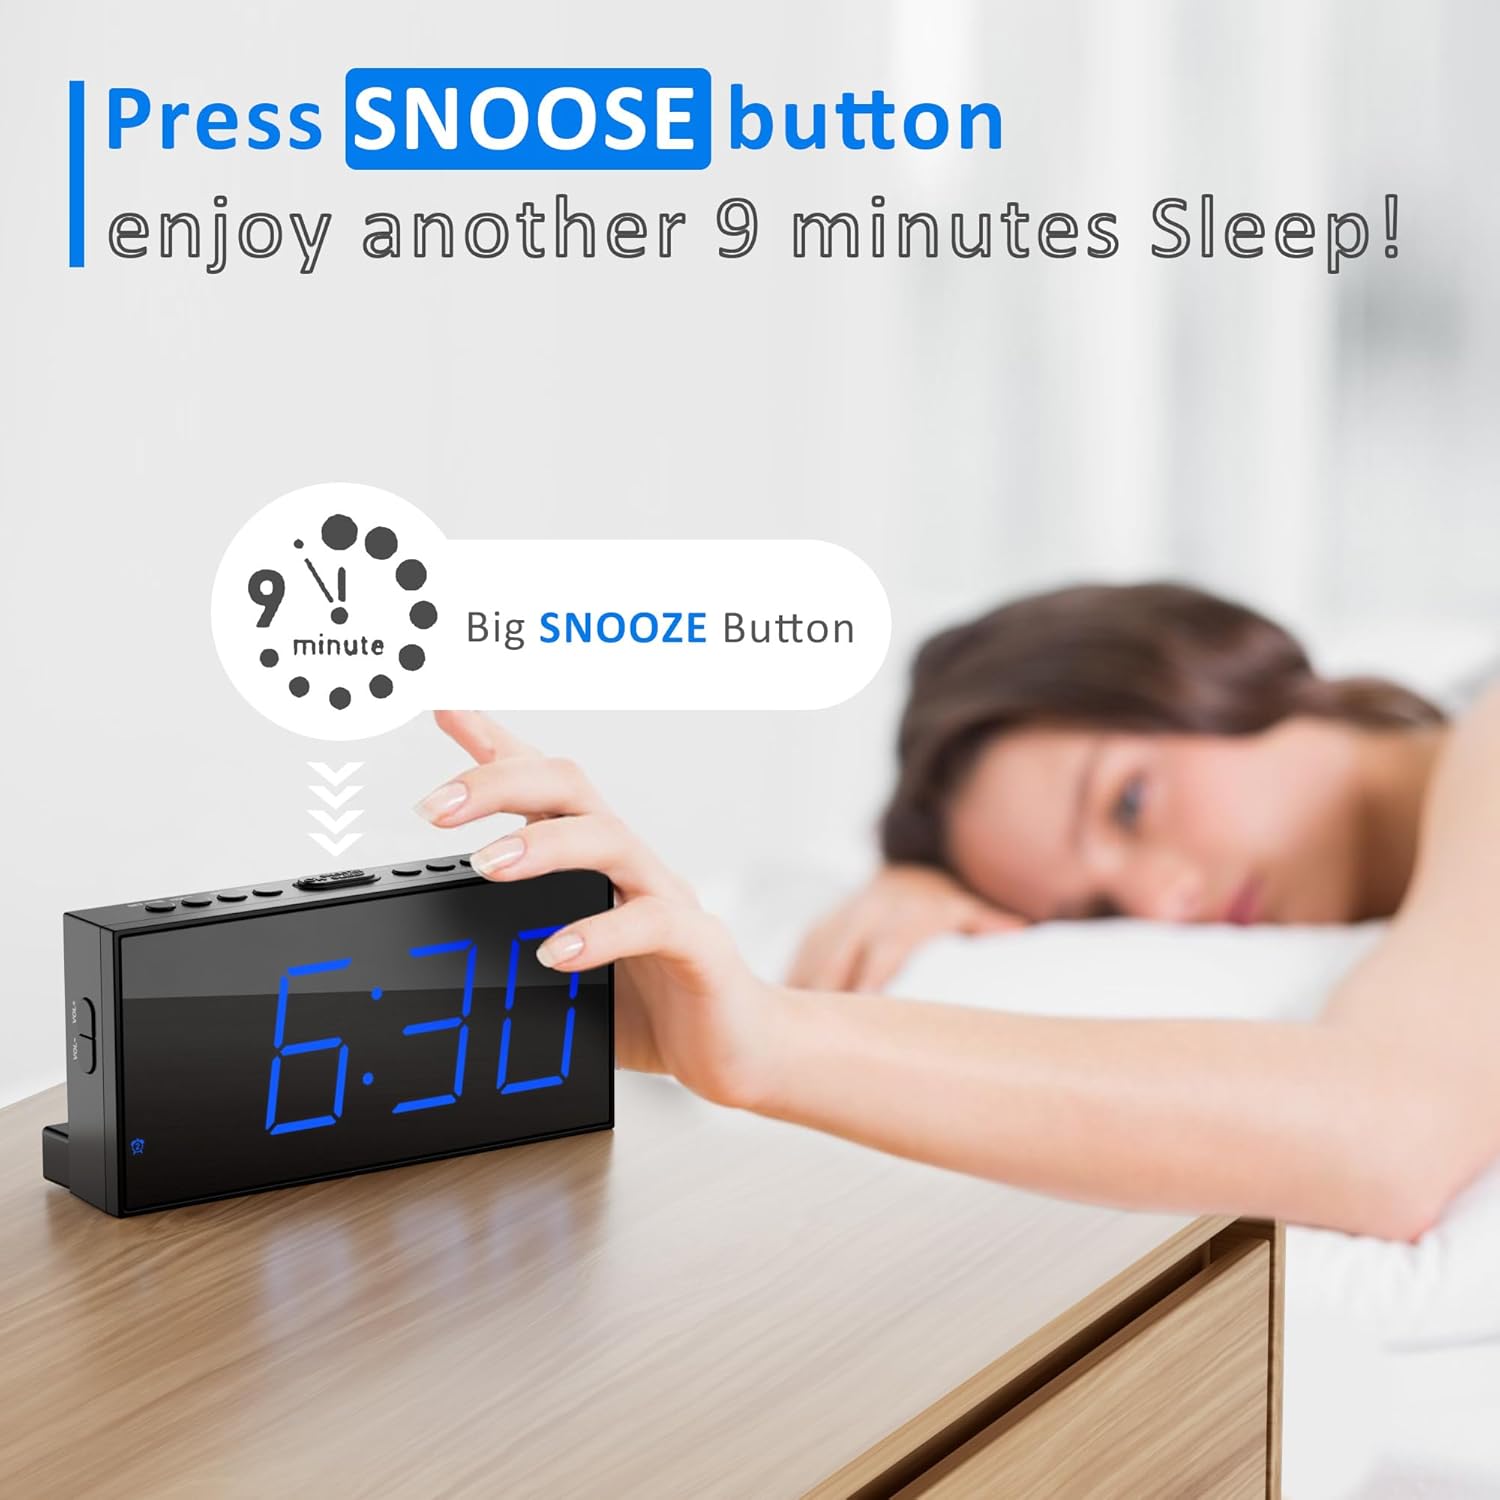
Image 4.4: Using the snooze button.
4.6 Adjusting Alarm Volume
The alarm volume can be adjusted to 5 different levels.
- During an alarm, or while setting an alarm, use the VOL+ or VOL- buttons on the side of the clock to increase or decrease the volume.
- The current volume level will be indicated on the display.

Image 4.5: Volume adjustment buttons and range.
4.7 USB-latausporttia
A USB charging port is located on the back of the clock. Connect your smartphone or other USB-powered device to this port using a compatible USB cable for charging.

Image 4.6: Using the USB charging port.
5. Huolto
5.1 Puhdistus
To clean the alarm clock, gently wipe the surface with a soft, dry cloth. Avoid using abrasive cleaners, solvents, or harsh chemicals, as these may damage the finish or electronic components.
5.2 Pariston vaihto
If the clock loses its time or alarm settings after a power interruption, the AAA backup batteries may need to be replaced. Follow the steps in Section 3.3 to replace the batteries.
6. Vianmääritys
- Display is blank or very dim:
Ensure the clock is properly connected to AC power. Check the brightness level using the HIMMENNIN button; it might be set to the lowest or off setting. - Aika- tai hälytysasetukset katoavat sähkökatkoksen jälkeentage:
Verify that two fresh AAA batteries are correctly installed in the battery backup compartment. The batteries are essential for retaining settings during power interruptions. - Alarm is not sounding or is too quiet:
Ensure the alarm is activated (the alarm icon should be visible on the display). Adjust the alarm volume using the VOL+ -painiketta. - USB charging port is not working:
Ensure the clock is connected to AC power, as the USB charging function requires main power. Check the USB cable for damage and ensure it is properly connected to both the clock and your device. - Clock is unstable on a surface:
Ensure the two back holders are correctly inserted into their slots on the bottom rear of the clock.
7. Tekniset tiedot
| Ominaisuus | Yksityiskohta |
|---|---|
| Merkki | Roksimaisesti |
| Malli | CR1001E |
| Näytön tyyppi | LED |
| Näytön koko | 7.5 tuumaa |
| Virtalähde | Johdollinen sähkölaite (AC 100–240 V) |
| Akun varmuuskopiointi | 2 x AAA paristot (eivät sisälly) |
| Erikoisominaisuudet | 12/24H&DST, 5-level Screen Brightness, Dual Alarms & 5-level Volume, USB Charging Port |
| Asennustyyppi | Pöytälevy |
| Tuotteen mitat | 17.32 x 3.81 x 8.61 cm |
| Tuotteen paino | 170 g |
| Materiaalityyppi | Muovi |
8. Takuu ja tuki
For warranty information or technical support, please refer to the contact details provided with your purchase or visit the official Roxicosly websivusto. Säilytä ostokuitti ostotodistuksena mahdollisten takuuvaatimusten varalta.
Ask a question about this manual
Ask about setup, troubleshooting, compatibility, parts, safety, or missing instructions. Manuals+ will review the question and use this page’s manual context to help answer it.