
Johdanto
The Cooler Master SickleFlow 120 is a versatile cooling solution designed for both CPU coolers and case intake/exhaust applications. This fan features an optimized blade design for improved airflow and pressure, a reinforced frame for reduced turbulence and noise, and a sealed bearing for enhanced durability. This manual provides instructions for the proper installation, operation, and maintenance of your SickleFlow 120 fan.
Pakkauksen sisältö
Varmista, että pakkauksessasi on kaikki tarvittavat osat:
- 1 x Cooler Master SickleFlow 120 Fan
Tekniset tiedot
| Ominaisuus | Yksityiskohta |
|---|---|
| Mallinumero | MFX-B2NN-18NPK-R1 |
| Mitat (P x L x K) | 120 mm x 120 mm x 25 mm (4.72" x 4.72" x 0.98") |
| Tuulettimen nopeus | 650–1800 rpm (PWM) ± 10 % |
| Ilmavirta | 62 CFM ± 10% |
| Ilmanpaine | 2.5 mmH2O ± 10% |
| Melutaso | 8–27 dBA |
| Laakerin tyyppi | Kiväärilaakeri |
| MTTF | 160,000 tuntia |
| Rated Voltage | 12 VDC |
| Nimellisvirta | 0.15A |
| Virtaliitin | 4-Pin PWM |
| Virrankulutus | 1.8W |
| Materiaali | Muovia, metallia |
| Paino | 5.5 unssia (156 g) |
Asennus ja asennus
Follow these steps to properly install your Cooler Master SickleFlow 120 fan:
- Valmistele järjestelmäsi: Varmista, että tietokoneesi on sammutettu ja irrotettu pistorasiasta ennen asennuksen aloittamista.
- Tunnista asennuspaikka: Determine the desired location for the fan within your PC case or on your CPU cooler/radiator. Common locations include front, rear, top, or bottom of the case, or directly on a heatsink.
- Asenna tuuletin: Align the fan with the screw holes on your case or cooler. Use the provided mounting screws to secure the fan firmly. Ensure the fan is oriented correctly for desired airflow (intake or exhaust).
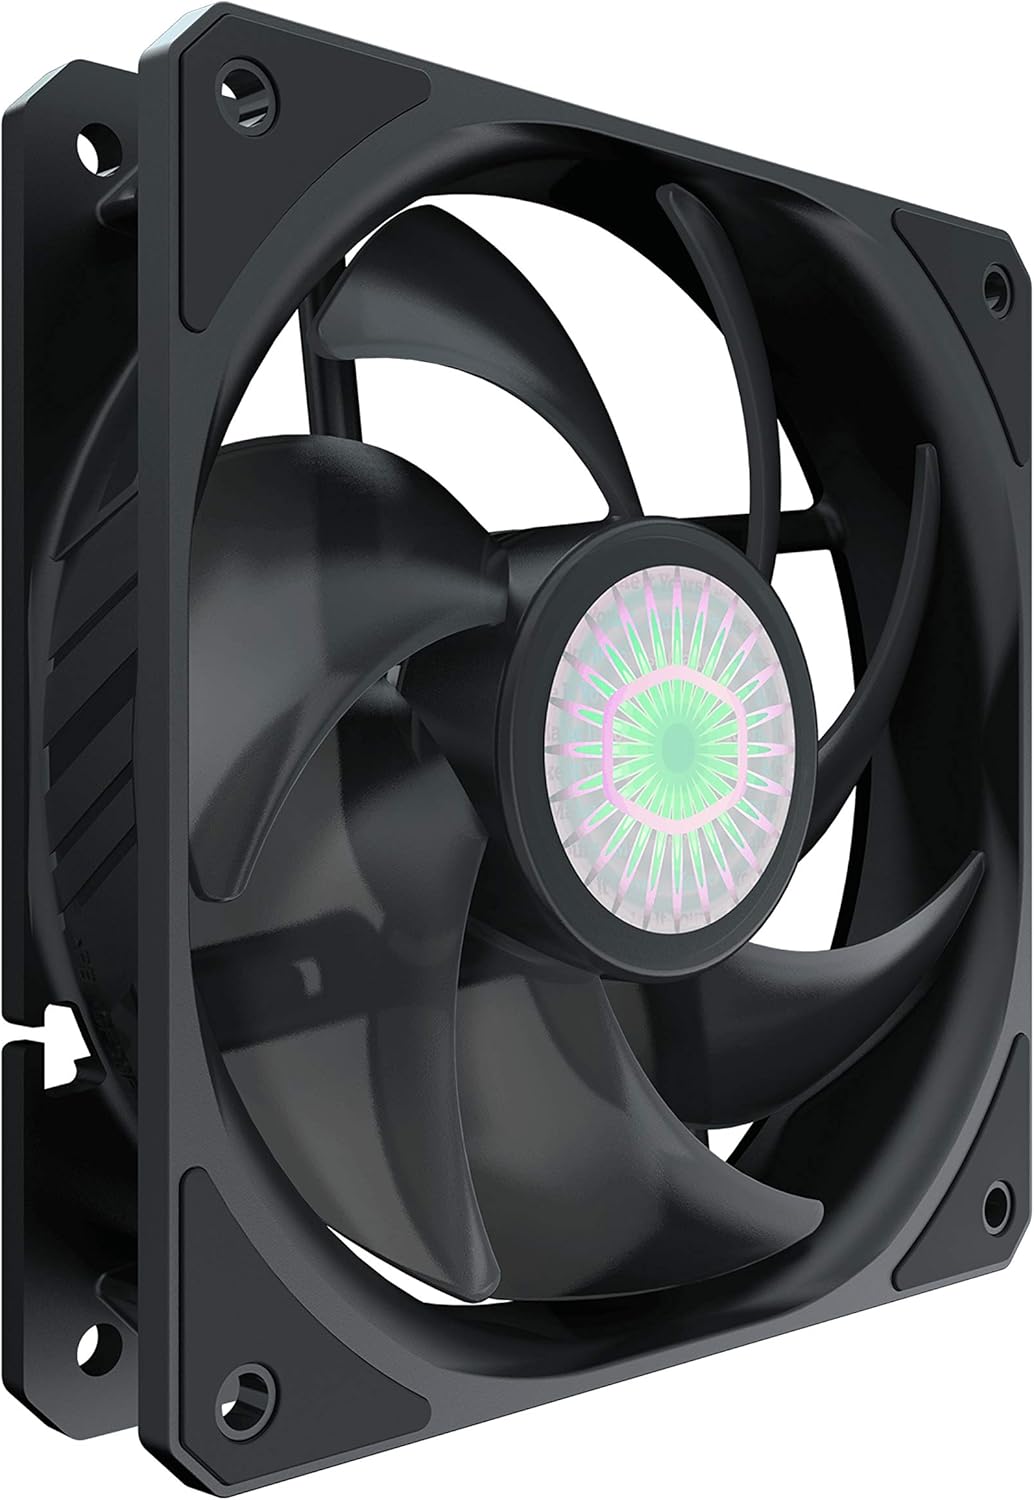
Kuva: Kulmikas view of the SickleFlow 120 fan, illustrating its frame and mounting points for installation.
- Kytke virta: Locate the 4-pin PWM fan header on your motherboard. Connect the fan's 4-pin connector to this header. Ensure the connector is fully seated.
- Kaapelin hallinta: Reititä tuulettimen kaapeli siististi, jotta se ei häiritse muita komponentteja tai ilmavirtaa.
- Virta päälle: Once the fan is securely mounted and connected, close your PC case, plug in the power, and turn on your computer. The fan should begin to spin.
Käyttöohjeet
The Cooler Master SickleFlow 120 fan operates automatically once connected to a compatible 4-pin PWM fan header on your motherboard. The fan speed is controlled by your motherboard's BIOS/UEFI settings or through fan control software provided by your motherboard manufacturer or Cooler Master.
- PWM-ohjaus: The 4-pin PWM connector allows for precise control over the fan's rotational speed, enabling it to adjust based on system temperature for optimal cooling and noise levels.
- Ilmavirran suunta: The fan typically has an arrow indicating the direction of airflow and blade rotation. Ensure it is set to either draw air into the case (intake) or push air out (exhaust) as needed for your system's cooling configuration.

Kuva: Ylhäältä alas view of the SickleFlow 120 fan, highlighting the blade design responsible for airflow.
Huolto
Säännöllinen huolto auttaa varmistamaan tuulettimen optimaalisen suorituskyvyn ja pitkän käyttöiän:
- Pölynpuhdistus: Periodically inspect the fan blades and frame for dust accumulation. Use compressed air or a soft brush to gently remove dust. Ensure the fan is powered off and unplugged before cleaning.
- Laakerin hoito: The SickleFlow 120 features a sealed rifle bearing designed to prevent dust and lubricating oil leakage, requiring no user maintenance or lubrication.
- Tarkista esteet: Ensure no cables or other components are obstructing the fan blades, which can cause noise or damage.
Vianetsintä
If you encounter issues with your SickleFlow 120 fan, refer to the following common problems and solutions:
- Tuuletin ei pyöri:
- Check that the 4-pin PWM connector is securely plugged into the motherboard's fan header.
- Varmista, että emolevyn tuuletinliitäntä on käytössä BIOS/UEFI-asetuksissa.
- Testaa tuuletinta eri tuuletinliittimellä tai tuulettimen ohjaimella, jos sellainen on saatavilla, sulkeaksesi pois viallisen liittimen.
- Fan is making excessive noise:
- Varmista, että tuuletin on tukevasti kiinni eikä tärise koteloa tai muita komponentteja vasten.
- Tarkista, ettei tuulettimen lapoja tukkii kaapeleita tai roskia.
- Adjust fan speed settings in your motherboard's BIOS/UEFI or software to a lower RPM if noise is a concern at high speeds.
- Huono jäähdytysteho:
- Verify the fan's airflow direction is appropriate for its location (e.g., intake for front, exhaust for rear).
- Clean any dust accumulation on the fan blades or surrounding components (e.g., heatsink fins, case filters).
- Ensure there is adequate space around the fan for unrestricted airflow.
Takuu ja tuki
For detailed warranty information and technical support, please visit the official Cooler Master websivusto. Löydät sieltä tuotteen rekisteröinnin, usein kysytyt kysymykset ja asiakaspalvelun yhteystiedot.
Cooler Masterin virallinen Websivusto: www.coolermaster.com