
1. Johdanto
This manual provides detailed instructions for the installation and operation of the Idatalink Maestro HRN-RR-SU2 T-Harness. This product is designed to facilitate the integration of an iDatalink-ready aftermarket car stereo into compatible Subaru vehicles, allowing for the retention of various factory features.
2. Tuote ohiview
The Maestro HRN-RR-SU2 is a plug-and-play T-harness that simplifies the installation of an iDatalink-ready receiver. When used in conjunction with the Maestro ADS-MRR or ADS-MRR2 module (sold separately), it enables the retention of factory steering wheel audio controls, factory amplifier, and subwoofer. It also provides necessary outputs for navigation-equipped receivers and can display engine performance data on compatible touchscreens.

Kuva 1: Yliview of the Maestro HRN-RR-SU2 T-Harness components, including main wiring harness, auxiliary input cables, and camera input cable.
3. Yhteensopivuus
The HRN-RR-SU2 T-Harness is compatible with select Subaru, Scion, and Toyota vehicles manufactured between 2013 and 2019. It is specifically designed for use with an iDatalink-ready aftermarket car stereo and requires the Maestro ADS-MRR or ADS-MRR2 module for full functionality.
Huomautus: For Subaru vehicles manufactured between 2008 and 2015, the Maestro HRN-RR-SU1 T-Harness may be required. Always verify compatibility with the manufacturer's website or your installer before purchase.
4. Pakkauksen sisältö
Upon opening the package, ensure all components are present and undamaged. The HRN-RR-SU2 package typically includes:
- Maestro HRN-RR-SU2 Main Wiring Harness
- Auxiliary Input Cables (A, B)
- Backup Camera Input Cable (C)
- Additional accessory harnesses as required for specific vehicle models
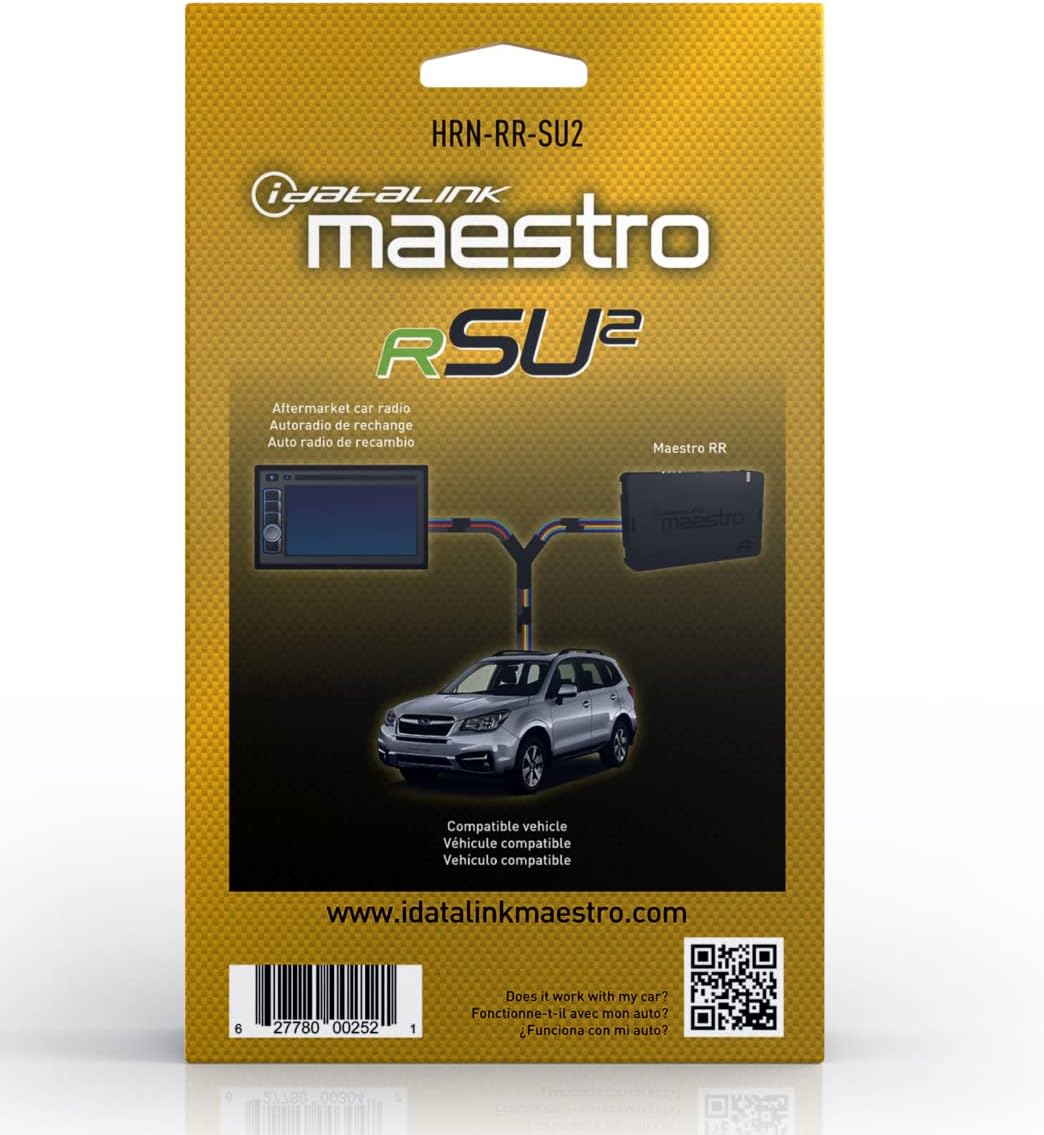

Kuva 2: Edessä ja takana views of the Maestro HRN-RR-SU2 product packaging.
5. Asennus ja asennus
Installation of the HRN-RR-SU2 T-Harness requires careful attention to detail and basic knowledge of car audio wiring. It is highly recommended that installation be performed by a qualified professional.
5.1. Asennusta edeltävät vaiheet
- Irrota akku: Irrota aina ajoneuvon akun negatiivinen napa ennen sähkötöiden aloittamista.
- Kerää työkalut: Ensure you have the necessary tools, including wire strippers, crimpers, electrical tape, and a multimeter.
- Maestro-moduulin ohjelma: Before connecting the HRN-RR-SU2, the Maestro ADS-MRR or ADS-MRR2 module must be programmed using the iDatalink Maestro websivusto (http://q-r.to/banrEO). Follow the instructions provided with your Maestro module for programming.
- Review Kytkentäkaaviot: Consult the specific wiring diagrams for your vehicle and aftermarket stereo, available on the iDatalink Maestro websivusto.
5.2. Johtosarjan kytkeminen
The HRN-RR-SU2 is designed for a plug-and-play connection to your vehicle's factory wiring and your iDatalink-ready aftermarket stereo. However, some connections may still require manual splicing or verification.
- Connect to Maestro Module: Plug the main HRN-RR-SU2 harness into the Maestro ADS-MRR/MRR2 module.
- Liitä jälkimarkkinoille tarkoitettuun stereoon: Connect the appropriate wires from the HRN-RR-SU2 harness to your aftermarket stereo's wiring harness. This typically includes power, ground, speaker outputs, and accessory wires. Ensure all connections are secure and insulated.
- Vehicle Connections: Connect the vehicle-specific connectors from the HRN-RR-SU2 harness to the corresponding factory plugs in your Subaru. These are usually found behind the factory radio.
- Auxiliary and Camera Inputs: If your aftermarket stereo supports them, connect the provided auxiliary input cables (A, B) and the backup camera input cable (C) to the corresponding ports on your stereo.
- Navigointilähdöt: If your stereo is navigation-ready, ensure the navigation outputs from the HRN-RR-SU2 are correctly connected to the stereo's navigation input wires (e.g., parking brake, reverse, speed sense).
- Tehdas Ampvahvistin/subwoofer: The harness is designed to retain the factory amplifier and subwoofer. Verify these connections are properly made to ensure audio output.

Kuva 3: Yksityiskohtainen view of the HRN-RR-SU2 harness, showing various connectors and RCA inputs for auxiliary and camera connections.
6. Käyttöohjeet
Once installed, the Maestro HRN-RR-SU2 T-Harness operates in conjunction with your iDatalink-ready aftermarket stereo and the Maestro ADS-MRR module. There are no direct user controls on the harness itself.
- Ohjauspyörän säätimet: Your factory steering wheel audio controls (volume, track, mode, etc.) should now function with your new stereo. Refer to your stereo's manual for customization options.
- Tehdas Ampvahvistin/subwoofer: Tehdas amplifier and subwoofer will be integrated, providing audio output through your new stereo.
- Navigation Data: If your stereo supports navigation and is connected correctly, it will receive vehicle data (speed, reverse, parking brake) for accurate navigation functionality.
- Ajoneuvotietojen näyttö: On compatible iDatalink-ready stereos, engine performance data and other vehicle information may be displayed on the stereo's touchscreen. Consult your stereo's manual for details on accessing this feature.
7. Huolto
The Maestro HRN-RR-SU2 T-Harness is a passive electronic component and requires no routine maintenance. Ensure all connections remain secure and free from moisture or physical damage. If the harness needs to be disconnected for any reason, always disconnect the vehicle's battery first.
8. Vianmääritys
Jos asennuksen jälkeen ilmenee ongelmia, ota uudelleenview seuraavat yleiset vianmääritysvaiheet:
- Ei virtaa stereoon:
- Verify the vehicle's battery is reconnected and fully charged.
- Check all power and ground connections from the HRN-RR-SU2 to the aftermarket stereo and the vehicle.
- Ensure the Maestro ADS-MRR module is correctly programmed and connected.
- Ei äänilähtöä:
- Varmista, että kaikki kaiutinjohdot on kytketty oikein eikä niissä ole oikosulkua.
- Verify the factory amplifier is receiving power and signal.
- If audio is muffled or bass is missing (especially in Subaru BRZ Limited models), ensure RCA cables are properly connected from the amplifier to the head unit, if applicable for your specific setup.
- Ohjauspyörän säätimet eivät toimi:
- Ensure the Maestro ADS-MRR module is correctly programmed for your vehicle and stereo.
- Check the data connections between the HRN-RR-SU2, the Maestro module, and the aftermarket stereo.
- Navigation Features Incorrect:
- Verify connections for parking brake, reverse, and speed sense wires to the navigation-ready stereo.
- Illumination/Dimming Issues:
- Check the illumination wire connection from the HRN-RR-SU2 to the aftermarket stereo.
- Ensure the harness is pinned correctly for your specific vehicle model, as some variations may exist.
For further assistance, consult the iDatalink Maestro website for detailed vehicle-specific wiring diagrams and support resources, or contact a professional installer.
9. Tekniset tiedot
| Mallinumero | HRN-RR-SU2 |
| Tuotteen mitat | 4.7 x 7.8 x 2 tuumaa |
| Tuotteen paino | 9.6 unssia |
| Valmistaja | Maestro (by Idatalink) |
| Yhteensopivuus | Select Subaru, Scion, Toyota vehicles (2013-2019) |
| Vaadittu moduuli | Maestro ADS-MRR or ADS-MRR2 (sold separately) |
10. Takuu ja tuki
For warranty information and technical support, please refer to the official iDatalink Maestro website or contact your authorized iDatalink dealer. Keep your proof of purchase for warranty claims.
iDatalink Maestro Websivusto: http://q-r.to/banrEO