1. Johdanto
This manual provides essential information for the safe and efficient assembly, operation, and maintenance of your Lifetime 60209 Vertical Storage Shed. Designed for durability and convenience, this shed offers 53 cubic feet of storage capacity, making it ideal for organizing various outdoor items.
The shed features a robust construction with steel reinforcement for enhanced strength and impact resistance, protecting against cracking, chipping, and peeling. Its water-resistant enclosure helps safeguard your belongings from rain, snow, and other elements. Please note that while water-resistant, the shed is not waterproof.
2. Turvallisuustiedot
- Always assemble the shed on a level surface to ensure stability and proper door alignment.
- Do not overtighten screws, especially when fastening into plastic components, to prevent damage.
- Ensure all parts are securely fastened before placing items inside or using the shed.
- Pidä lapset ja lemmikkieläimet poissa kokoontumisalueelta.
- Use appropriate personal protective equipment (PPE) during assembly, such as gloves and eye protection.
- The shed is designed for storage; do not use it as a playhouse or for human occupancy.
- Padlock loops are provided for additional security; however, a lock is not included.
3. Pakkauksen sisältö
Before beginning assembly, verify that all components listed in your product's packing list are present and undamaged. Typical components include:
- Lattiapaneelit
- Side panels (labeled C and D)
- Takapaneelit
- Kattopaneelit
- Front doors (labeled A and B)
- Oven kahvat ja salvat
- Metal hinges and support bars
- Various screws (M4x19mm, M4x25mm)
- Assembly tool (screwdriver bit)
Tools recommended for assembly (not included): drill-driver (with adjustable torque), rubber mallet, magnetic trays for screws.
4. Asennus ja kokoonpano
Assembly typically requires at least two people. Refer to the included instruction manual for detailed step-by-step diagrams. The following provides a general overview and helpful tips:
4.1 Pohjakokoonpano
Identify the base panel (the only piece that looks like it). Ensure the assembly area is level. Attach the initial side panels (C and D) to the base, paying attention to the 'UP' arrows and designated hinge points. Secure with the M4x19mm screws.
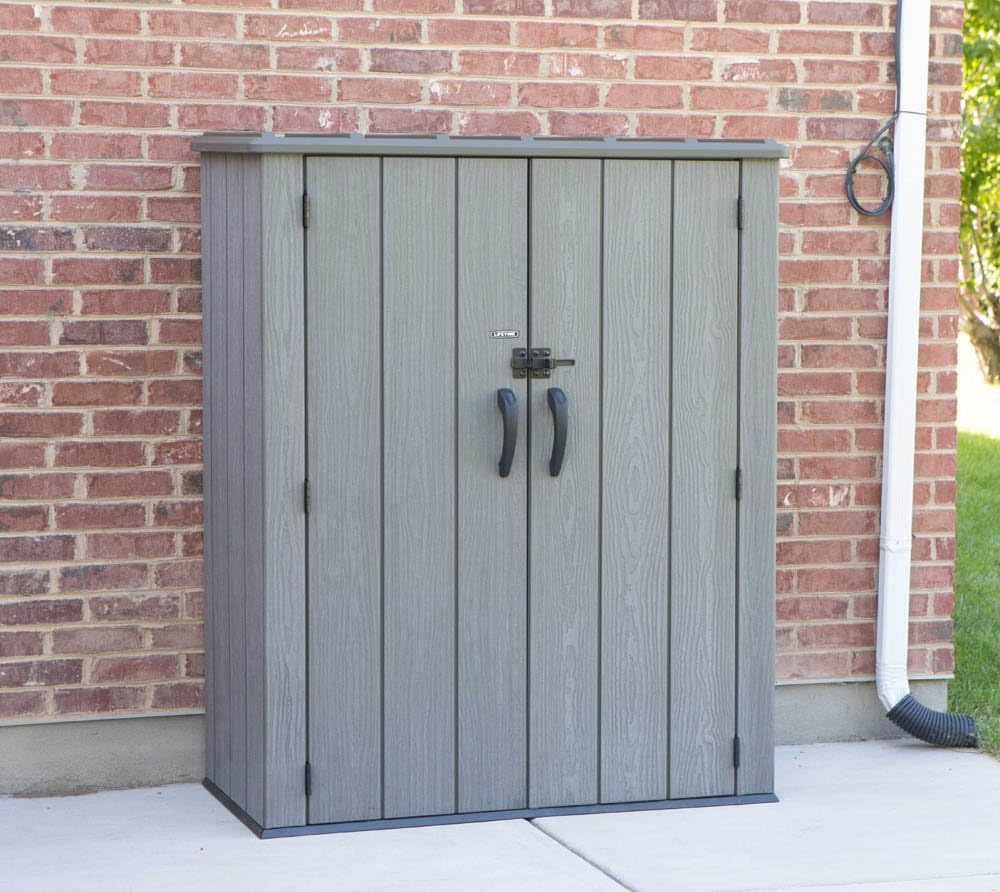
Kuva 1: Etuosa view of the Lifetime Vertical Storage Shed.
4.2 Seinäpaneelin asennus
Slide the back panels into the designated grooves on the base and side panels. For easier installation, it is recommended to slide the back panels from the top down, gently pinching the edges to guide them into place. Ensure the folded part of the back panel is on the inside.
Video 1: Detailed assembly of the storage cabinet, including panel installation.
This video demonstrates the step-by-step process of assembling the storage cabinet, from connecting the base to installing the side and back panels. It highlights key connection points and techniques for smooth assembly.
4.3 Roof Installation
Attach the top roof panels. Ensure the hinge part of the roof is positioned at the back of the unit. The roof panels should slot into the very edges of the side panels. Secure the roof to the side panels using the M4x25mm screws. There are typically two screws on each side and one in the middle of the front and back edges.
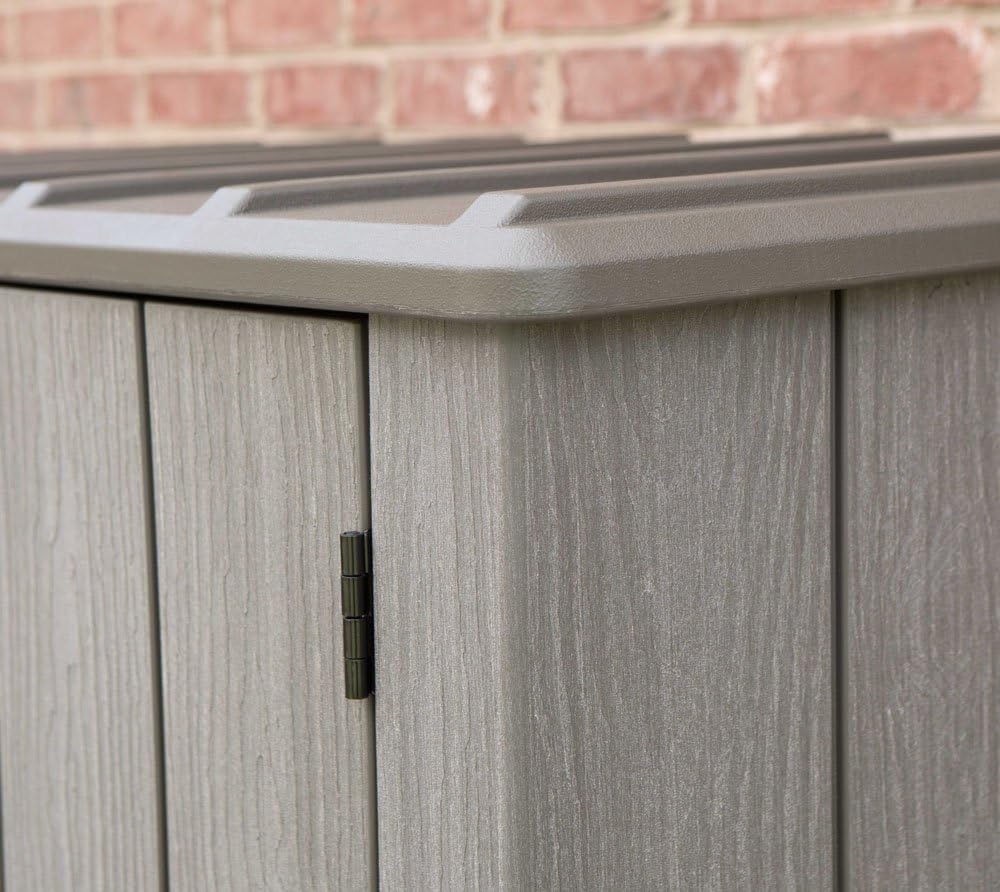
Kuva 2: Lähikuva view of the shed's roof, highlighting its design and construction.
4.4 Oven asennus
Attach the door handles and latches to the front doors (A and B). The door with the bottom latch (B) will go on the right side when facing the shed. The door without the bottom latch (A) will go on the left. The doors are designed to slide and sit into place. Ensure the bottom latch piece is fully inserted into the door before securing it. Use the M4x19mm screws for the door handles.
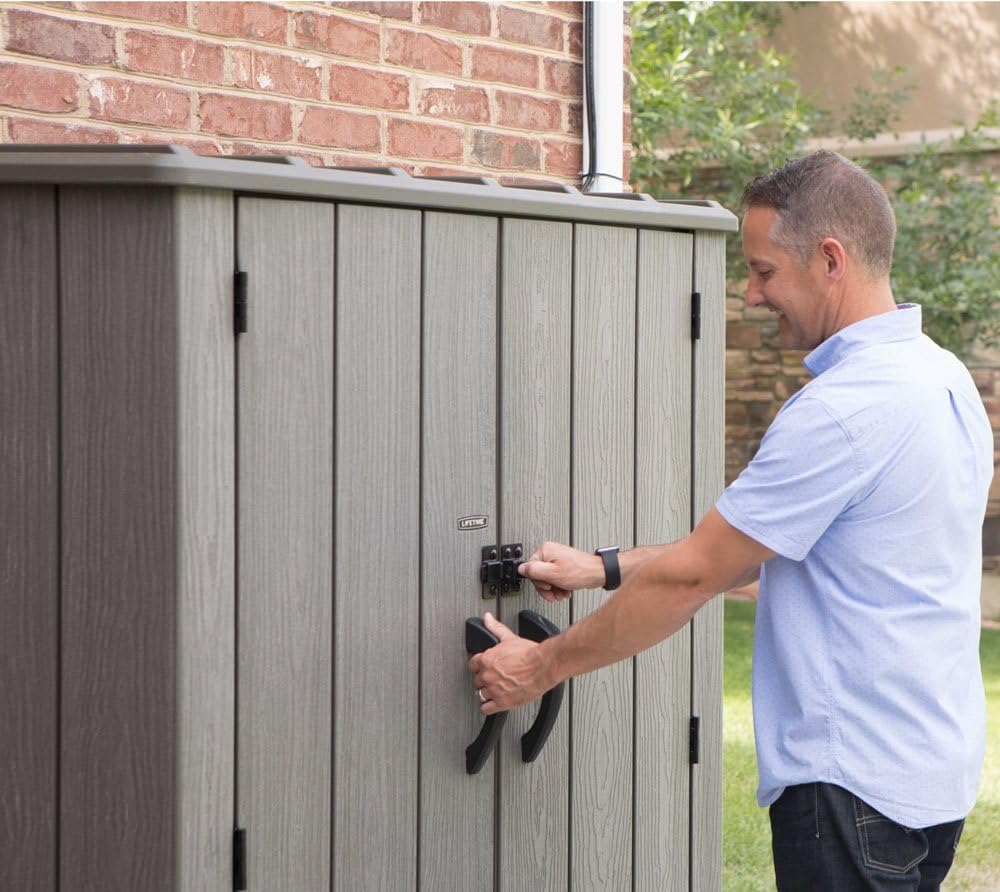
Figure 3: An adult demonstrating the locking mechanism of the shed.
5. Käyttöohjeet
5.1 Ovien avaaminen ja sulkeminen
To open the shed, disengage the front latch and pull the handles. The doors can swing wide open, and the left door can be unhinged from the bottom to provide even wider access if needed. To close, simply push the doors back into place and engage the latch.
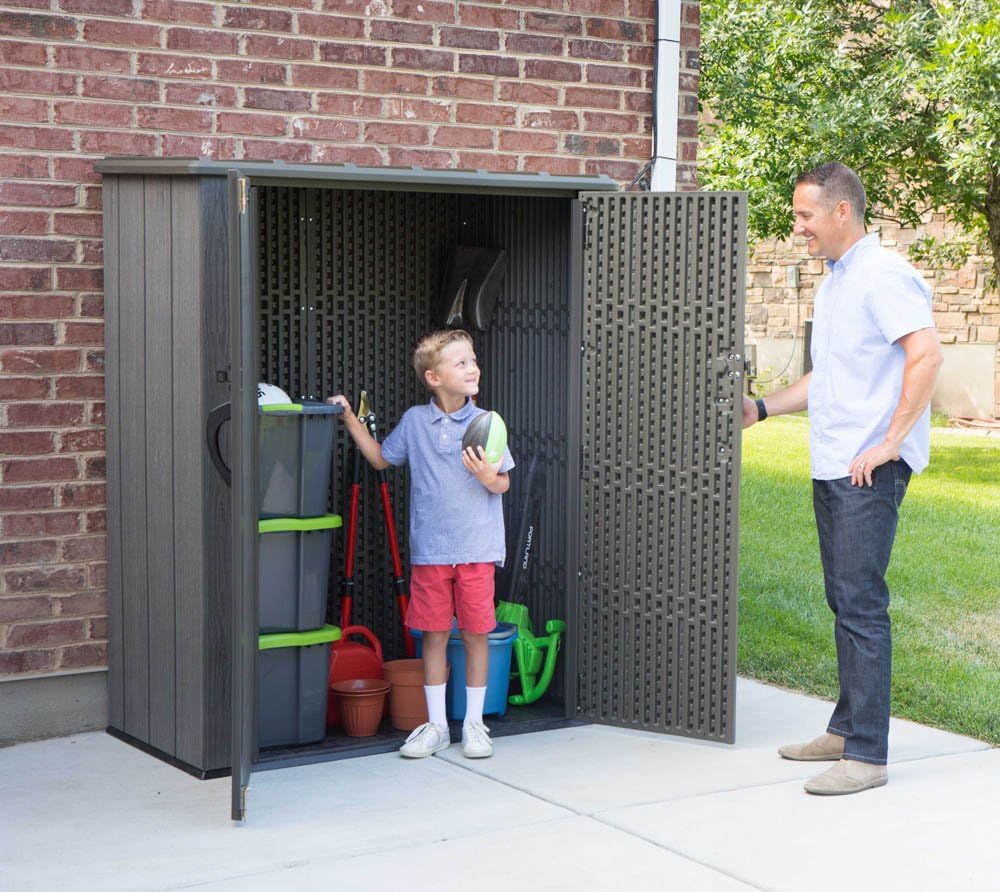
Figure 4: The shed with both doors fully open, revealing ampsisäistä tallennustilaa.
5.2 Top Lid Operation
The top lid can be lifted independently for easy access to the contents. It features a stay-up mechanism to hold it open. To close, gently pull the lid down until it latches securely.
Video 2: Lyhyt esittelyview demonstrating the top lid's sliding and opening mechanism.
This video provides a brief look at how the top lid of the storage cabinet slides open and closed, showcasing its functionality for quick access.
5.3 Sisäinen tallennustila
The shed offers 53 cubic feet of storage. It can accommodate various items such as lawnmowers, gardening tools, and other outdoor equipment. The internal walls are designed to allow for the installation of shelving units (not included) to maximize organization.

Figure 5: The shed interior, showing a lawnmower and various tools efficiently stored.
6. Huolto
- Clean the shed periodically with mild soap and water. Rinse thoroughly and wipe dry.
- Avoid using abrasive cleaners or harsh chemicals, as these may damage the resin material.
- Inspect hinges and latches regularly for any signs of wear or damage.
- Ensure the water drainage channels on the roof are clear of debris to prevent water accumulation.
7. Vianmääritys
7.1 Vesivuoto
If water leakage occurs, check the roof seam between the two halves. Some users have reported minor leaks in this area. Applying a sealant or caulk to this seam prior to installation can prevent this issue. Also, ensure the shed is on a level surface to allow proper water runoff.
7.2 Door Alignment/Difficulty Closing
Ensure the shed is assembled on a perfectly level ground. Uneven surfaces can cause doors to misalign or be difficult to close. Check that all screws are tightened appropriately (not overtightened) and that hinges are correctly installed. If metal brackets on doors are misaligned, pre-drilling pilot holes may be necessary before screwing them in.
7.3 Sliding Top Mechanism Squeaking
If the sliding top mechanism squeaks, apply a small amount of lubricant (e.g., WD-40) to the sliding tracks to ensure smooth operation.
8. Tekniset tiedot
| Ominaisuus | Yksityiskohta |
|---|---|
| Merkki | ELINIKÄ |
| Mallinumero | 60209 |
| Väri | Roof Brown |
| Materiaali | Alloy Steel, Wood (Resin construction) |
| Tuotteen mitat | 74 x 142 x 174 cm (P x L x K 53.54 cm) |
| Kapasiteetti | 53 kuutiojalkaa |
| Erikoisominaisuudet | Lockable, Weather-resistant, Steel reinforced, Impact resistant |
| Sulkemistyyppi | Foldable (Doors), Hinge (Top Lid) |
| Tuotteen paino | 103.4 puntaa (47 kiloa) |
| UPC | 081483811093 |
9. Takuu ja tuki
This product is typically backed by a manufacturer's warranty. Please refer to the warranty card included in your packaging for specific terms and conditions. For customer support, contact the manufacturer directly or the retailer from whom the product was purchased. This product is eligible for 30-day easy returns through the seller.