
1. Tuote ohiview
The Atlanta 1882-19 is a compact, radio-controlled digital alarm clock designed for ease of use. It features an easy-to-read LCD display that shows the current time, date, and temperature. The clock automatically adjusts its time based on the DCF77 atomic clock radio signal, including automatic daylight saving time changes. It includes a convenient snooze function and a blue backlight for visibility in low light conditions.
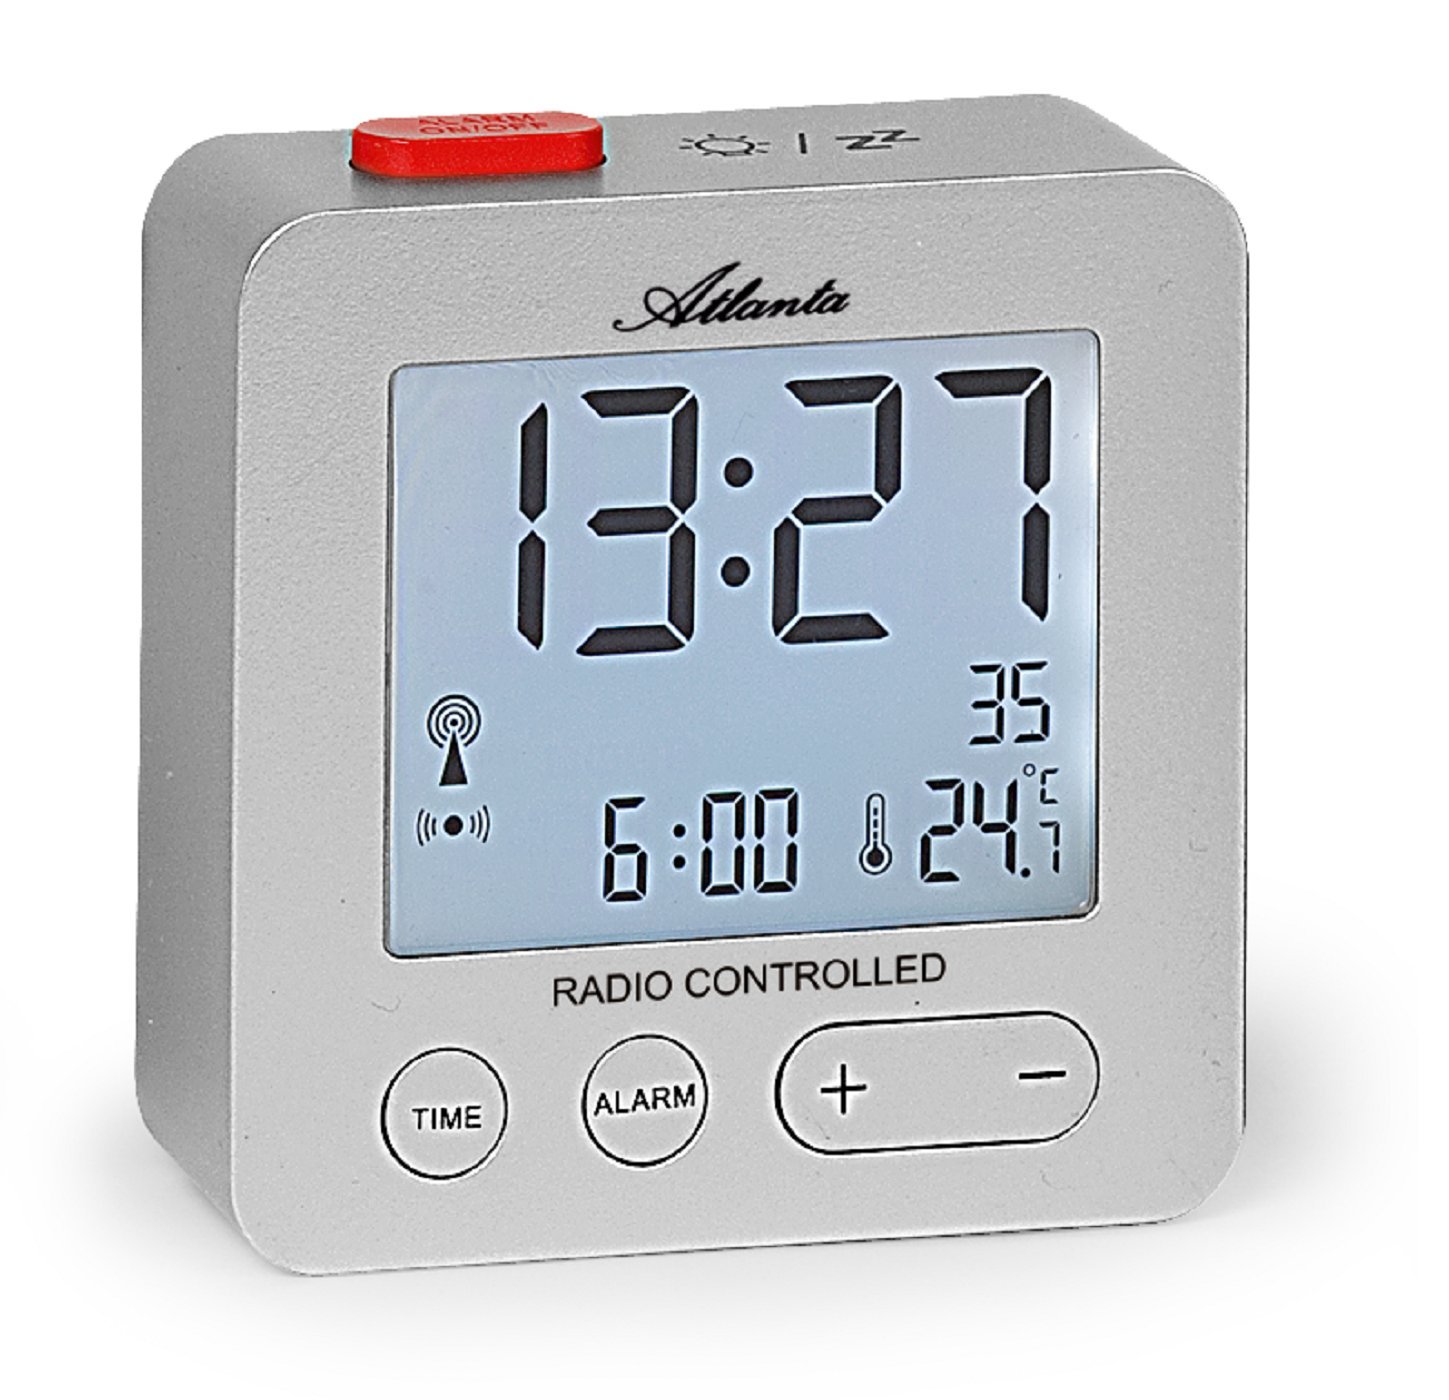
Kuva 1: Edessä view of the Atlanta 1882-19 Digital LCD Alarm Clock. The display shows the time, date, and temperature, along with a radio signal indicator. A red button for alarm on/off is visible on top.
2. Pakkauksen sisältö
- Atlanta 1882-19 Digital LCD Alarm Clock
- Käyttöopas (tämä asiakirja)
Huomautus: Paristot eivät sisälly toimitukseen ja ne on ostettava erikseen.
3. Asennus
3.1 Akun asennus
- Etsi paristolokeron kansi herätyskellon takaa.
- Avaa lokero liu'uttamalla tai irrottamalla kantta.
- Aseta tarvittavat paristot (yleensä 2 x AAA, eivät sisälly toimitukseen) lokeron sisällä olevien napaisuusmerkkien (+ ja -) mukaisesti.
- Sulje paristolokeron kansi ja varmista, että se on tiiviisti suljettu.

Kuva 2: Takaosa view of the alarm clock, illustrating the battery compartment and the 'WAVE' button for radio signal reception.
3.2 Initial Power On and Radio Signal Reception
Upon battery installation, the clock will automatically attempt to receive the DCF77 radio signal to set the time. This process may take several minutes. Ensure the clock is placed away from electronic devices that may cause interference and near a window for optimal signal reception.
- A radio signal icon will appear on the display when the clock is attempting to receive the signal.
- Once the signal is successfully received, the time will automatically set, and the icon will stabilize.
- If the signal is not received after a prolonged period, try relocating the clock or manually setting the time (refer to section 4.1).
4. Käyttöohjeet
4.1 Ajan asettaminen manuaalisesti
In areas with poor radio signal reception, the time can be set manually.
- Paina ja pidä painettuna AIKA button (located on the front) for a few seconds until the time display starts flashing.
- Käytä + ja - painikkeita säätääksesi tunteja.
- Paina AIKA button again to switch to minutes adjustment. Use + ja - asettaa minuutit.
- Jatka painamista AIKA selaa vuoden, kuukauden ja päivän asetuksia ja säädä kutakin + ja -.
- Paina AIKA one last time or wait a few seconds for the settings to be saved.
4.2 Hälytyksen asettaminen
- Paina ja pidä painettuna HÄLYTYS button (located on the front) for a few seconds until the alarm time display starts flashing.
- Käytä + ja - painikkeita hälytystuntien säätämiseksi.
- Paina HÄLYTYS button again to switch to alarm minutes adjustment. Use + ja - asettaa minuutit.
- Paina HÄLYTYS one last time or wait a few seconds for the alarm setting to be saved.
- To activate or deactivate the alarm, briefly press the red HÄLYTYS ON / OFF button on the top of the clock. An alarm icon will appear on the display when the alarm is active.
4.3 Torkku -toiminto
When the alarm sounds, press the red HÄLYTYS ON / OFF button on the top of the clock to activate the snooze function. The alarm will temporarily stop and sound again after a few minutes (typically 5-10 minutes, depending on the model's default setting).
4.4 Näytön taustavalo
To illuminate the display with a blue backlight, briefly touch the top of the clock. The backlight will remain on for a few seconds, providing temporary visibility in the dark.
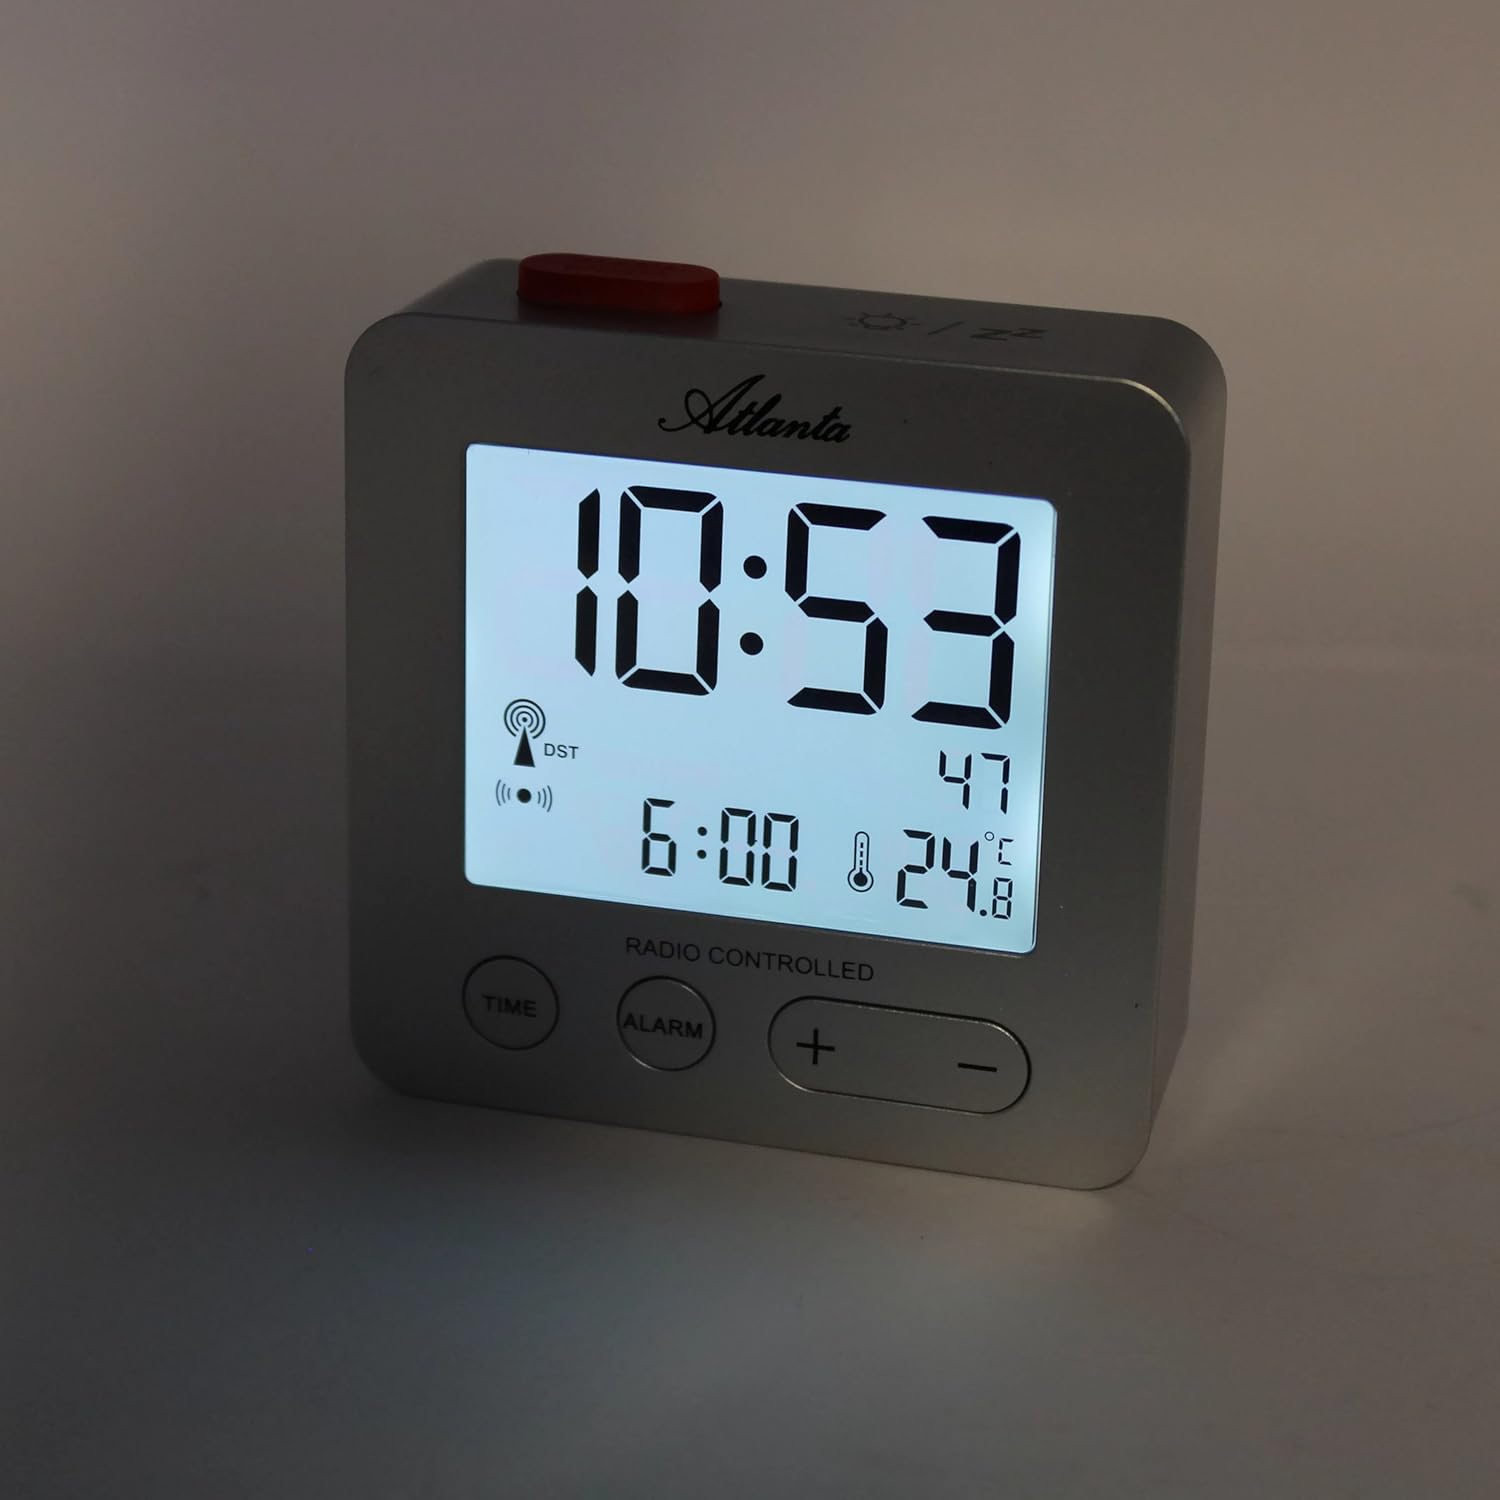
Kuva 3: The alarm clock display with the blue backlight activated, enhancing readability in low light.
4.5 Temperature and Date Display
The clock continuously displays the indoor temperature and the current date alongside the time. No specific action is required to view these details.
5. Huolto
- Puhdistus: Pyyhi kello pehmeällä, kuivalla liinalla. Älä käytä hankaavia puhdistusaineita tai liuottimia.
- Akun vaihto: Replace batteries when the display dims or the clock functions become unreliable. Always replace all batteries at the same time with new ones of the same type.
- Varastointi: Jos kelloa säilytetään pitkään, poista paristot vuotojen estämiseksi.
6. Vianmääritys
- Kello ei aseta aikaa automaattisesti:
Ensure the clock is placed in an open area, away from electronic interference (e.g., TVs, computers, mobile phones). Try placing it near a window. If the issue persists, manually set the time as described in section 4.1. - Hälytys ei soi:
Verify that the alarm is activated (alarm icon visible on display). Check battery levels and replace if necessary. - Näyttö on himmeä tai tyhjä:
Replace the batteries. Ensure batteries are inserted with correct polarity. - Virheellinen lämpötilalukema:
Ensure the clock is not exposed to direct sunlight or placed near heat sources/vents, which can affect the sensor.
7. Tekniset tiedot
| Mallinumero | 1882/19 |
| Merkki | Atlanta |
| Näytön tyyppi | Digitaalinen nestekidenäyttö |
| Erikoisominaisuudet | Temperature Display, Alarm, Snooze, Radio-Controlled (DCF77), Backlight |
| Mitat (P x L x K) | 7 x 3.81 x 7 cm (noin 2.76 x 1.5 x 2.76 tuumaa) |
| Paino | 65 grammaa (noin 2.3 unssia) |
| Virtalähde | Paristokäyttöinen (paristot eivät sisälly) |
| Materiaali | Muovi (akryylinitriilibutadieenistyreeni) |
| Väri | Hopea |
8. Takuu ja tuki
This product comes with a standard manufacturer's warranty. For detailed warranty information, please refer to the packaging or contact Atlanta customer support. For technical assistance or further inquiries, please visit the official Atlanta websivustolla tai ota yhteyttä asiakaspalveluun.