
1. Turvallisuustiedot
Lue ja ymmärrä kaikki ohjeet ennen asennuksen aloittamista. Muuten seurauksena voi olla sähköisku, tulipalo tai muita vammoja, jotka voivat olla kohtalokkaita tai aiheuttaa vakavia vahinkoja.
- VAROITUS: To avoid electric shock, disconnect power at the main circuit breaker or fuse box before installation or servicing.
- Kaikkien sähköliitäntöjen on oltava paikallisten määräysten tai National Electric Coden (NEC) mukaisia. Ota yhteyttä pätevään sähköasentajaan, jos et ole perehtynyt oikeisiin sähköliitäntöihin.
- Tämä laite on tarkoitettu vain sisäkäyttöön.
- Varmista, että kiinnityspinta kestää valaisimen painon.
- Älä ylitä enimmäiswattiatage määritelty polttimoille.
- Käytä suojalaseja ja -käsineitä asennuksen aikana.
- Pidä syttyvät materiaalit poissa valaisimesta.
2. Pakkauksen sisältö
Carefully unpack the fixture and check that all parts are included. If any parts are missing or damaged, do not attempt to assemble or install the fixture. Contact customer service for assistance.
- Flush Mount Fixture Assembly (A)
- Mounting Plate (B)
- Kiinnitysruuvit (C)
- Wire Nuts (D)
- Glass Shade (E)
- Decorative Finial (F)
Huomautus: Polttimot eivät sisälly toimitukseen ja ne on ostettava erikseen.
3. Tarvittavat työkalut (eivät sisälly toimitukseen)
- Phillips-ruuvimeisseli
- Talttapäinen ruuvimeisseli
- Langanpoistajat
- Sähköteippi
- Pihdit
- Suojalasit
- Tikapuut
4. Asennus ja käyttöönotto
Ennen kuin aloitat: Ensure power is turned off at the circuit breaker. If you are replacing an existing fixture, carefully remove it and disconnect its wiring.
Vaiheittainen asennus:
- Valmistele asennuslevy: Attach the mounting plate (B) to the junction box in the ceiling using the provided mounting screws (C). Ensure it is securely fastened.
- Sähköliitännät:
- Yhdistä musta johto kiinnikkeestä laitteeseen musta (hot) wire from the junction box using a wire nut (D).
- Yhdistä valkoinen johto kiinnikkeestä laitteeseen valkoinen (neutral) wire from the junction box using a wire nut (D).
- Yhdistä maahan johto (paljas kupari tai vihreä) valaisimesta maahan wire from the junction box and to the mounting plate using a wire nut (D) or ground screw.
- Työnnä kaikki johdot varovasti kytkentärasiaan.
- Attach Fixture Body: Align the fixture assembly (A) with the mounting plate (B) and secure it using the screws provided on the mounting plate or by twisting the fixture base onto the plate, depending on the design. Ensure it is flush with the ceiling.
- Asenna polttimot: Screw in two incandescent bulbs (not included) into the sockets. Do not exceed 60 watts per bulb.
- Asenna lasivarjostin: Carefully place the glass shade (E) onto the fixture. Secure it in place with the decorative finial (F) by screwing it onto the central rod. Do not overtighten.
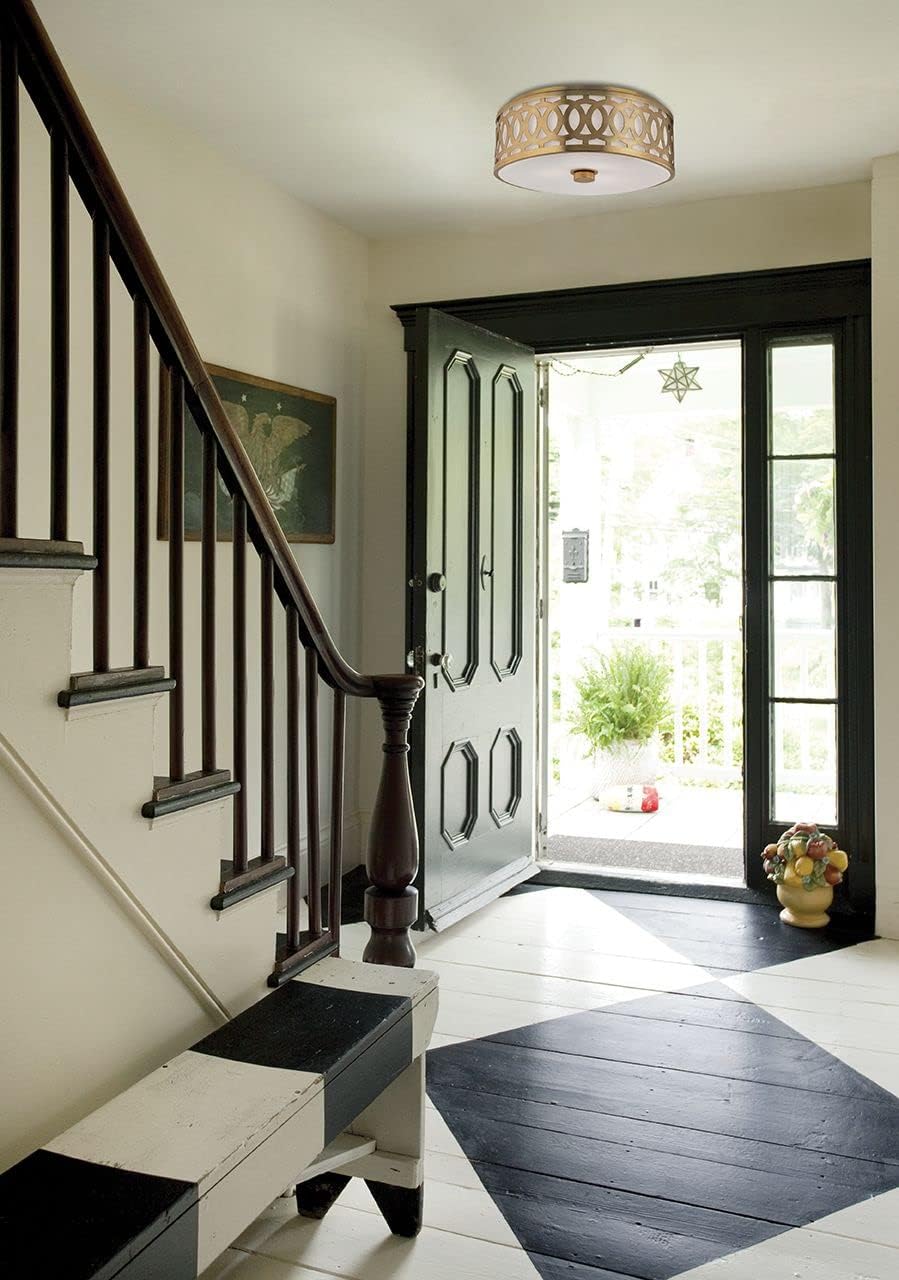
Image: The Genesee 4314-PN Flush Mount Light installed on a ceiling, showcasing its polished nickel finish and opal glassware.
5. Käyttö
Once installation is complete and verified, restore power at the main circuit breaker. The fixture can then be operated using a standard wall switch connected to the circuit.
- Kytkeminen päälle/pois: Use the wall switch to turn the light fixture on or off.
- Polttimon vaihto: To replace bulbs, first turn off power at the circuit breaker. Allow bulbs to cool. Unscrew the decorative finial and carefully remove the glass shade. Unscrew old bulbs and replace with new ones (max 60W incandescent). Reattach the glass shade and finial. Restore power.
6. Huolto
Säännöllinen huolto auttaa säilyttämään valaisimen ulkonäön ja toimivuuden.
- Puhdistus: Always disconnect power before cleaning. Wipe the fixture with a soft, dry cloth. Do not use abrasive cleaners, solvents, or polishes as they may damage the finish. For the glass shade, a mild glass cleaner can be used on a soft cloth, then wipe dry.
- Tarkastus: Tarkista säännöllisesti kaikki liitännät ja kiinnitystarvikkeet varmistaaksesi, että ne ovat tukevasti kiinni.
7. Vianmääritys
Jos sinulla on ongelmia valaisimen kanssa, tutustu seuraaviin yleisiin ongelmiin ja ratkaisuihin:
| Ongelma | Mahdollinen syy | Ratkaisu |
|---|---|---|
| Valo ei syty. |
|
|
| välkkyvä valo. |
|
|
| Valaisin humisee. |
|
|
If these solutions do not resolve the issue, consult a qualified electrician or contact customer support.
8. Tekniset tiedot
| Mallinumero | 4314-PN |
| Merkki | Hudson Valleyn valaistus |
| Tyyppi | Huuhtele valonheitin |
| Mitat (P x L x K) | 13.5 cm x 13.5 cm x 7 cm |
| Paino | 14 puntaa |
| Materiaali | Alloy Steel (Fixture), Glass (Shade) |
| Valmis | Kiillotettu nikkeli |
| Valon lähde | Hehkulamppu (polttimot eivät sisälly) |
| Polttimoiden lukumäärä | 2 |
| Max Wattage per lamppu | 60 wattia |
| Voitage | Standard Household Voltage (120 V AC) (Note: Product specification lists 600 Volts, which typically refers to component rating, not operating voltage for residential use.) |
| Asennustyyppi | Kattoon kiinnitys |
| Sertifikaatit | UL listattu |
9. Takuu ja tuki
Valmistajan takuu:
This Hudson Valley Lighting product is covered by a 1 vuoden rajoitettu valmistajan takuu from the date of purchase. This warranty covers defects in materials and workmanship under normal use. It does not cover damage resulting from improper installation, accident, misuse, abuse, or normal wear and tear.
For full warranty details, please refer to the documentation included with your purchase or visit the official Hudson Valley Lighting websivusto.
Asiakastuki:
If you have any questions, require technical assistance, or need to report a missing or damaged part, please contact Hudson Valley Lighting customer service. Please have your model number (4314-PN) and proof of purchase ready when contacting support.
Websivusto: www.hudsonvalleylighting.com
Puhelin: Katso websivustolta ajankohtaiset yhteystiedot.